Users
Who can use this feature
Anyone with Administrator role can access the Users page
Introduction to Users
The Users submodule caters to the administrative and authorized personnel of the application, empowering them to oversee and maintain user accounts and access privileges. This module serves as a centralized hub for essential user-related tasks, enabling administrators to seamlessly perform actions such as user creation, modification, deletion, and access control.
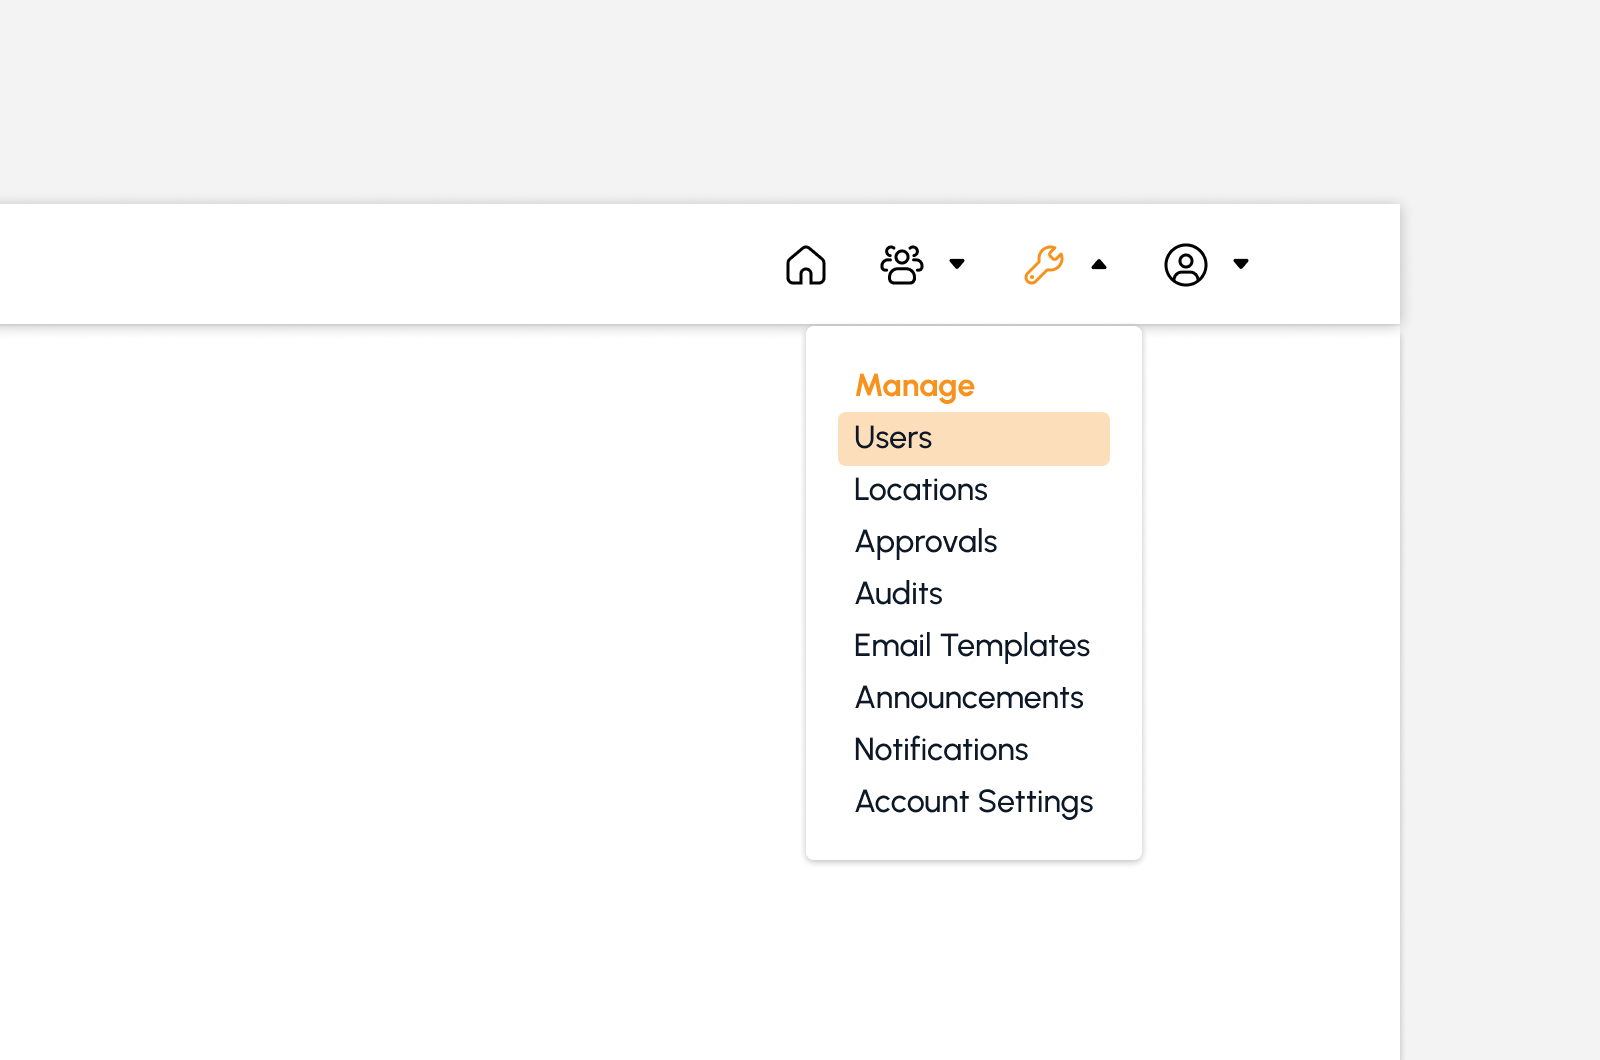
To access this page, navigate to the Manage Module and click “Users” as shown in the image below:
The screen will redirect to the Users page, showing several features to use that will be discussed in the next section.
Features in List of Users Page
The image below is a high-level view of the Users page along with its built-in features.
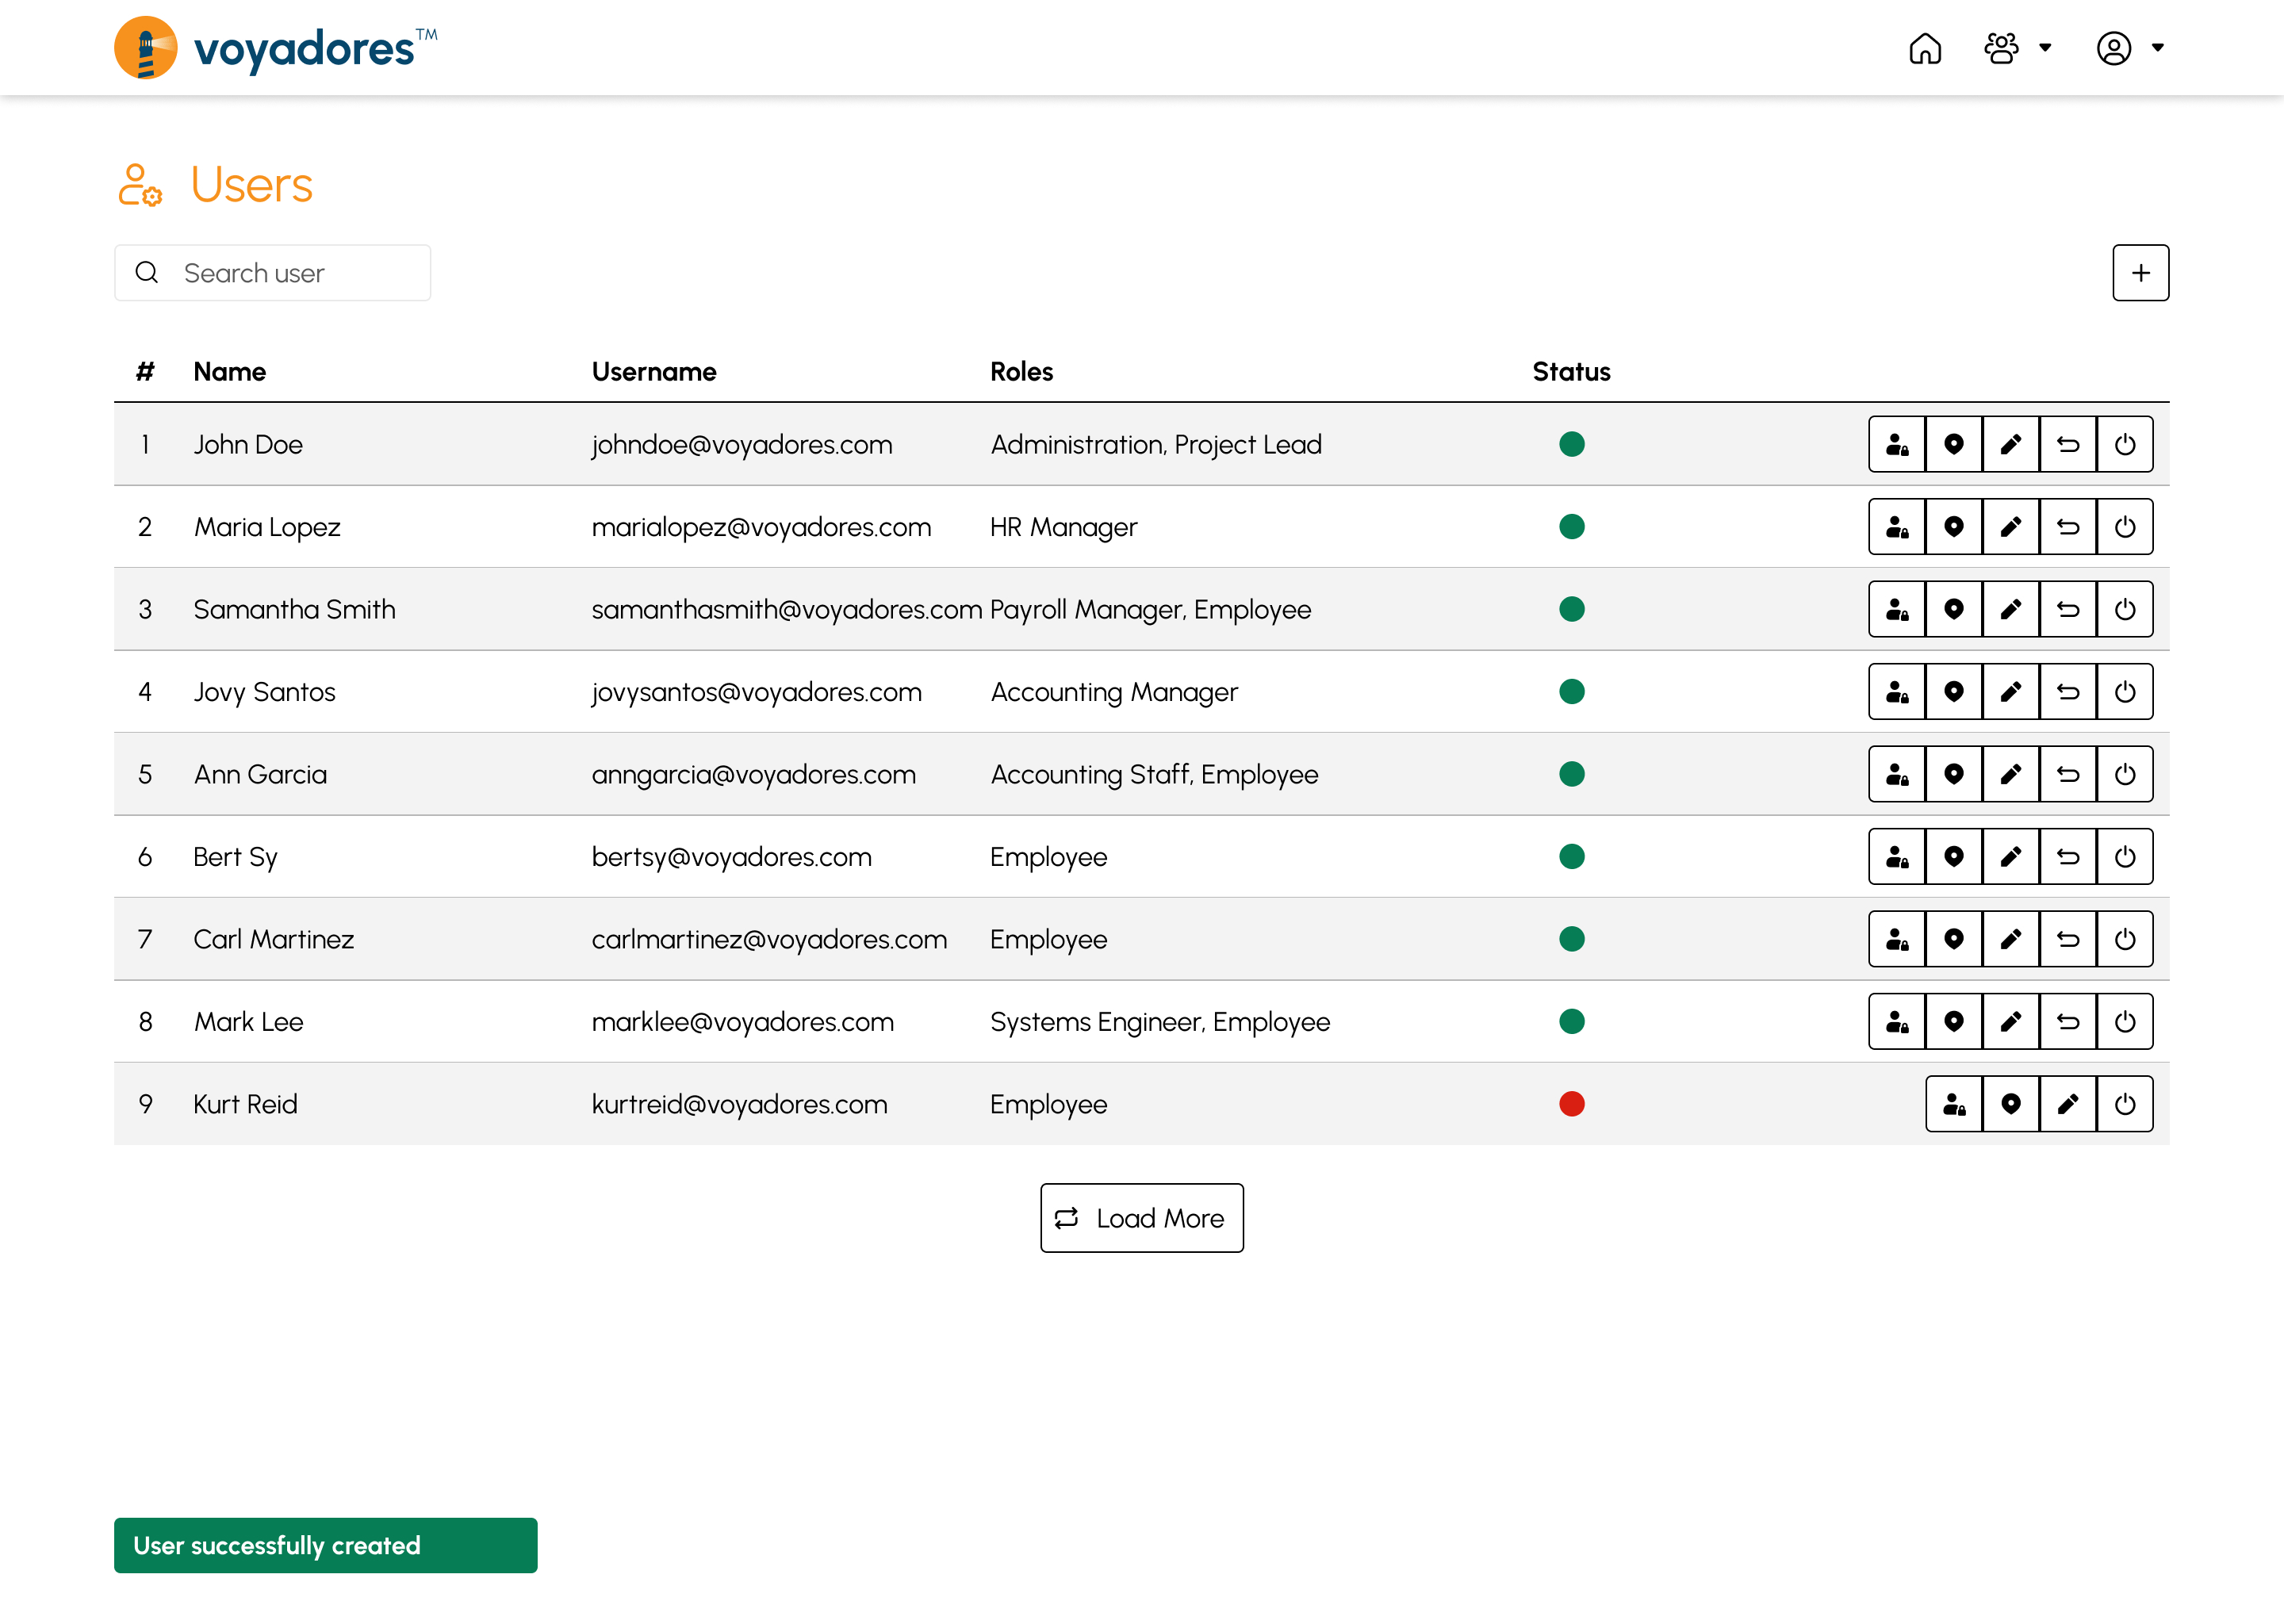
Summary Table
The summary table displays the list of created Users with the following columns:
- Name. Display the full names of users or individuals within the application.
- Username. The username is often the email of the user to be used for login purposes and account identification.
- Roles. Refers to permissions and access rights granted to the users.
- Status. Refers to the current condition or state of the user. The status indicates whether a user account is active or inactive.
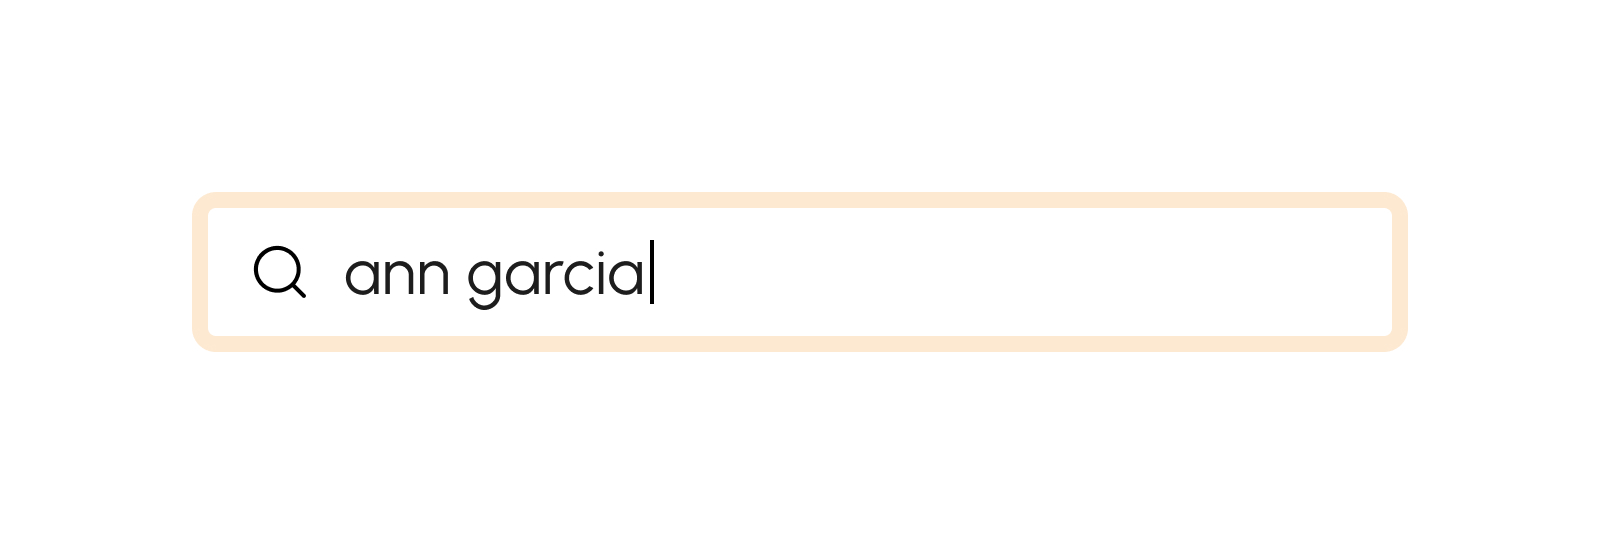
Search by Fullname
To search for a particular user account, simply input the user's complete account full name into the Search bar, as exemplified in the snapshot below:
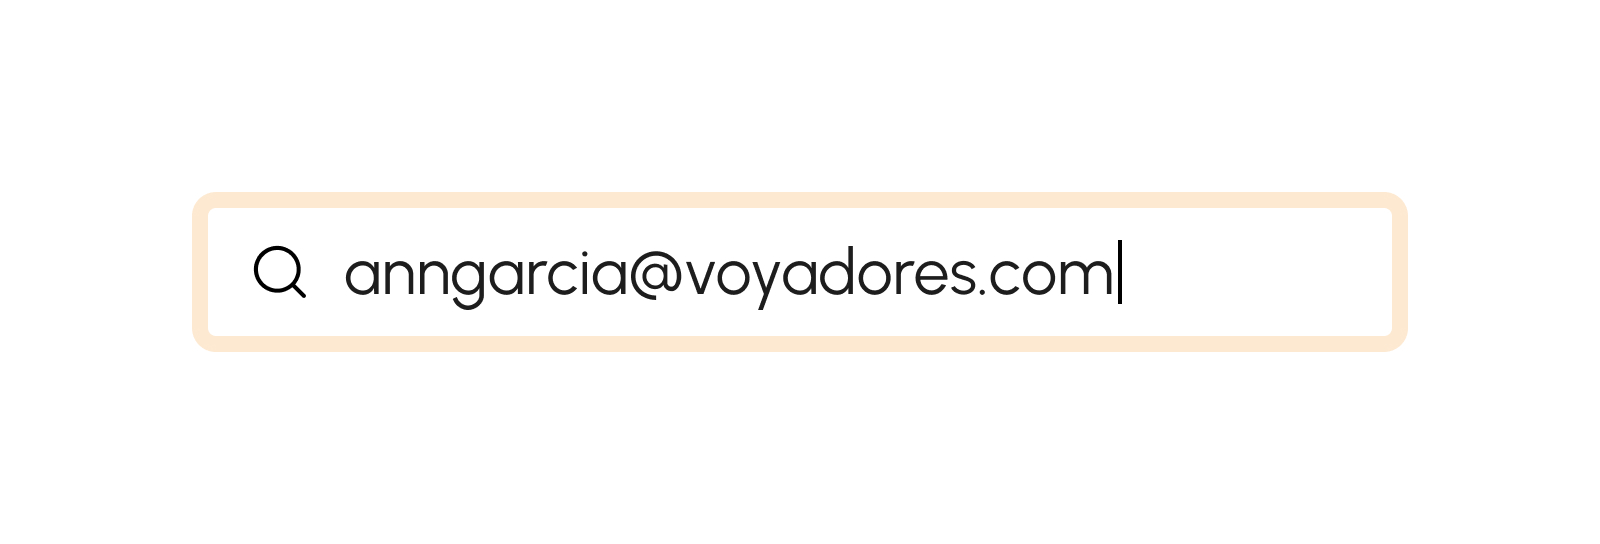
Search by Username
To search for a particular user account, simply input the user's username into the Search bar, as exemplified in the snapshot below:
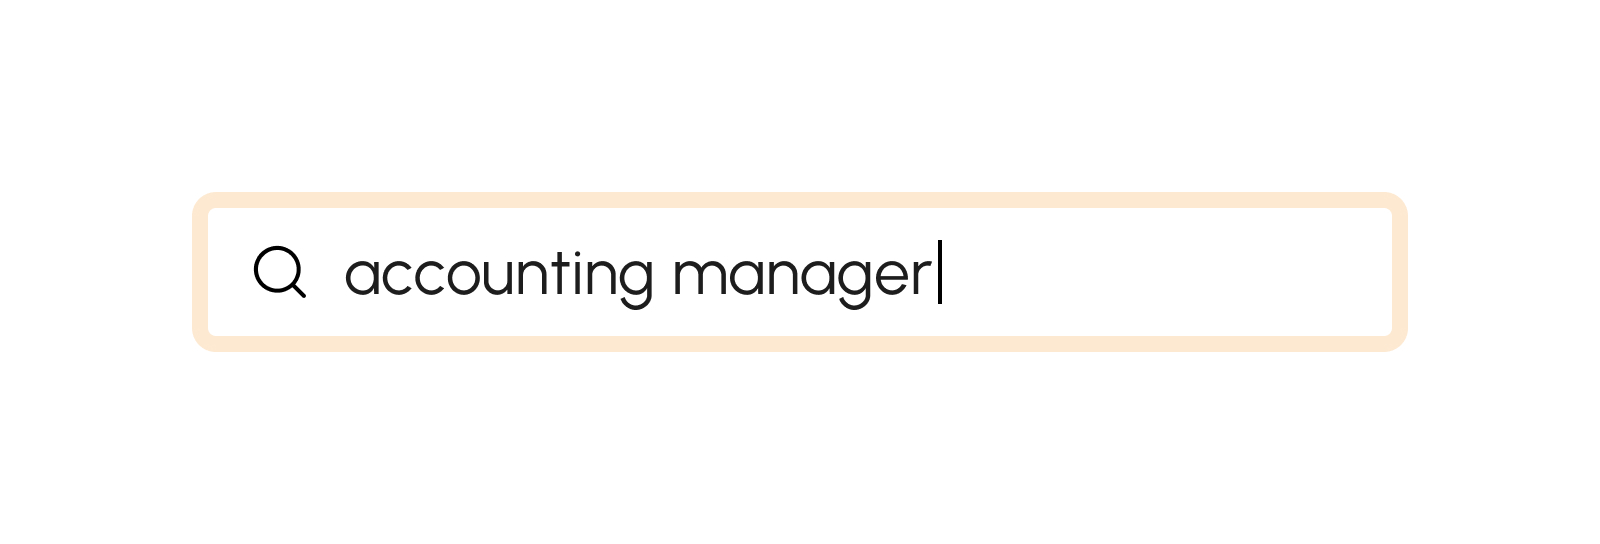
Search by Role
To search for user accounts with a specific role, simply enter the role into the Search bar, as exemplified in the snapshot below:
Create User Account
-
Click the Create user button.

-
Fill in User details.
- Fullname
Note
Required (*) fields should not be empty.
- Click the Create button.
-
A successful notification will show.
User successfully created
- Step 3 will successfully create a new user account otherwise, proceed to Step 6.
- Click the Cancel button to cancel the creation of User Account.
- The screen closes the modal.
- System will not proceed with the creation of a new User Account.
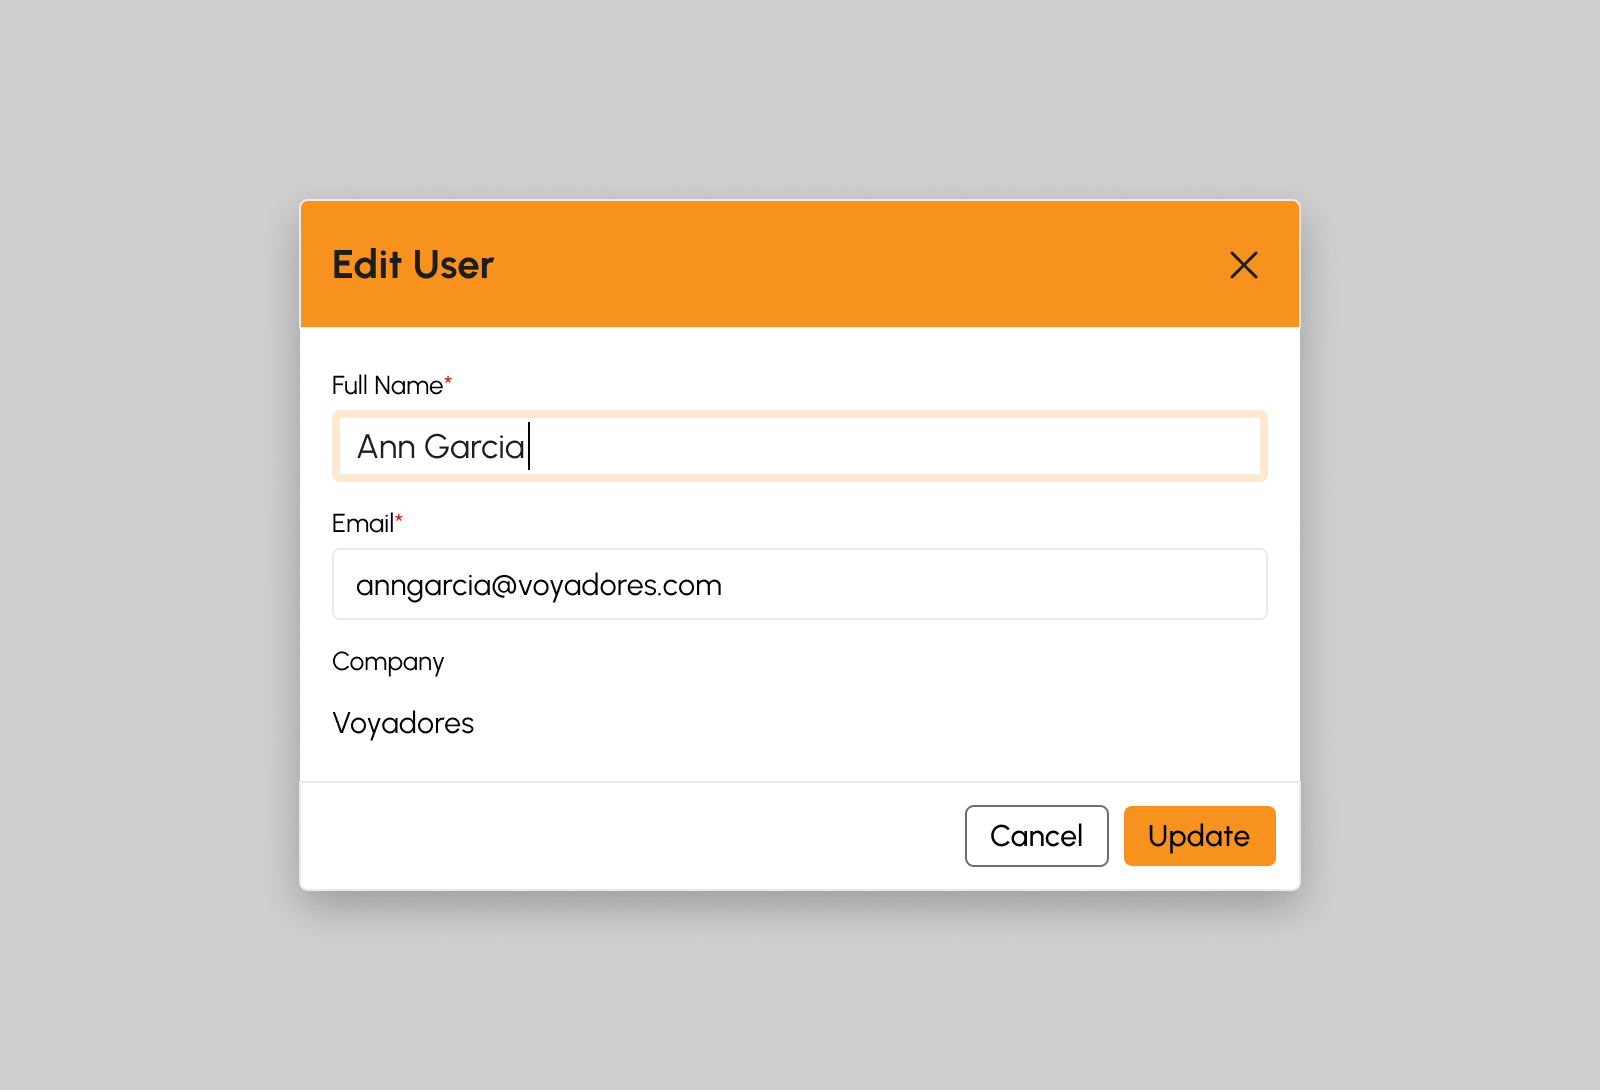
Edit User Account
-
Click the Edit user button.
-
Update the necessary details.
- Fullname
Note
Required (*) fields should not be empty.
- Click the Update button.
-
A successful notification will show.
User successfully updated
- Step 3 will successfully update user account details otherwise, proceed to Step 6.
- Click the Cancel button to cancel updating of User Account.
- The screen closes the modal.
- System will not proceed updating the User Account.
Edit User Roles
-
Click on the Edit User Roles button.

- Choose the suitable roles to be assigned to the user.
- Click the Add button to add the selected role.
- The role will be successfully added and displayed in the Roles table.
- Click the Update button to confirm the addition of the specific role to the User Account.
- To cancel the update of the User's Account role, click the Cancel button.
- The system will cancel the process of adding the role to the User Account.
Delete User Account Role
-
Click on the Delete Role button.
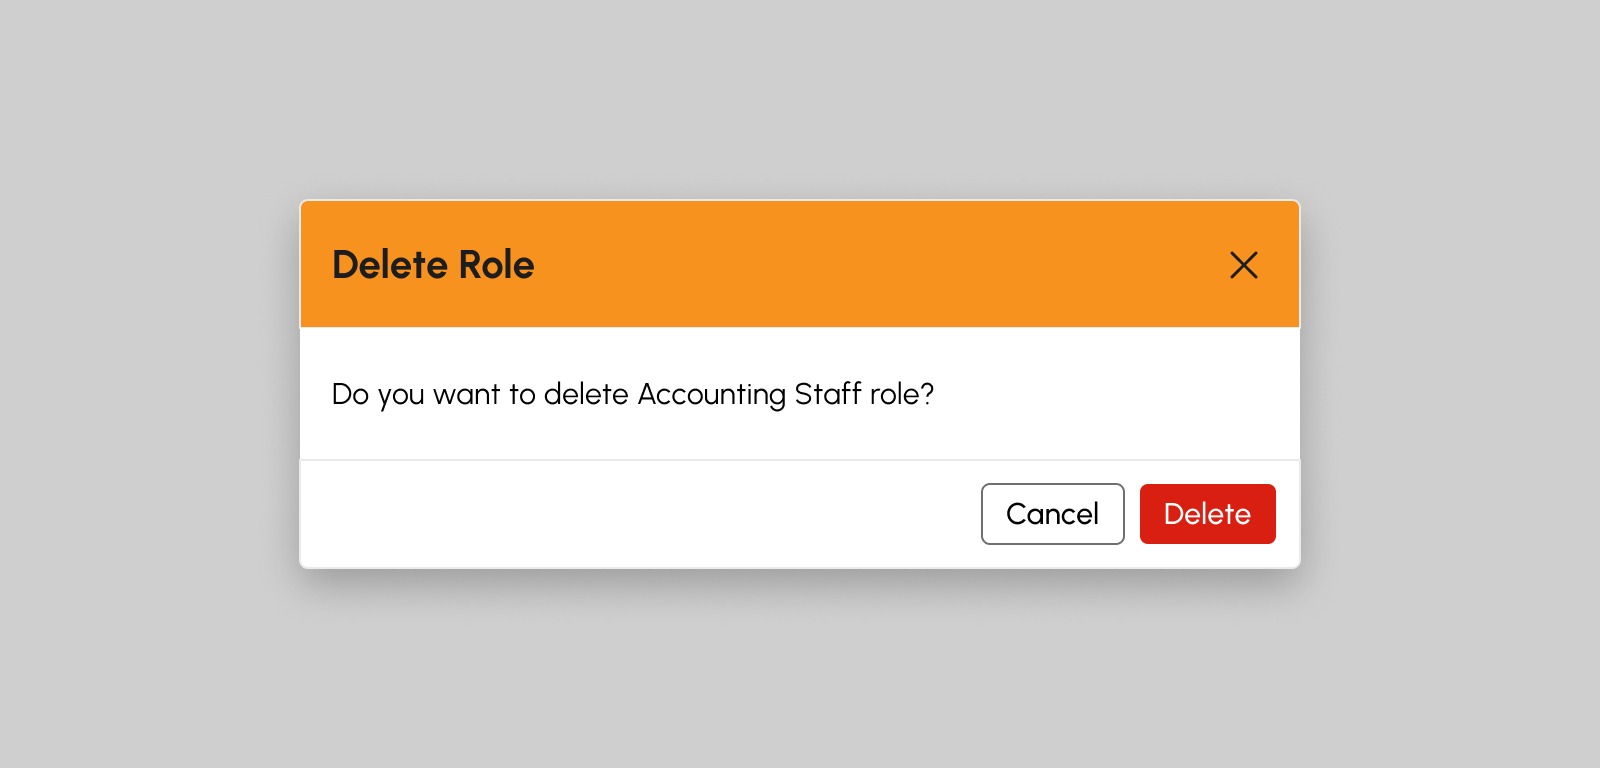
- The system will successfully remove the role from the User Account.
Deactivate User Account
-
Click the Deactivate button.
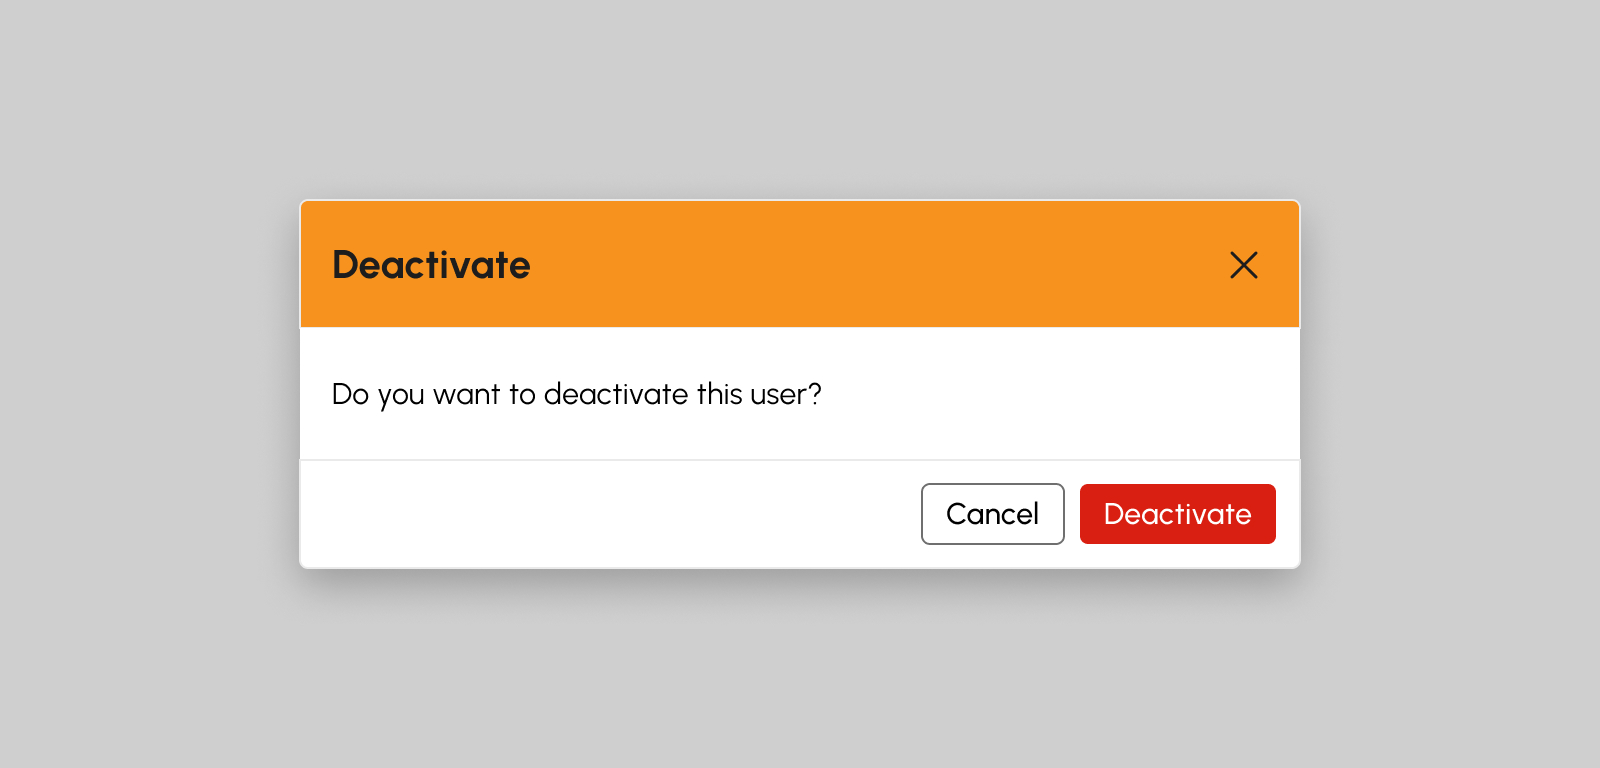
- On the confirmation modal, click Deactivate button to proceed with deactivating the user.
Activate User Account
-
Click the Activate button.
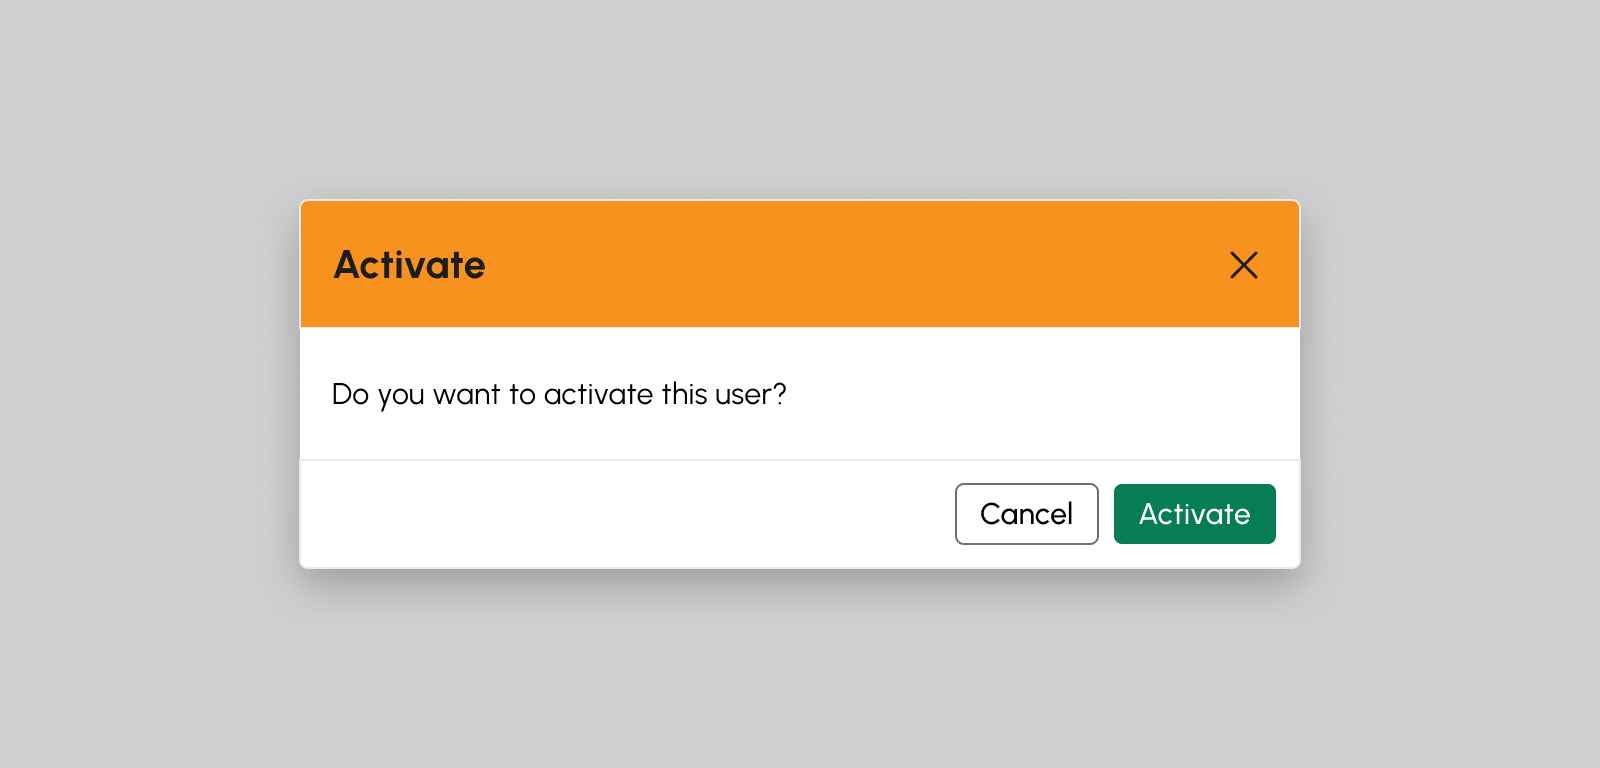
- On the confirmation modal, click Activate button to proceed with activating the user.
Reset User Account Password
-
Click the Reset Password button.
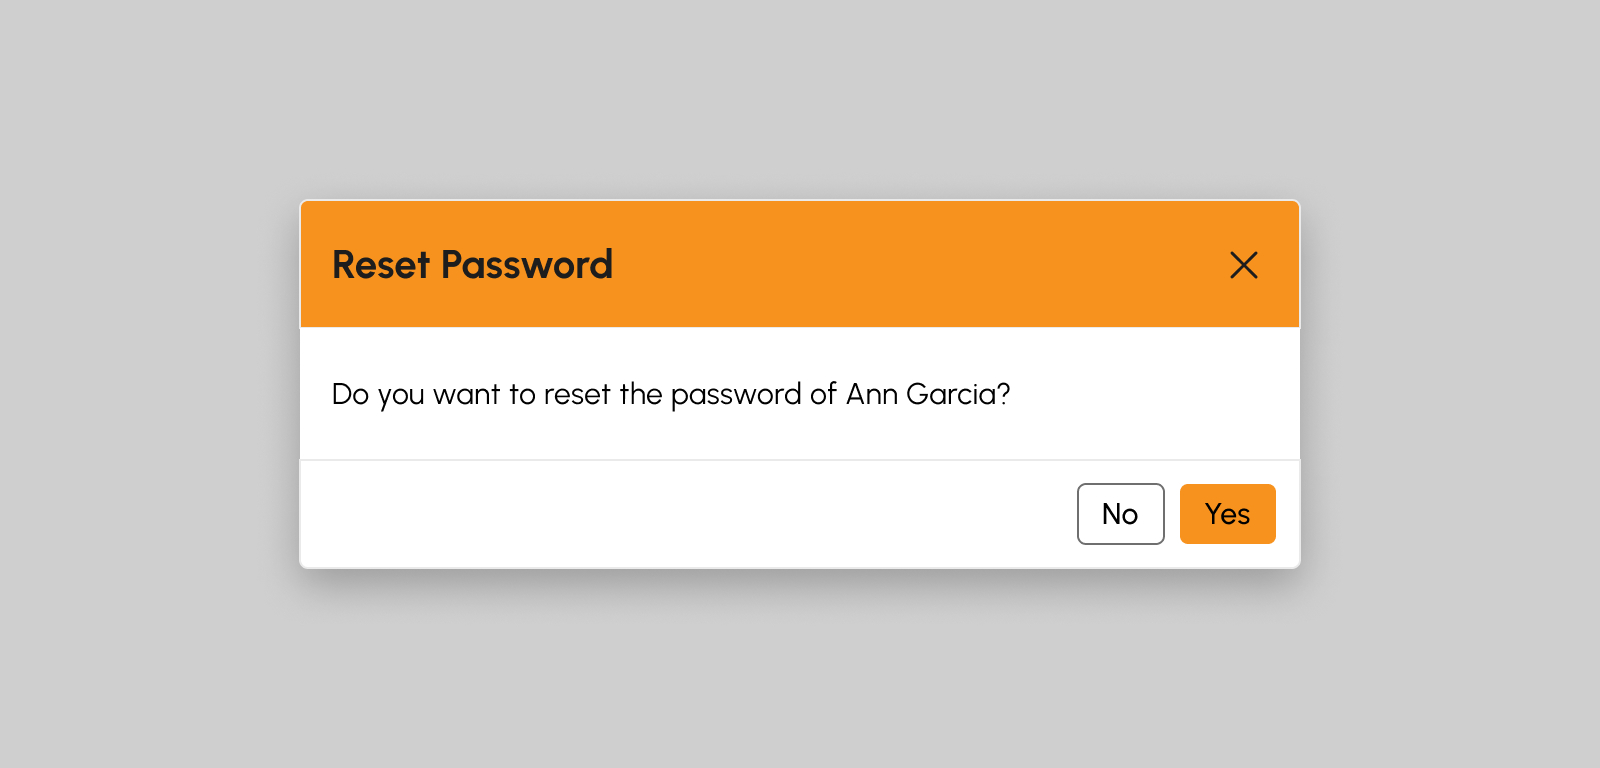
- On the confirmation modal, click Yes button.
- The user will receive a password reset email to proceed with updating the password.
Load More
To verify if there are more than 20 User Accounts, click the Load More button. By doing so, additional User Accounts will be displayed, as the default item number shown on the screen is from count 1-20.