Payroll
Who can use this feature
Anyone with Administrator and Payroll Manager role can access all the Payroll pages
Anyone with HR Manager and Employee role can only access the Payslips page
Introduction to Payroll Submodule
Gain various powerful features and functionalities from calculating salaries and wages to generating payslips and handling tax deductions. The Voyadores Payroll Submodule provides a centralized platform to manage all payroll-related tasks efficiently. It is dedicated to efficiently running all aspects of employee compensation and ensuring accurate and timely payroll processing.
Definition of Terms
Defined in this section are the available pages under the Payroll submodule as follows:
- Payroll Generation. This page is all about generating Payroll Reports and Payslips that provide a breakdown of earnings, deductions, and net pay for each employee.
- Payslips. This page allows employees to view and download the detailed summary of earnings, deductions, and net pay for a specific pay period. It serves as a record of payment and helps employees understand how salary or wages are calculated.
- Benefits and Deductions. The benefits and deductions outline the various benefits and deductions offered to employees. It provides a detailed breakdown of the benefits available to employees and any deductions that are subtracted from gross earnings. This page allows users to create, configure frequencies, edit, and sort Payroll items.
Roles and Permissions
The table below shows the defined roles and permissions when accessing pages and features under Employees Submodule.
| Functions | Administrator | HR Manager | Payroll Manager | Employee |
|---|---|---|---|---|
| Payroll Generation | ||||
| Generate | ||||
| Preview | ||||
| Download | ||||
| Edit | ||||
| Approve | ||||
| Payslips | ||||
| Preview | ||||
| Download | ||||
| Benefits and Deductions | ||||
| Create | ||||
| Preview | ||||
| Reorder | ||||
| Edit | ||||
| Activate/Deactivate | ||||
Roles and Permissions
Note that users have the flexibility to enhance access control and refine user privileges by effortlessly adding and configuring additional roles and permissions. This aligns system functionality with the organizational structure and security requirements, ensuring that users are assigned appropriate levels of access and responsibilities.
To do so, contact [email protected]
Payroll Formula Parameters
A list of all available default formula parameters used for payroll item calculations. Please note that parameter names are case-sensitive meaning it should be whatever is the casing in the table below (e.g. MonthlySalary is not the same as monthlysalary). The latter will throw an error in the UI.
Default Parameters
The default parameter calculations if no custom implementation is set.
| # | Parameter Name | Description | How is this calculated? |
|---|---|---|---|
| 1 | MonthlySalary | The monthly salary of the employee. | This value will come from the Basic Salary compensation component. |
| 2 | DailyRate | The daily rate of the employee. | This value will be calculated in two ways; [1] If the employee's Basic Salary compensation component is set, it will divide it to the total working days of the employee based on the assigned schedule (e.g. Basic Salary / Total Working Days in a month). [2] If no component is set, it will use the Daily Rate compensation component directly. If both are missing, it will throw an error in the UI. |
| 3 | BasicPay | The basic pay of the employee within the pay period. | This value is calculated by getting the Daily Rate multiplied by the Total Worked Days. |
| 4 | TotalOvertimeHours | The total overtime hours within that pay period. | This value will be calculated through its entitlements. If the employee does not have an Overtime entitlement, this will return zero (0). |
| 5 | TotalUndertimeMinutes | The total undertime (in minutes) within that pay period. | This value will be calculated through its entitlements. If the employee does not have an Undertime entitlement, this will return zero (0). |
| 6 | TotalAttendanceLog | The total attendance clocked in by the employee within that pay period. | This value will be the total attendance of the employee within the pay period dates. Only attendances that have time-in, time-out and are approved are included. Total hours that are 8 or greater than 8 are considered 1 day while total hours that are between 4 and 8 will be considered as 0.5 (half day). |
| 7 | TotalAbsences | The total absences within that pay period. | This value will be calculated in two ways; [1] if the employee is Flexible Schedule, this will come from the entitlement amount set in the DTR. [2] If the employee has a non-Flexible Schedule, it will check for every attendance and count any missing attendance that is within the scheduled working days and has no filed leaves. |
| 8 | TotalSpecialOvertimeHours | The total special overtime hours within that pay period. | This value will be calculated through its entitlements. If the employee does not have a Special OT entitlement, this will return zero (0). |
| 9 | TotalLateMinutes | The total late (in minutes) within that pay period. | This value will be calculated through its entitlements. If the employee does not have a Late entitlement, this will return zero (0). |
| 10 | TotalPaidLeaves | The total filed paid leaves within that pay period. | This value will be calculated on the total approved filed leaves with pay. |
| 11 | TotalUnpaidLeaves | The total filed unpaid leaves within that pay period. | This value will be calculated on the total approved filed leaves without pay. |
| 12 | EmployeePhilHealth | The PhilHealth contribution of the employee. | Default contribution calculation. |
| 13 | EmployerPhilHealth | The PhilHealth contribution of the employer. | Default contribution calculation. |
| 14 | EmployeeSSS | The SSS contribution of the employee. | Default contribution calculation. |
| 15 | EmployerSSS | The SSS contribution of the employer. | Default contribution calculation. |
| 16 | EmployerSSSECC | IN-PROGRESS | IN-PROGRESS |
| 17 | EmployeePAGIBIG | The PAGIBIG contribution of the employee. | Default contribution calculation. |
| 18 | EmployerPAGIBIG | The PAGIBIG contribution of the employer. | Default contribution calculation. |
| 19 | SSSLoan | The employee's SSS loan payments within the pay period. | This value will come from the loans with the SSS loan provider payments. |
| 20 | EmployeeLoan | The employee's Company loan payments within the pay period. | This value will come from the loans with the Company loan provider payments. |
| 21 | PAGIBIGLoan | The employee's PAGIBIG loan payments within the pay period. | This value will come from the loans with the PAGIBIG loan provider payments. |
| 22 | WithholdingTax | The withholding tax deduction of the employee. | Default withholding tax calculation. |
| 23 | TotalNightDiffHours | The total night differential hours within the pay period. | This value will be calculated through its entitlements. If the employee does not have a Night Differential entitlement, this will return zero (0). |
| 24 | TotalRegularHolidays | The total number of regular holidays that the employee worked | This value will be calculated by the number of regular holiday attendance logs of an employee based on the pay period covered holidays. |
| 25 | TotalSpecWorkingHolidays | The total number of special working holidays that the employee worked | This value will be calculated by the number of special working holiday attendance logs of an employee based on the pay period covered holidays. |
| 26 | TotalSpecNonWorkingHolidays | The total number of special non-working holidays that the employee worked | This value will be calculated by the number of special non-working holiday attendance logs of an employee based on the payroll covered holidays. |
| 27 | TotalSchedWorkingDays | The number of working days of an employee | This value will be calculated by getting the number of working days of an employee based on the month and year of the pay period start date and the assigned schedule. If the employment status is not Regular, Probationary, or Trainee this will return zero (0). |
| 28 | TotalDeductions | The total deductions of the employee | This value is calculated by the summation of all deductions. |
| 29 | TotalBenefits | The total benefits of the employee | This value is calculated by the summation of all benefits. |
| 30 | TotalRestDays | The total rest days of an employee within the pay period month and year. | This value calculates the total rest days an employee has within the pay period month and year based on the assigned company schedule. If the employment status is not Regular, Probationary, or Trainee, this value will be zero (0). |
| 31 | HourlyRate | Total hourly rate of an employee | This value is calculated based on the Hourly Rate compensation if the Pay Type is Hourly Rate |
| 32 | Ecola | The Emergency Cost of Living Allowance (ECOLA) value | Default value is 8.63 for now |
| 33 | TotalSNWHOvertimeHours | The total overtime hours within the special non-working holiday | This value is calculated if there is overtime in the attendances that were in the period of special non-working holiday. |
| 34 | TotalRestDayHours | The total hours of attendance that were logged during rest days within the pay period. | This value calculates the total hours an employee has worked on their designated rest days within the pay period of payroll. |
| 35 | TotalRestDayOvertimeHours | The total hours of overtime during rest days within the pay period. | This value calculates the total overtime hours an employee has worked on their designated rest days within the pay period of payroll. |
| 36 | TotalRegularHolidayOvertimeHours | The total overtime hours within a regular holiday | This value is calculated if there is overtime in the attendances that were in the period of a regular holiday. |
| 37 | TotalRestDayHolidayHours | The total hours logged on rest days that were holidays within the pay period. | This value calculates the total hours recorded for employees who worked on rest days that coincided with holidays within a given pay period. |
| 38 | TotalRestDayHolidayOvertimeHours | The total overtime hours logged on rest days that were holidays within the pay period. | This value calculates the total overtime hours recorded for employees who worked on rest days that coincided with holidays within a given pay period. |
| 39 | TotalSpecNonWorkingHoliday | The total hours of attendance that were logged during special non-working holiday within the pay period. | This value calculates the total hours recorded in an employee's attendance logs during the pay period covered by a special non-working holiday. |
| 40 | TotalNightDiffOvertimeHours | The total overtime hours of a night differential within the pay period. | This value is calculated if there is an overtime and night differential entitlement at the same time. If an Employee doesn't have these two entitlements, the return value will be (0). |
Payroll Generation
Introduction to Payroll Generation
This page is all about generating employee payroll based on the provided employee data, calculating gross wages, deductions, taxes, and net pay for each employee. This section may also include options for handling different rates for overtime or shift differentials.
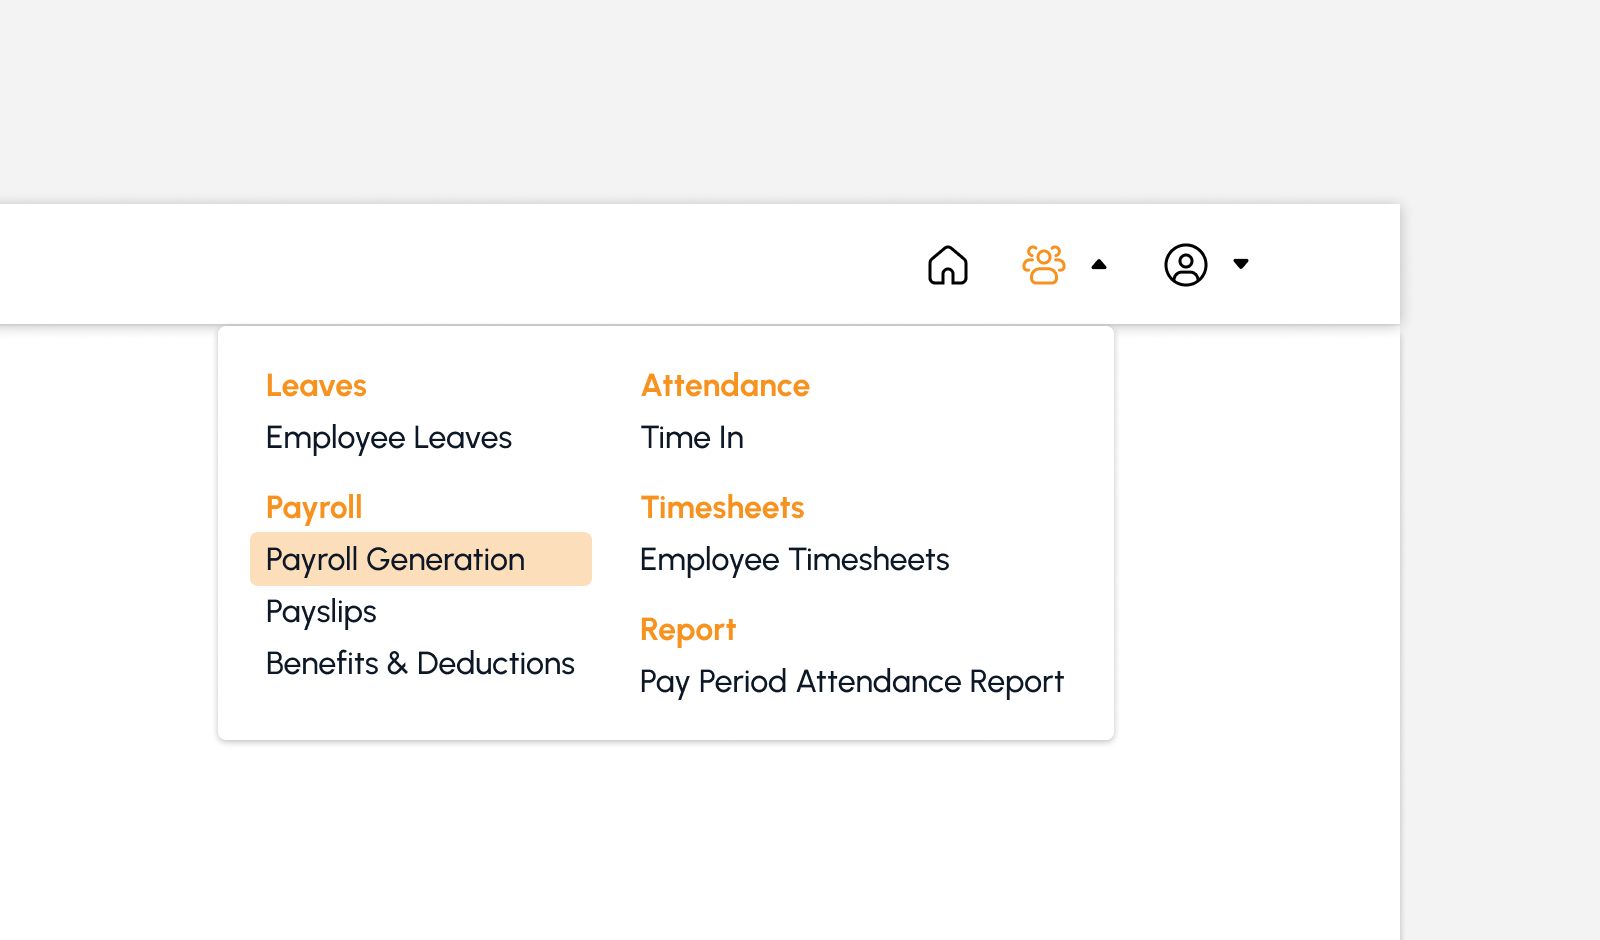
To access this page, navigate to the Human Resources Module and click “Payroll” under Employees Submodule as shown in the image below:
The screen will redirect to the Payroll page, showing several features to use that will be discussed in the following section.
Payroll Generation Features
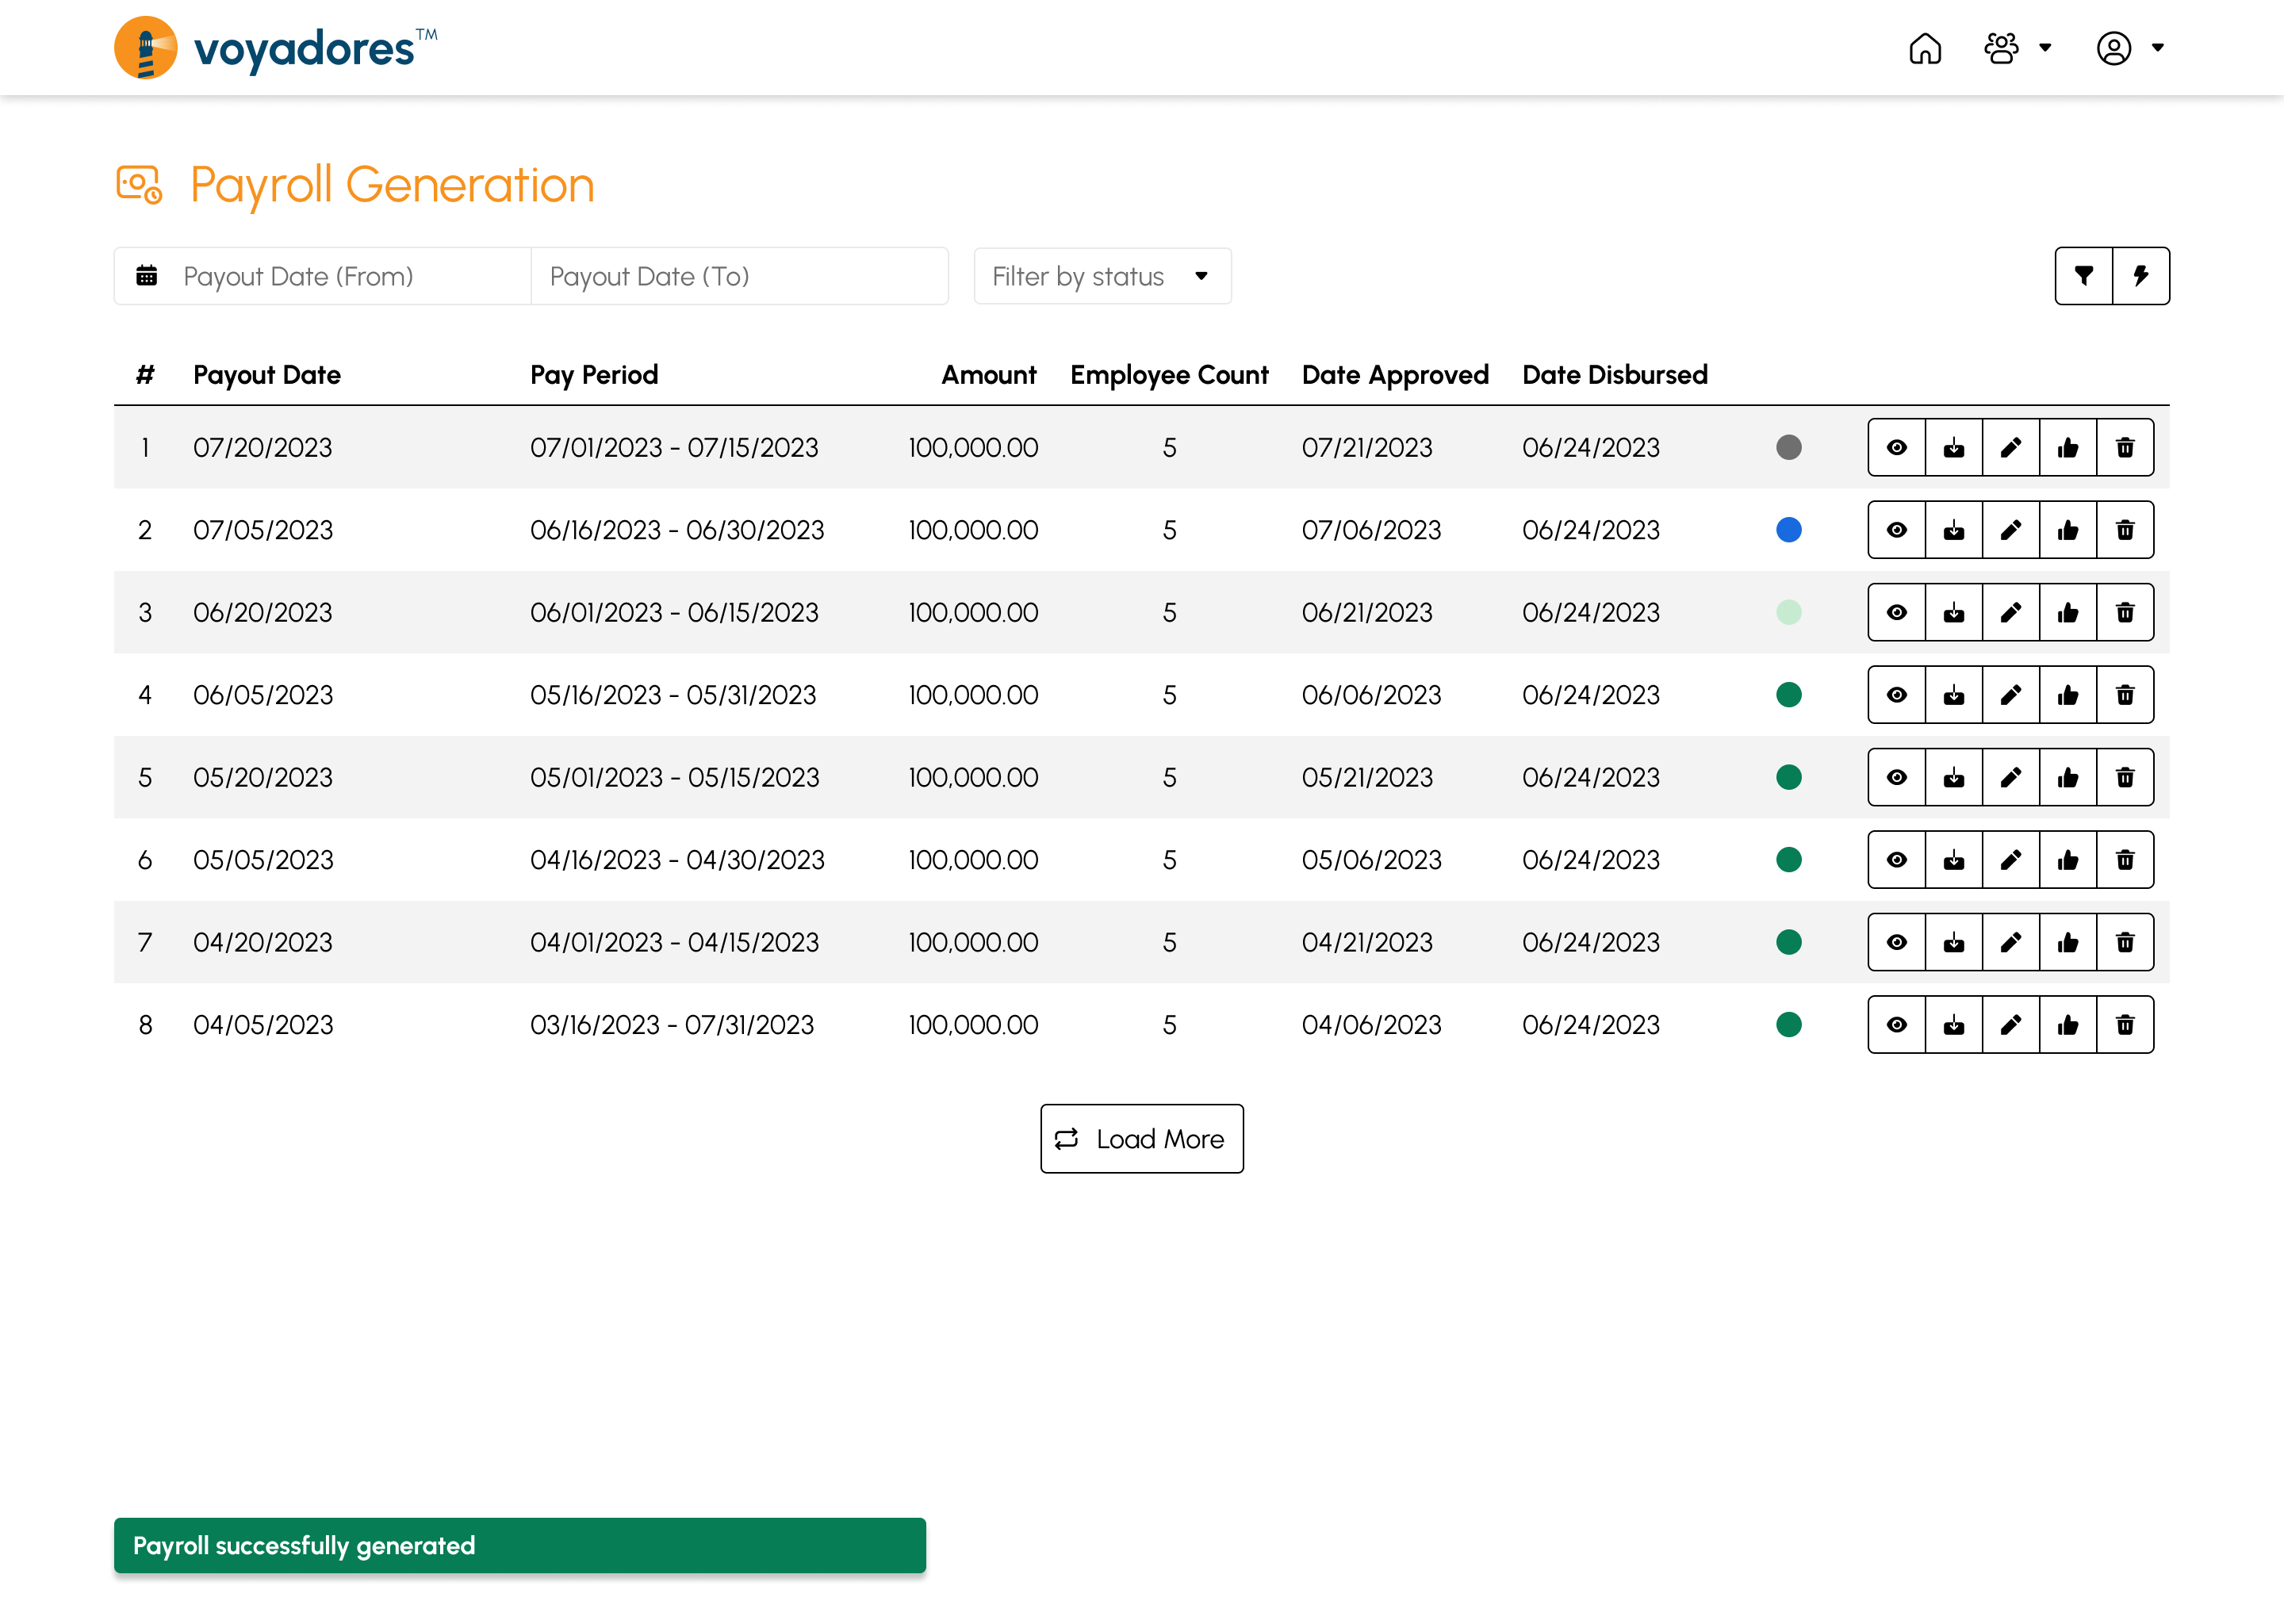
Payroll Generation Summary Table
The Payroll Generation Summary Table consists of the following columns:
- Item number “#”. This serves as an item sequence indicator displayed on the table.
- Payout Date. The specific date on which a payment or distribution is scheduled to be made to an employee. Example, every 15th and 30th of the month.
- Pay Period. The duration for which an employee's work hours are recorded and serves as the basis for calculating wages or salaries. Example, pay period dates 1-15 and 16-30 of the month.
- Amount. Displayed here is the total amount to be disbursed for the specific Pay Out Date.
- Employee Count. The number of employees who will receive their salary for the specific Pay Out.
- Date Approved. The date from which the Payroll is approved.
- Date Disbursed. The date from which the Payroll is disbursed.
- Status. Displayed here is the status indicator of the generated payroll.
-
Actions
- Preview Payroll
- Download Payroll
- Edit Payroll
- Approve Payroll
- Disburse Payroll
- Delete Payroll
Filtering Generated Payroll by Payout Date
-
Click the date picker field to select Payout date range as shown below:
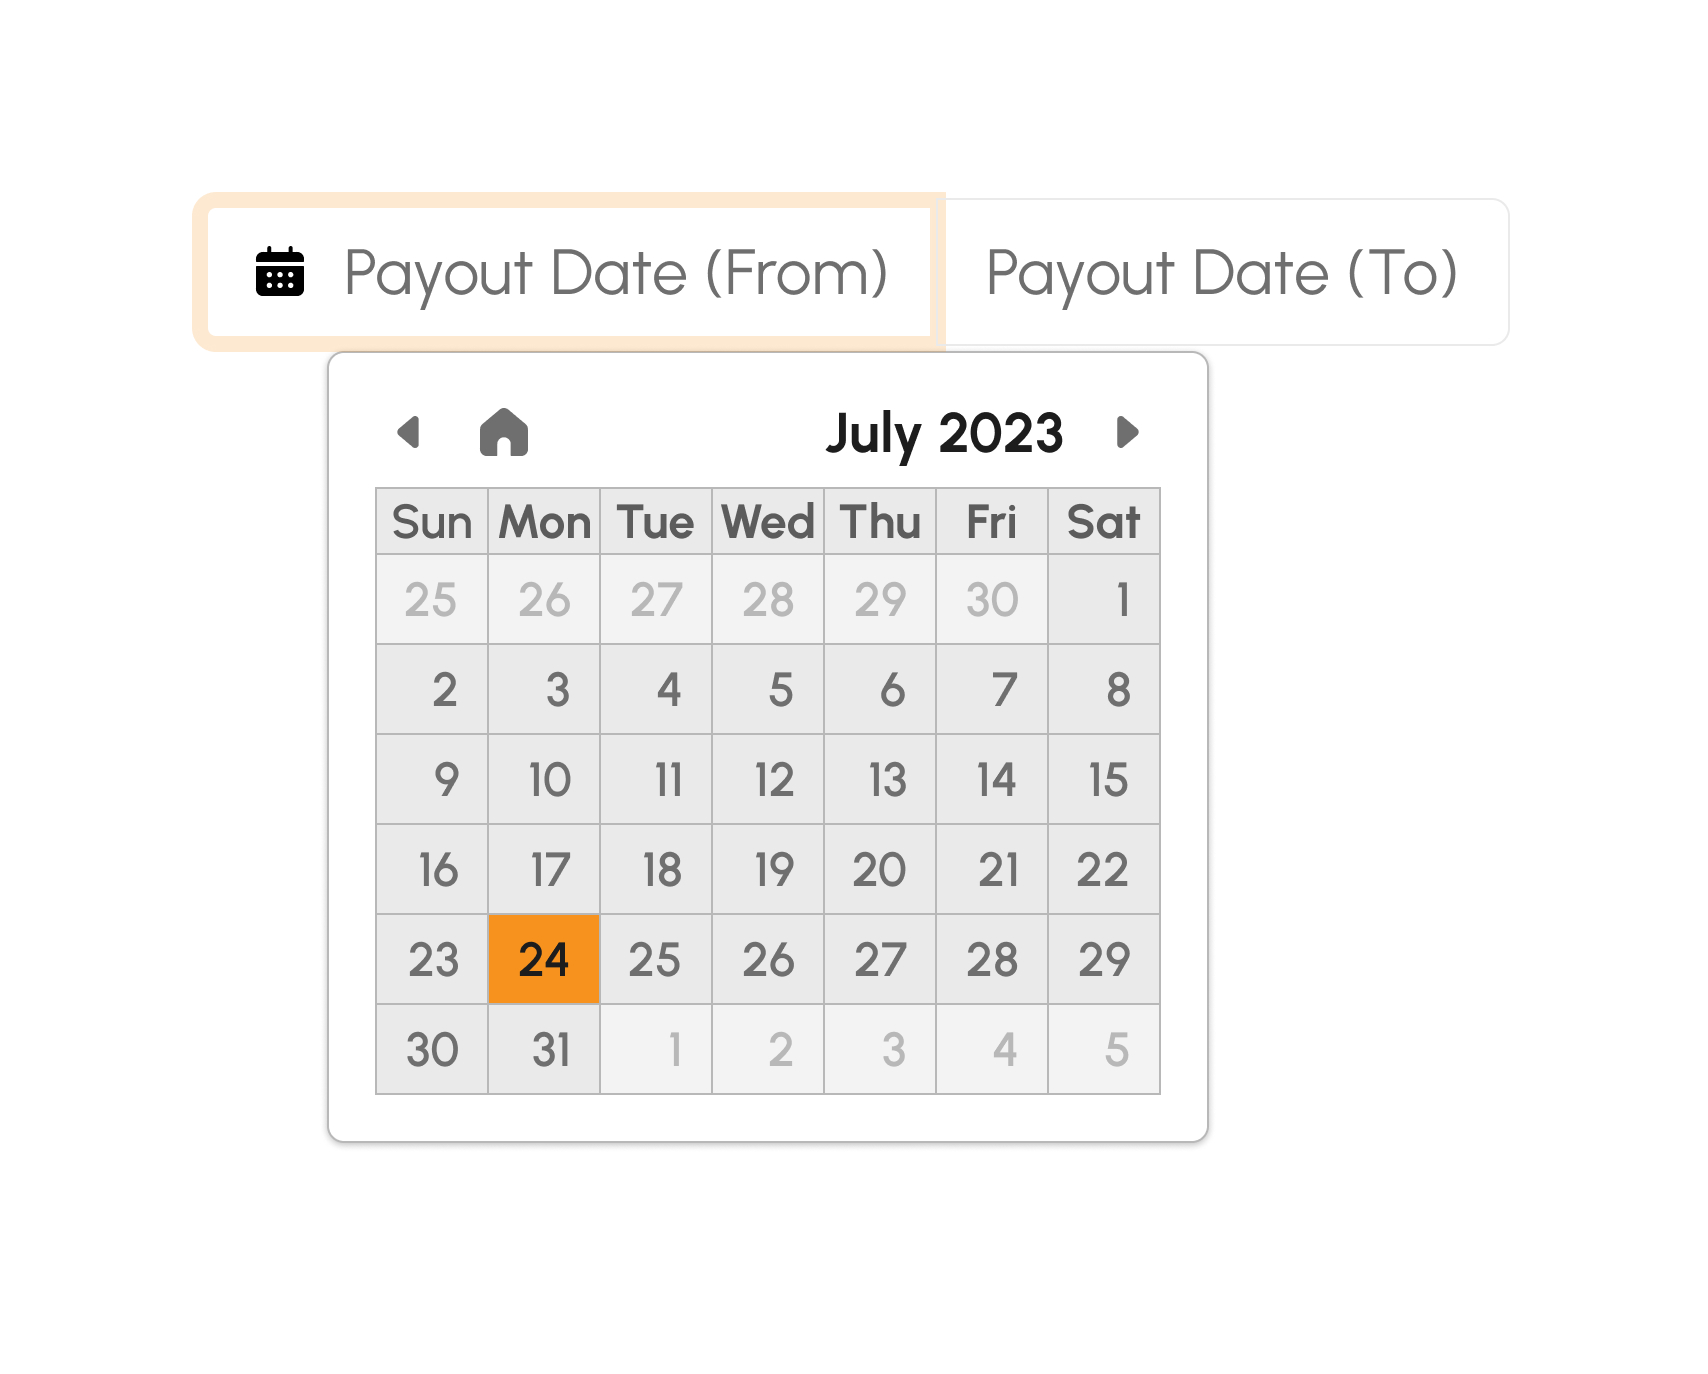
- Click the filter button to display Payroll with the selected Payout date range.
- Summary table will display the Payroll with the selected Payout date range.
Filtering Generated Payroll by Status
Click the Filter by Status drop down to select the desired Payroll status to display.
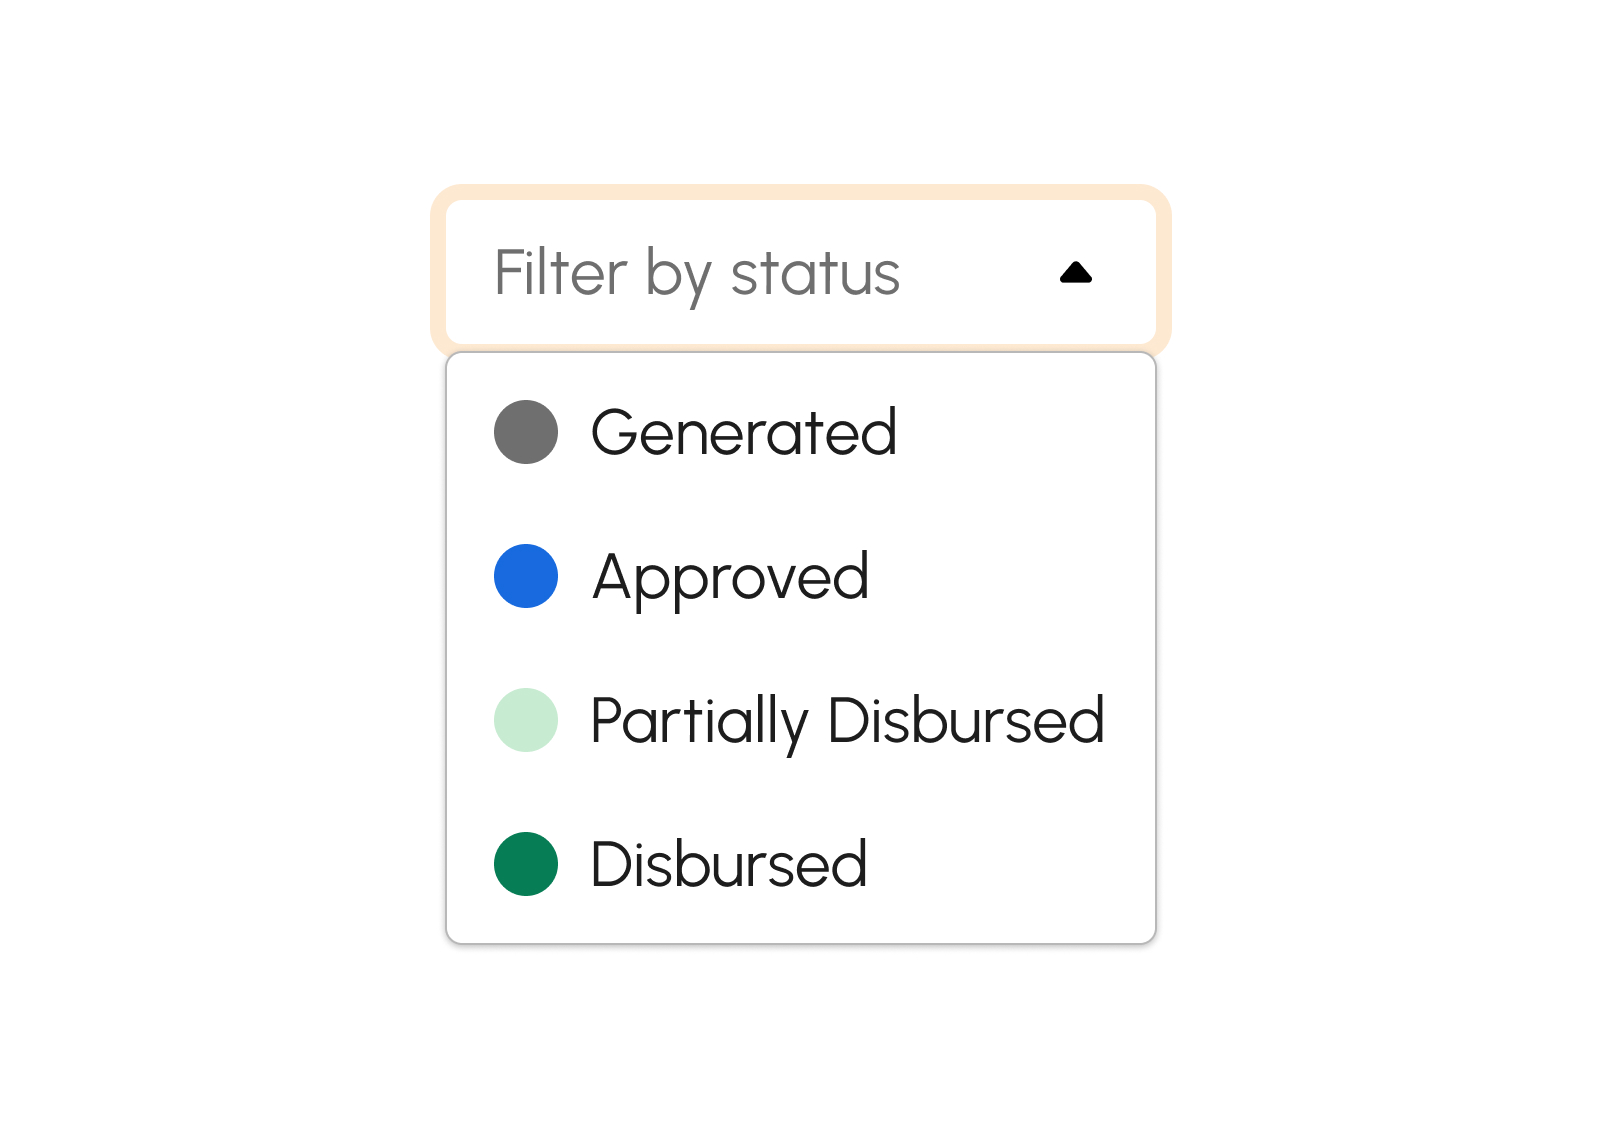
- Generated. This status indicates a generated payroll.
- Approved. This status indicates an approved payroll.
- Partially Disbursed. This status indicates a partially disbursed payroll.
- Disbursed. This status indicates a disbursed payroll.
How to Generate Payroll
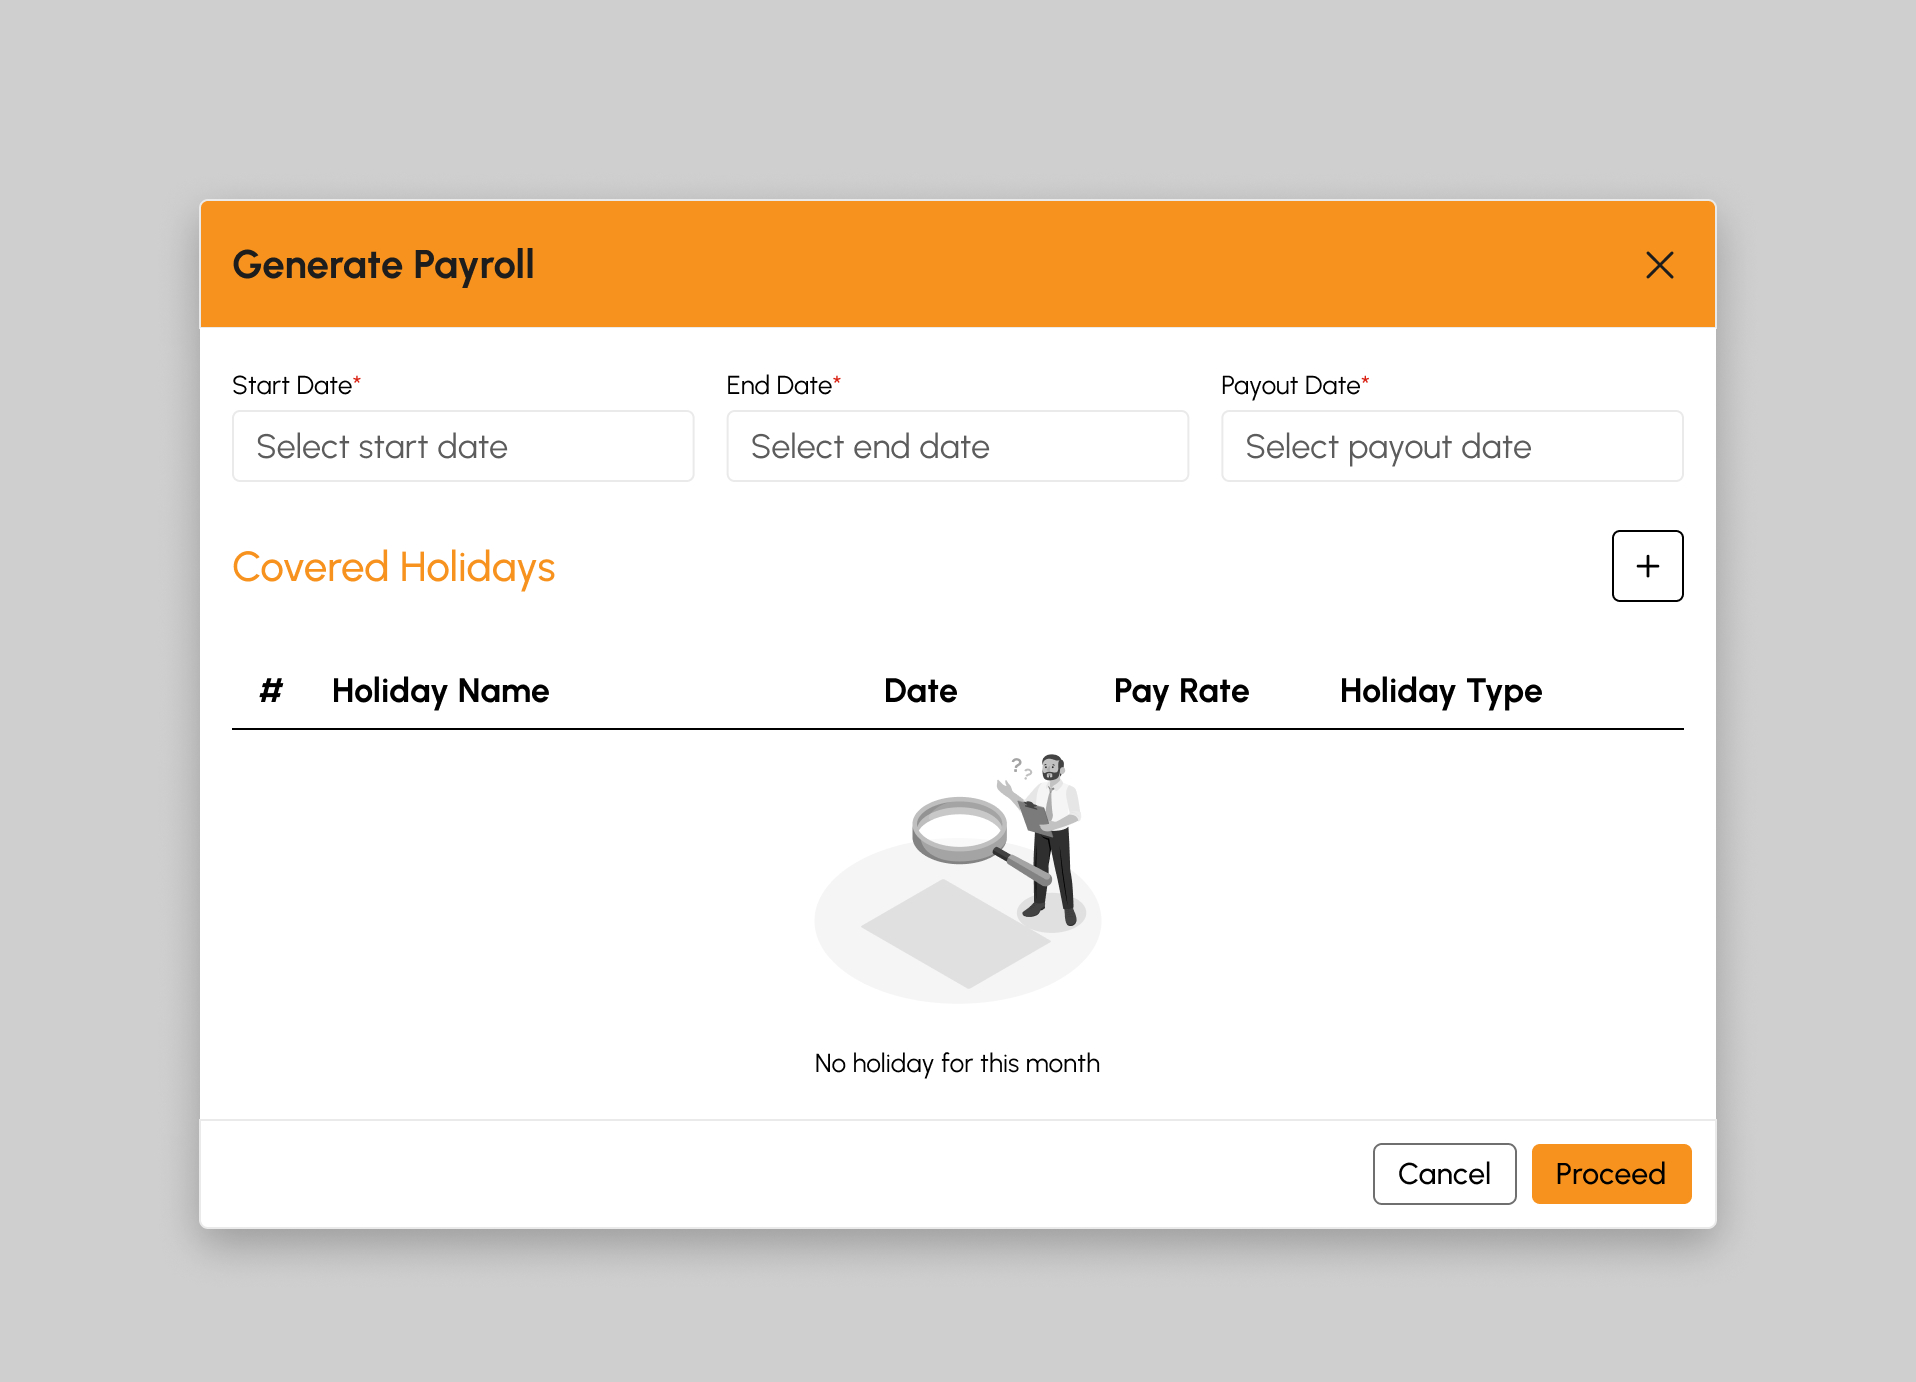
- Click the Generate Payroll button. Upon clicking, a Generate Payroll modal will show.
-
Select the Start date and End date. This will serve as the Pay period range to Generate the Payroll.
Note
Fields with (*) are required.
- The Payout date will automatically display. The displayed date here is the applicable Payout date/s being used by the company.
- The Covered holidays under the selected Pay period range will show automatically.
- If in case there is a Holiday not included on the list, click the Add Holiday button.
- Click the Proceed button to generate the payroll and a confirmation modal will show.
- Click Yes to successfully generate the Payroll, otherwise, click No button.
-
A successful notification will show.
Payroll successfully generated
- A generated payroll status will be added on the summary table list.
How to Preview Generated Payroll
-
Click the
Preview Payroll button. Upon clicking, a Preview Payroll modal will display a table with the following information:
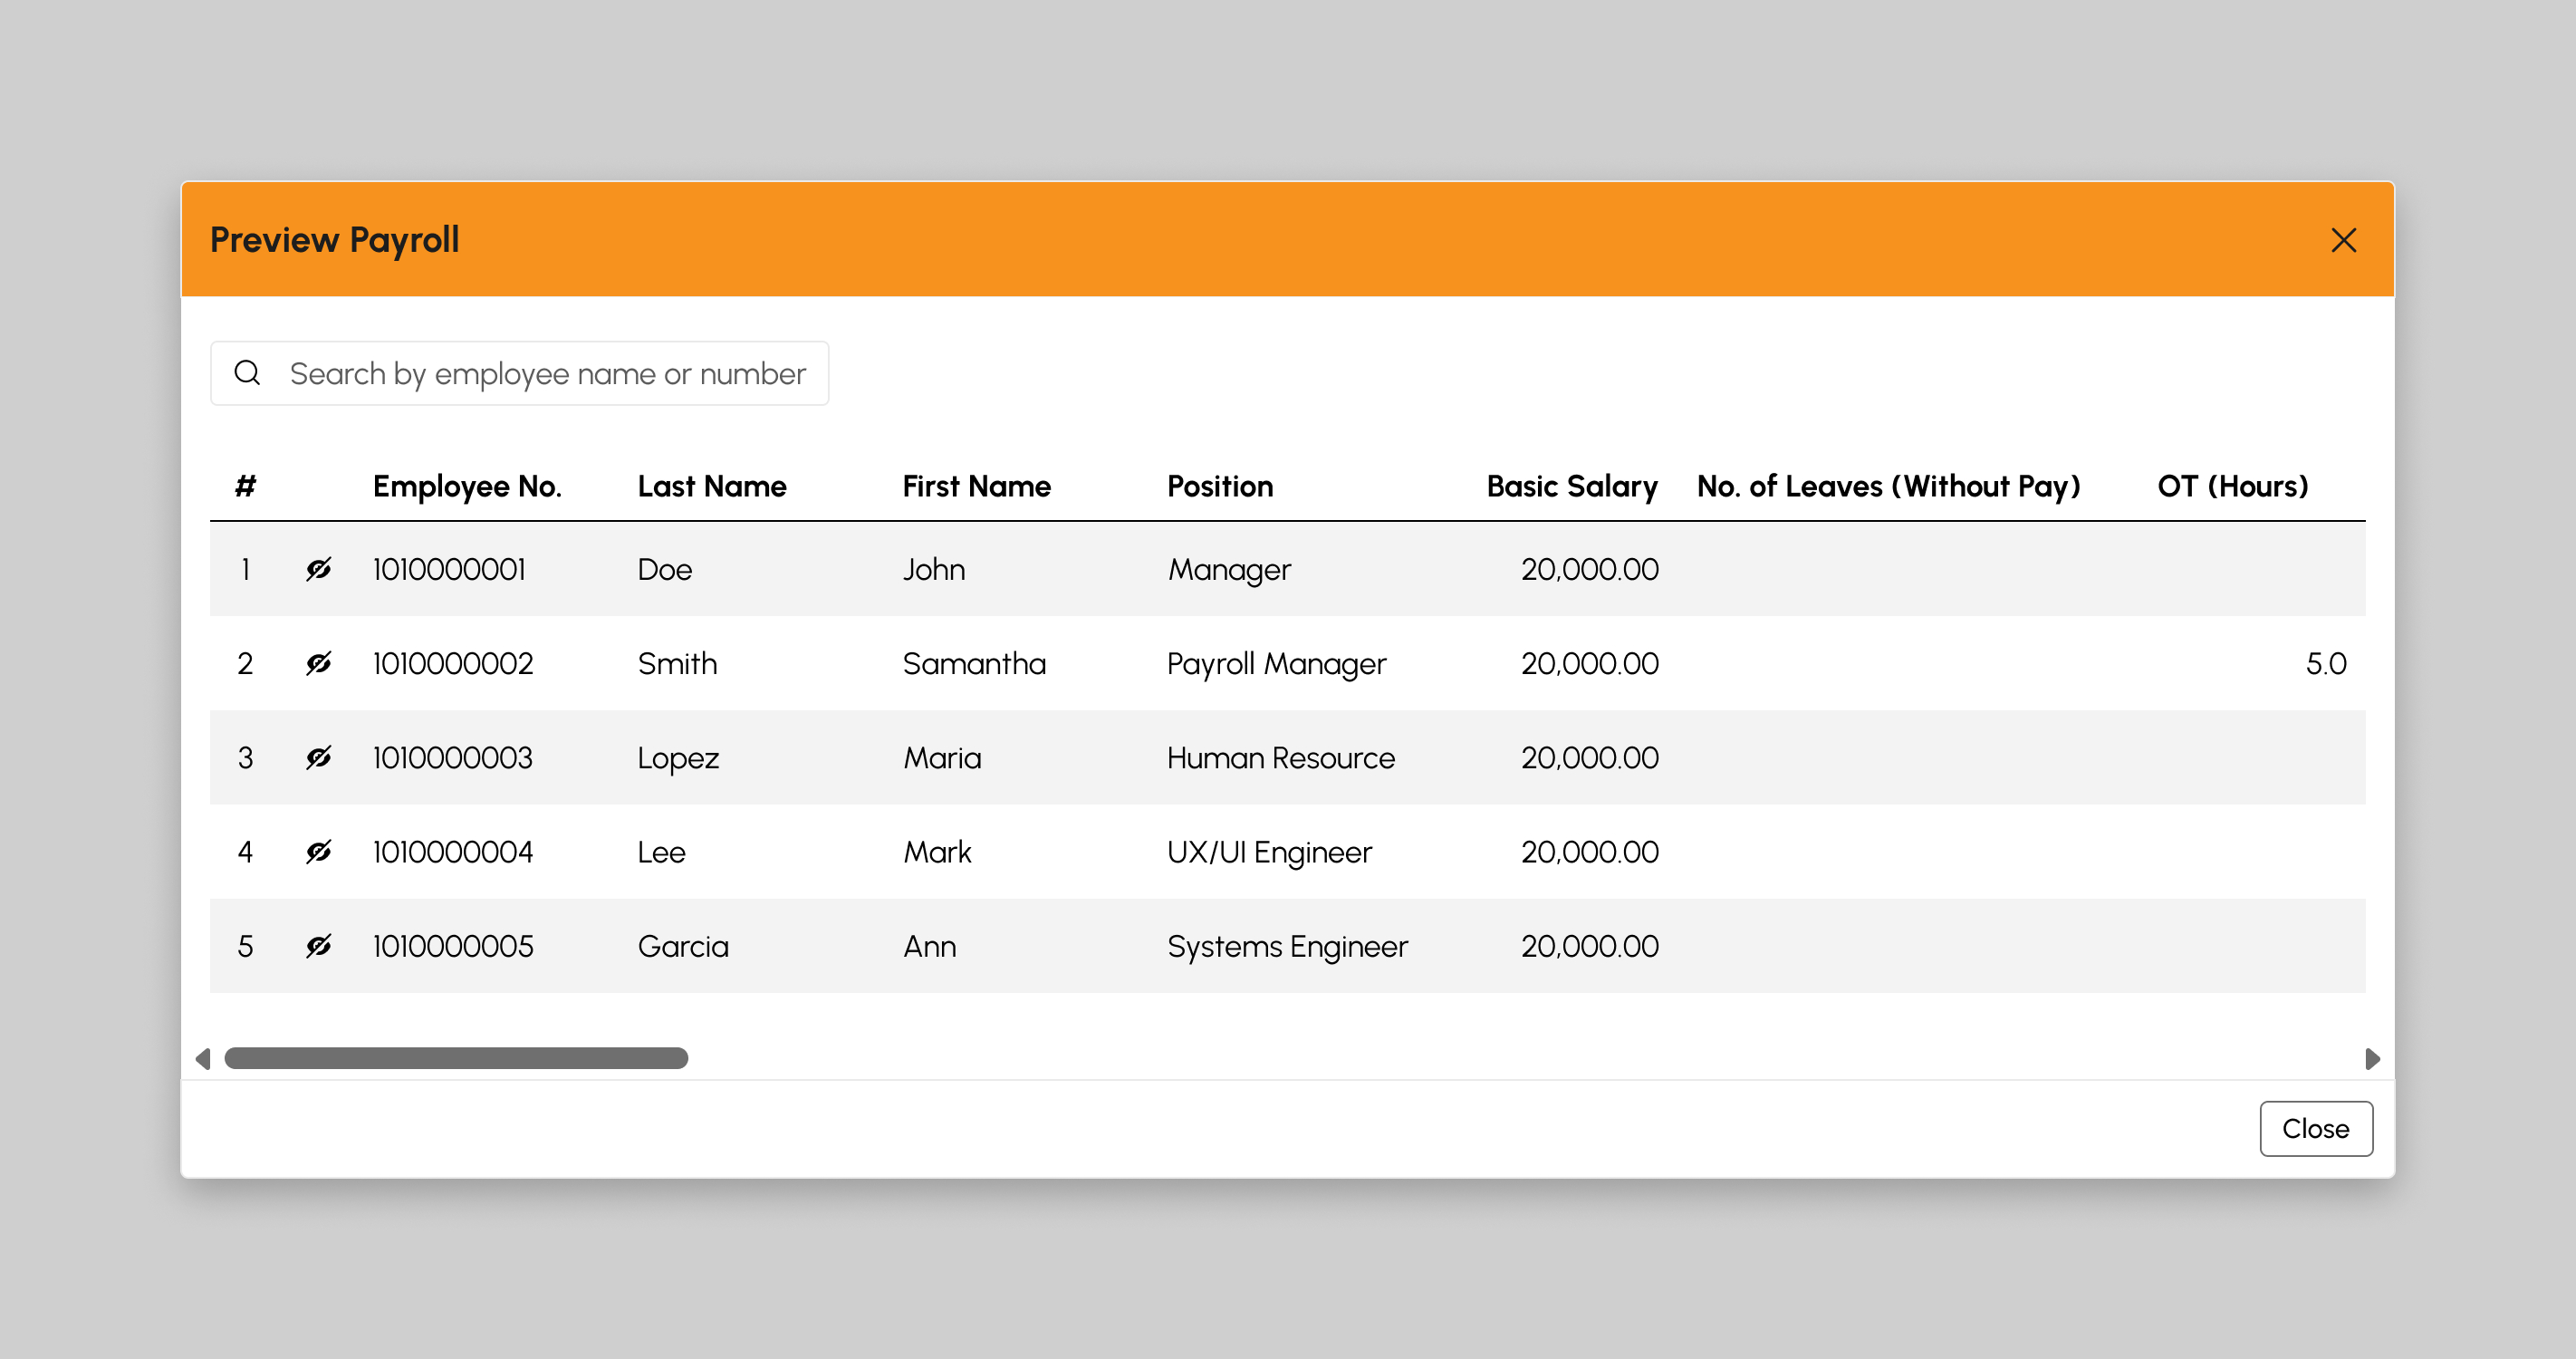
- Item #
- Last Name
- First Name
- Employee Number
- Position
- Basic Salary
- Number of Leaves (Without Pay)
- OT Hours
- Allowance
- De Minimis Benefits
- Laptop Allowance
- Internet Allowance
- Rice Subsidy
- Clothing Allowance
- Transportation Allowance
- Laundry Allowance
- Overtime
- Night Differential
- 13th Month Pay
- Incentives
- Funeral Allowance
- Total Benefits
- PhilHealth
- SSS Contribution
- PAGIBIG/HDMF Contribution
- Withholding Tax
- SSS Loan
- PAGIBIG Loan
- Employee Loan
- Late/Absences
- Undertime
- Total Deductions
- Total Gross Pay
- NET Pay
How to Download Generated Payroll in CSV
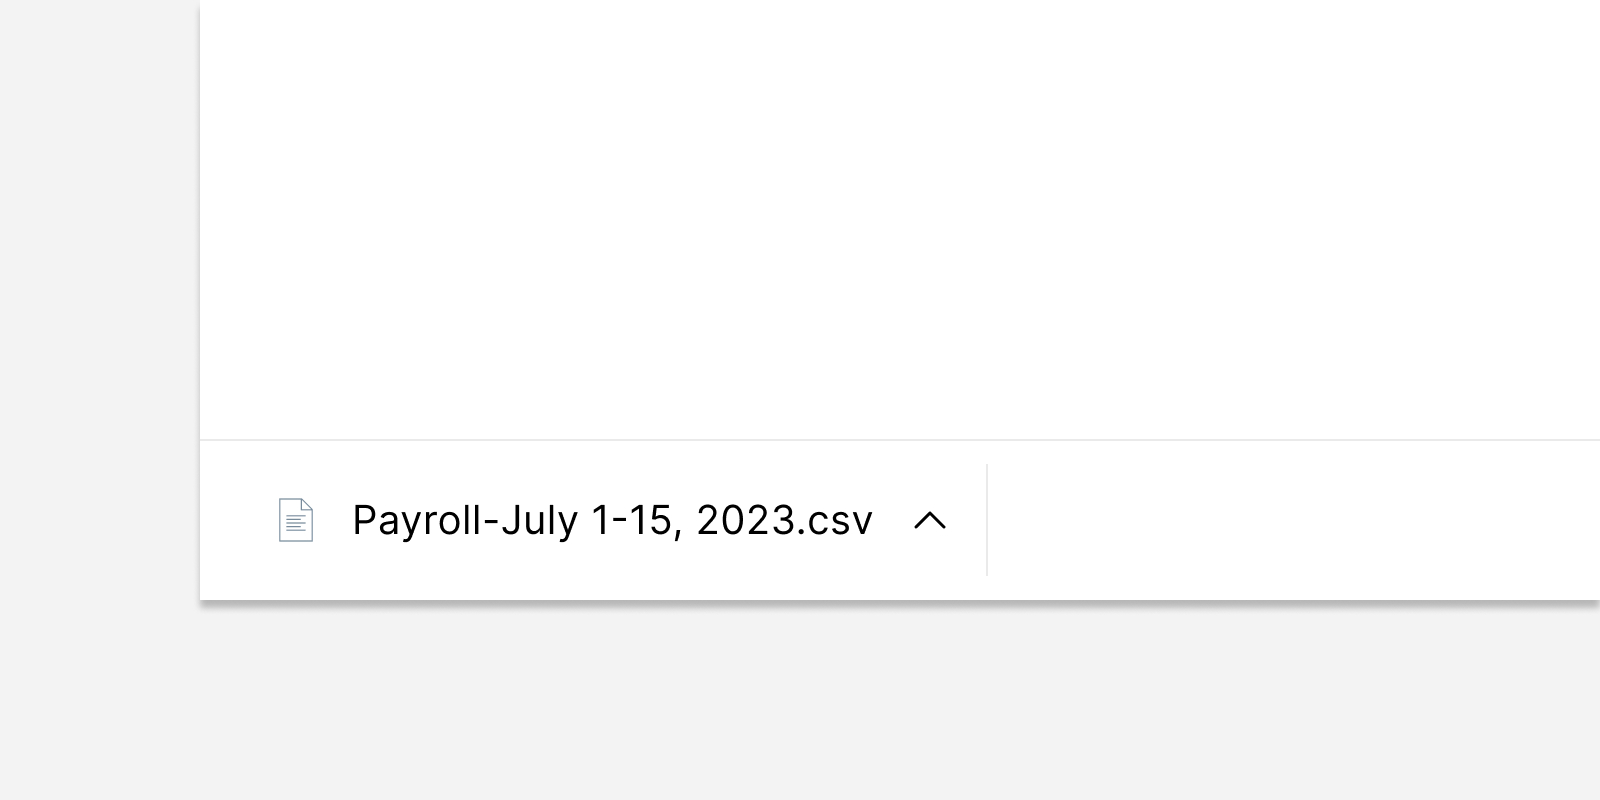
- Click the Download button to download the generated payroll in Excel CSV file format.
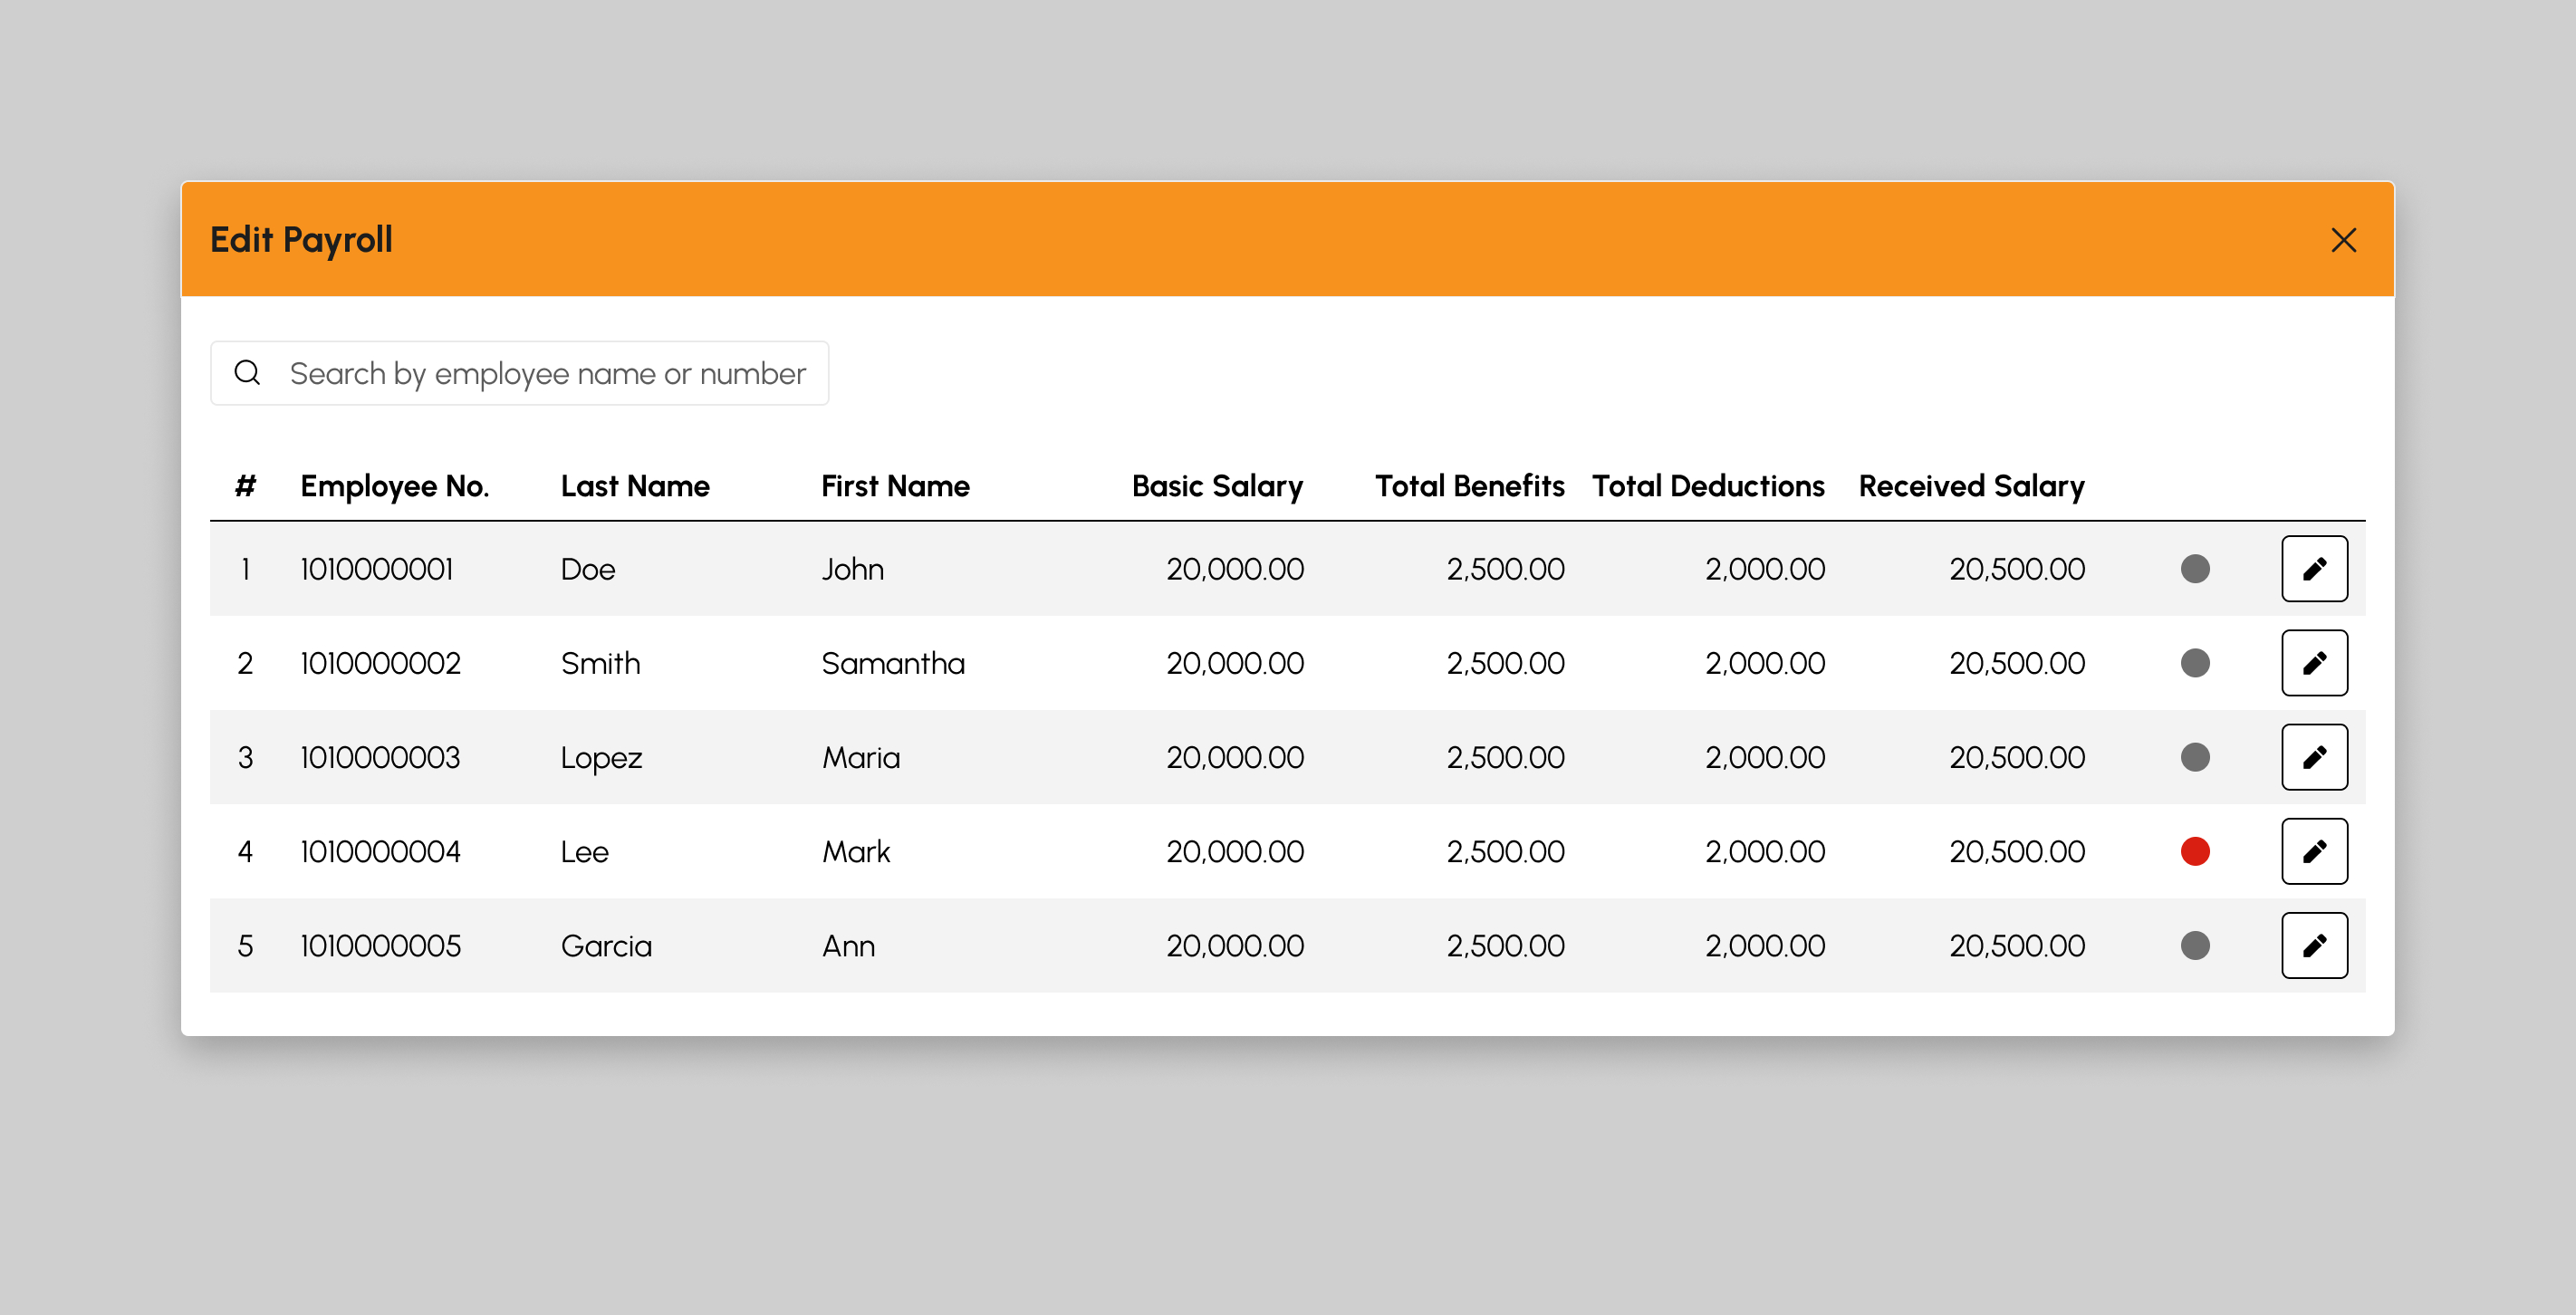
How to Edit Generated Payroll
- Click the Edit button to display the Edit Payroll modal and begin editing the generated payroll.
-
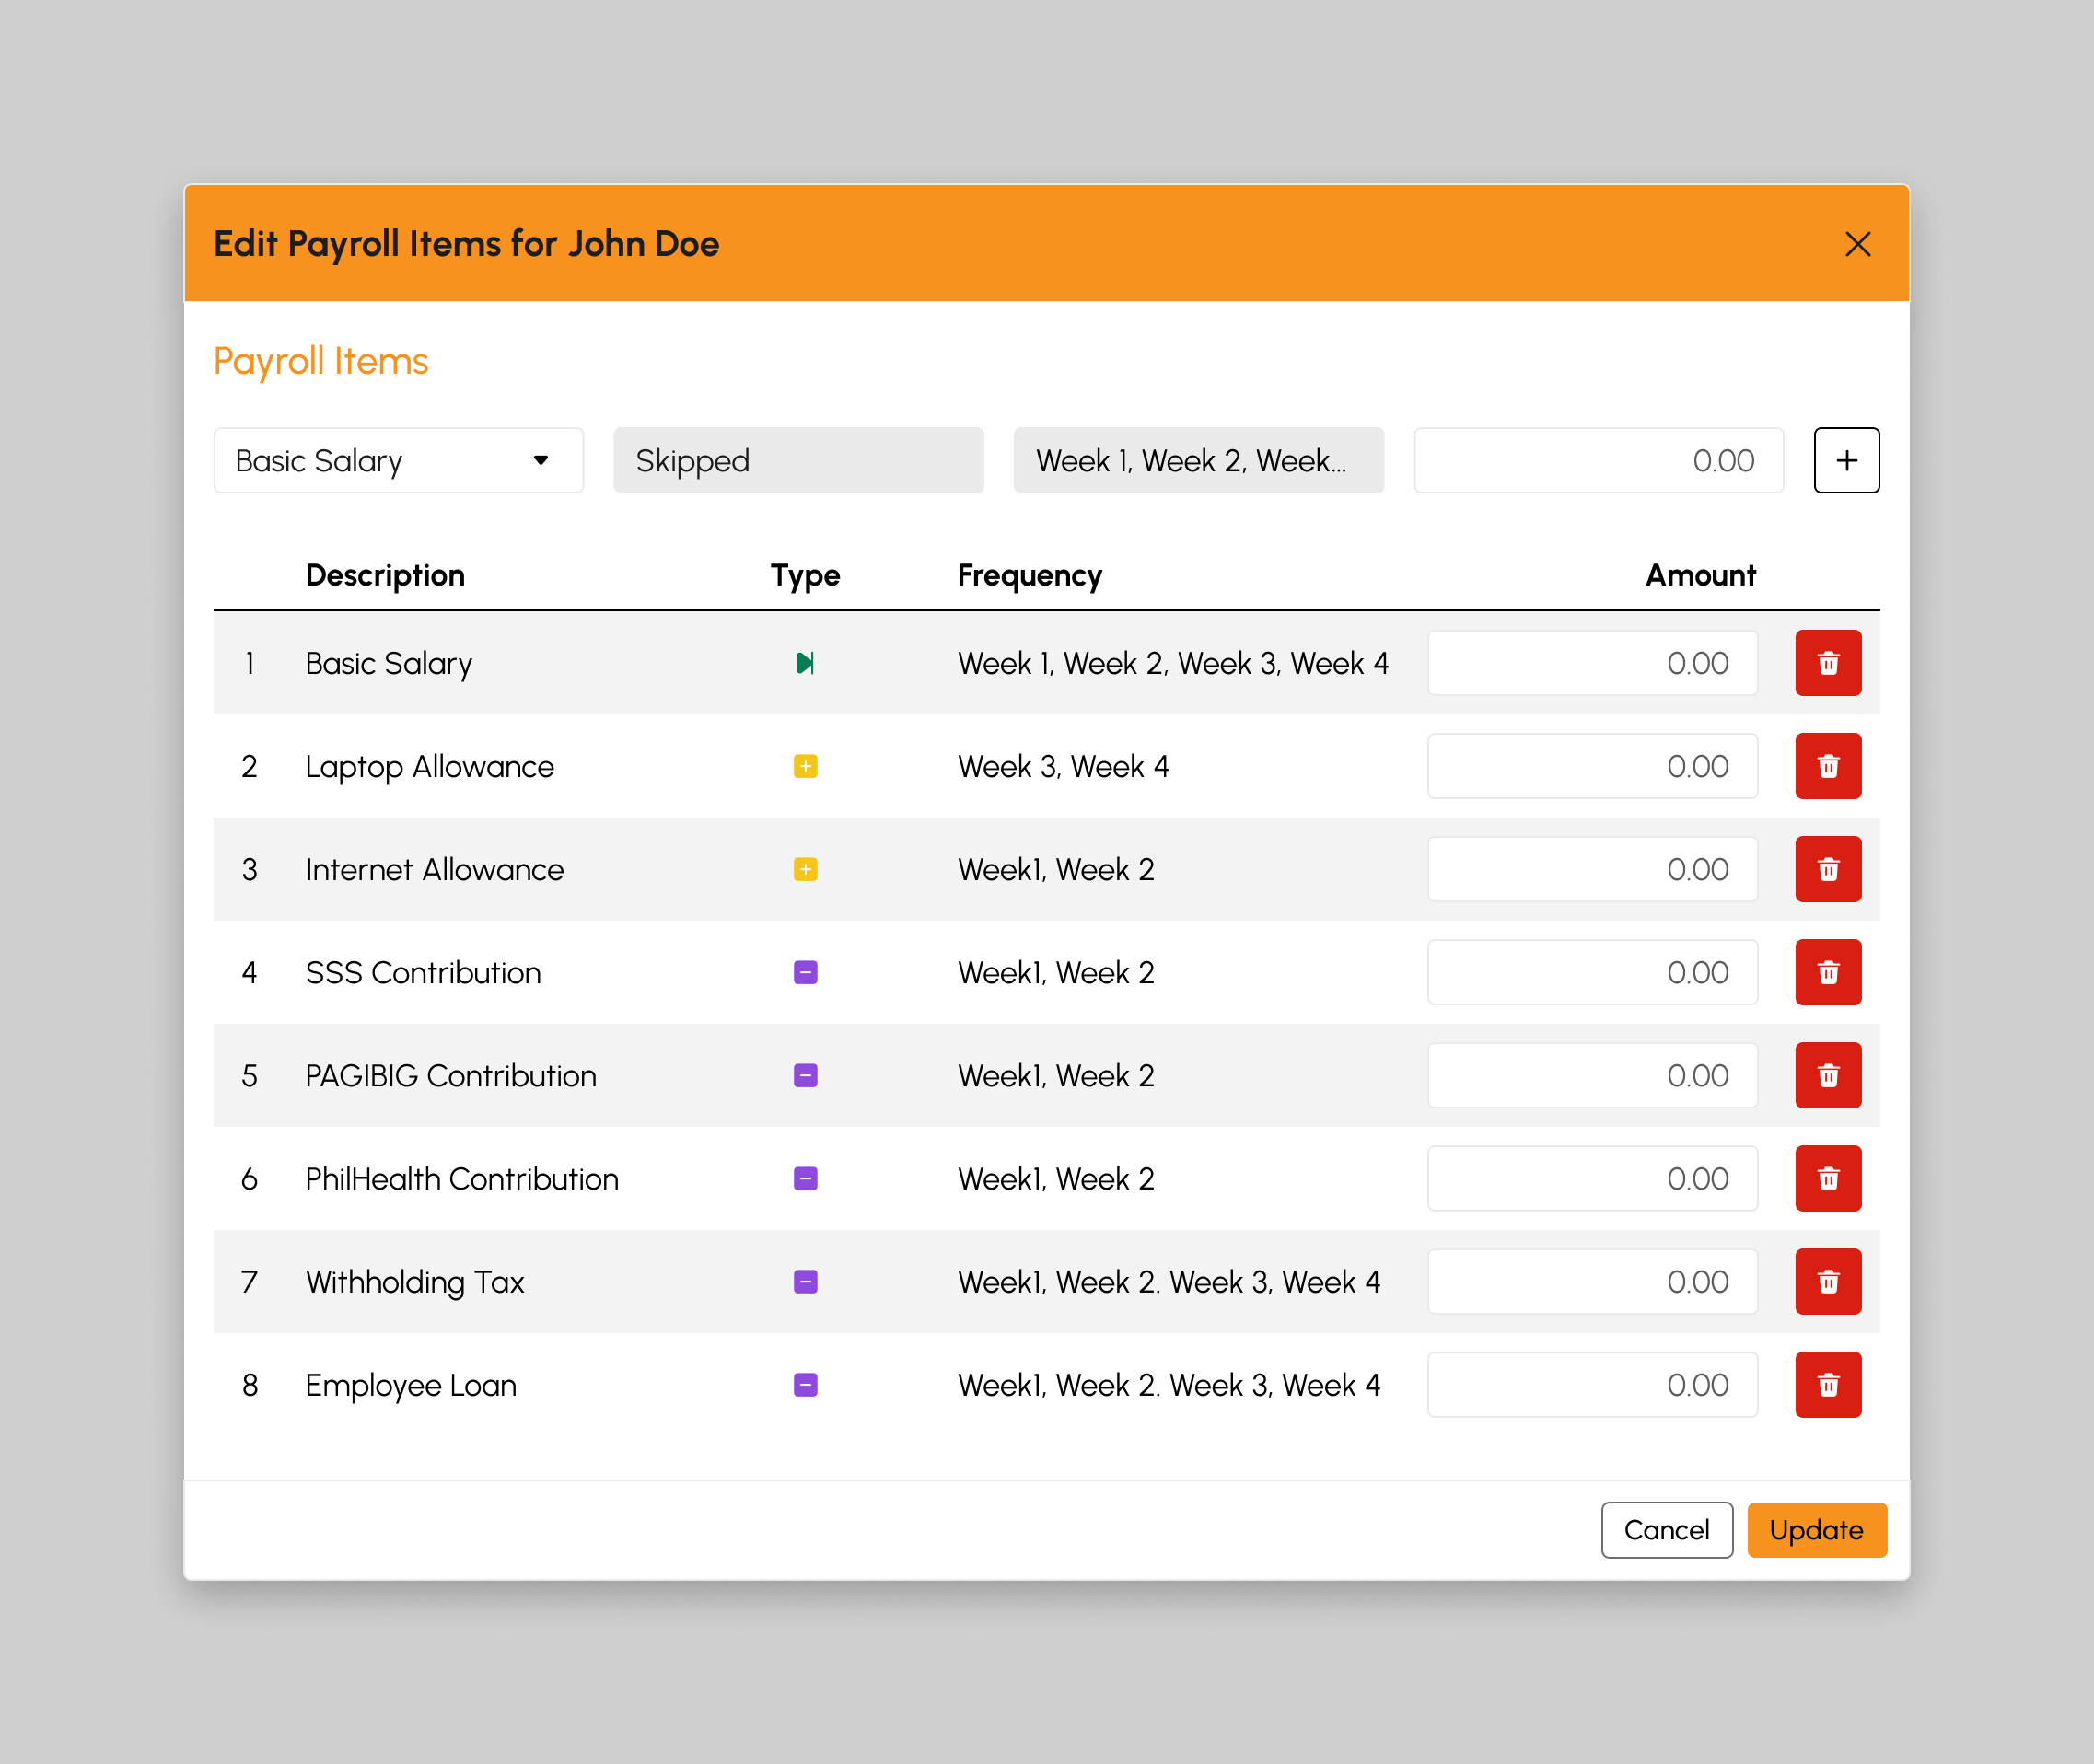
From the modal, click the Edit Payroll Items button.
Editing Calculated Amount of a Payroll Item
-
Key in the desired amount for each Payroll Item on the Amount field as shown in the snip below:
-
Click the Update, this will show a confirmation modal to update and save any changes.
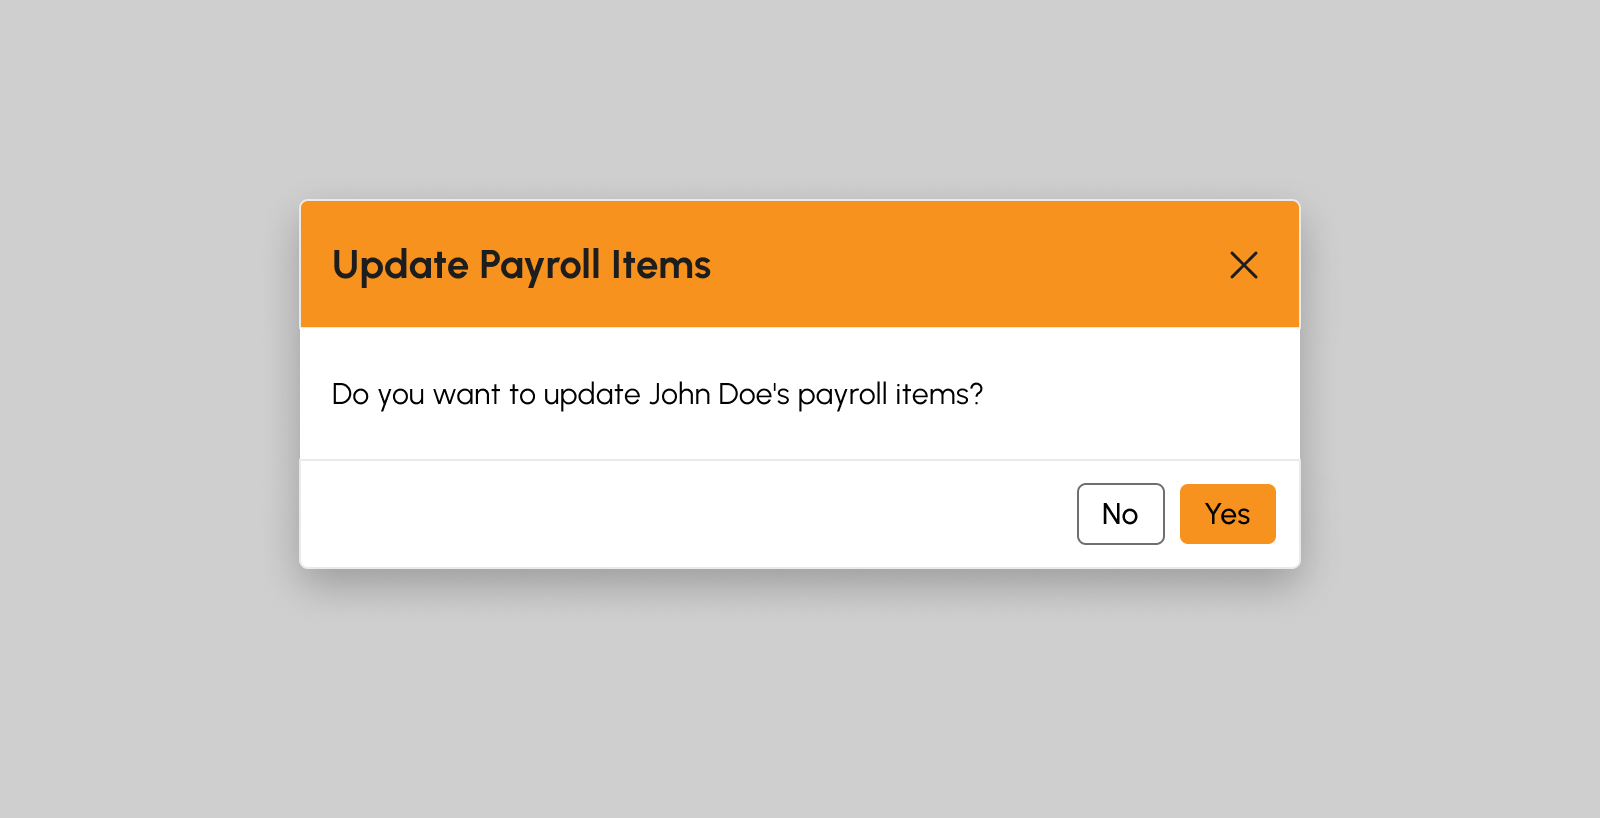
- Click Yes button to successfully update the Payroll Item/s, otherwise, click No button.
How to Delete Payroll Item/s from the Generated Payroll
-
Click the Edit button to display the Edit Payroll modal and begin editing the generated payroll.
-
From the modal, click the Edit Payroll Items button.
-
Click the Delete Item button beside each Payroll Item, this will display a confirmation modal to delete the Payroll Item.
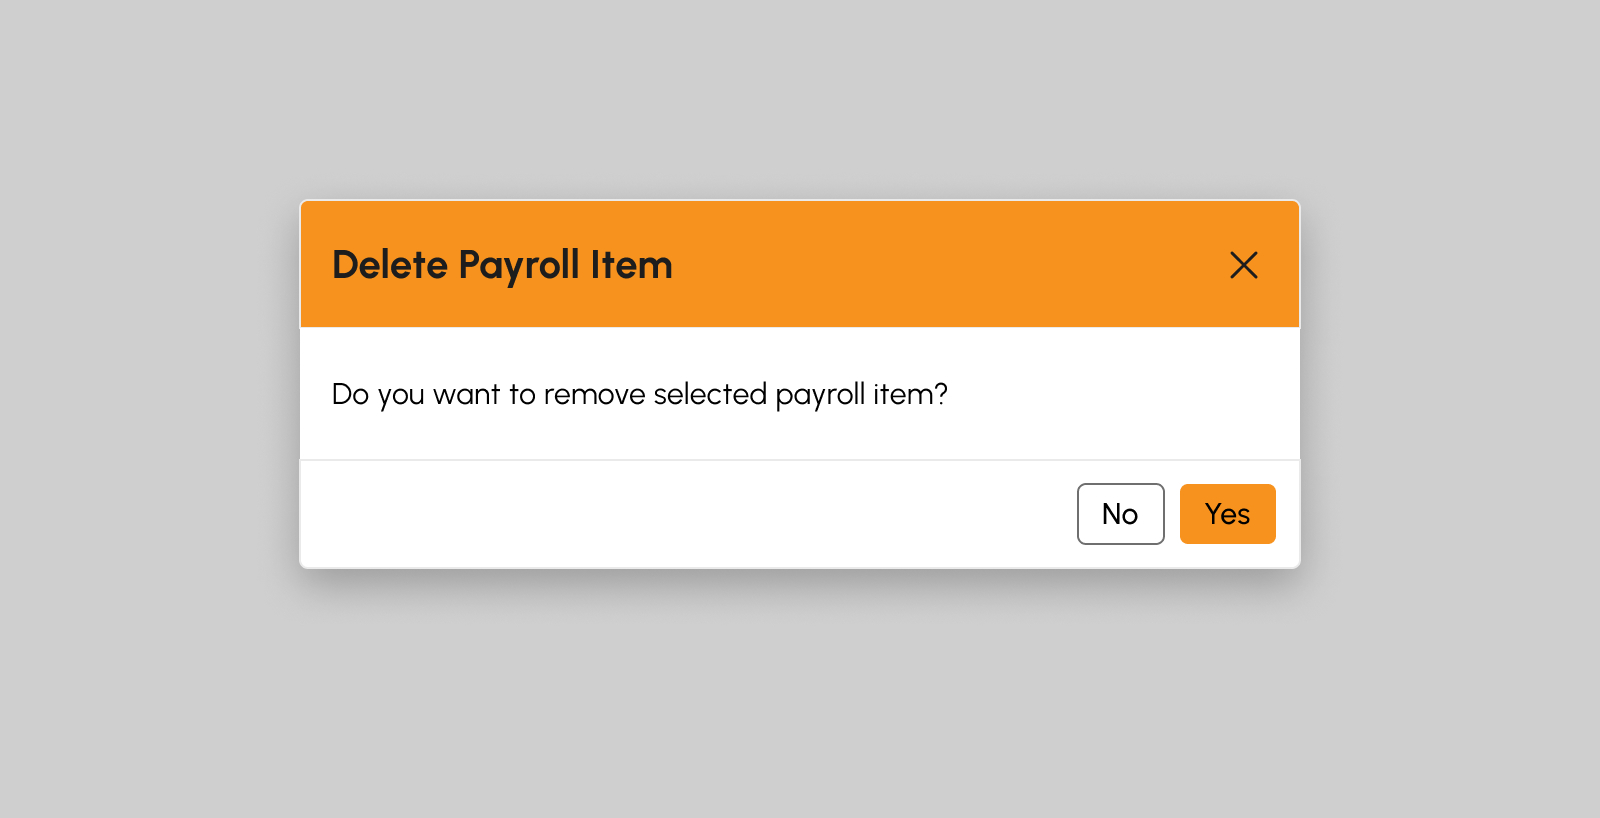
- From the confirmation modal, click Yes button to successfully delete the Payroll Item, otherwise, click No button.
-
Click the Update button, this will show a confirmation modal to update and save any changes.
- Click Yes button to successfully update the Payroll Item/s, otherwise, click No button.
How to Delete Payroll Item/s with Zero (0) Amount from the Generated Payroll
-
Click the Edit button to display the Edit Payroll modal and begin editing the generated payroll.
-
From the modal, click the Edit Payroll Items button.
-
Click the Remove All Zero (0) Items button as shown in the snip below. This will display a confirmation modal to delete Payroll Items with Zero (0) amount.
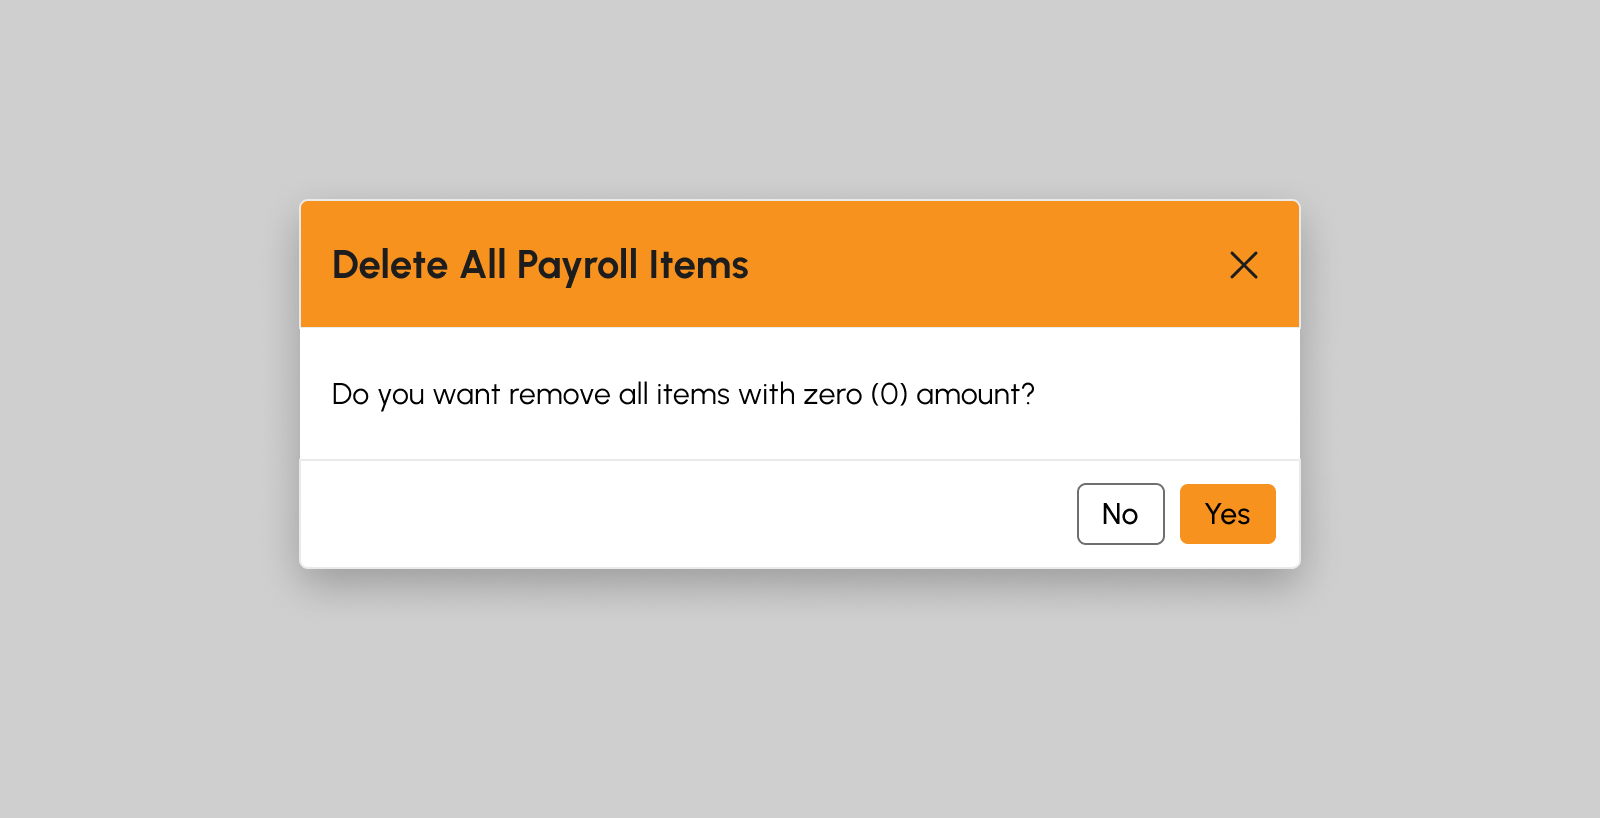
- From the confirmation modal, click Yes button to successfully delete the Payroll Items with Zero (0) amount, otherwise, click No button.
-
Click the Update button, this will show a confirmation modal to update and save any changes.
- Click Yes button to successfully update the Payroll Item/s, otherwise, click No button.
-
Key in the desired amount for each Payroll Item on the Amount field as shown in the snip below:
How to Approve a Generated Payroll
-
Click the Approve button. A confirmation modal will show after clicking the Approve button.
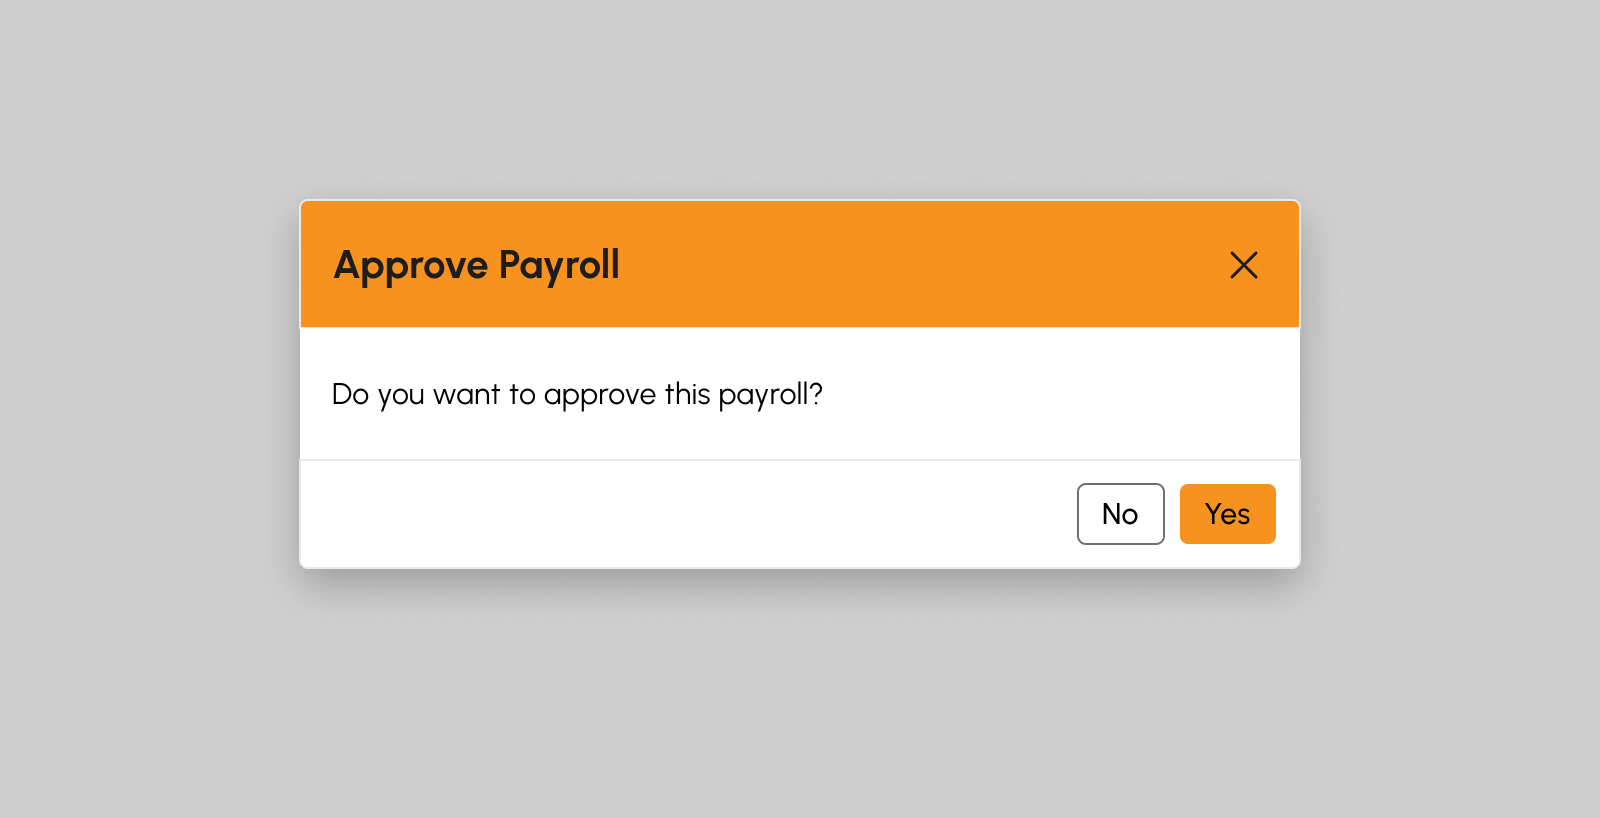
-
Click Yes button from the confirmation modal to successfully approve the generated payroll, otherwise, click No button.
Note
The generated payroll can no longer be deleted nor edited once approved.
How to Delete a Generated Payroll
Deletion of generated payroll can only be done if the payroll status is “Generated”. Follow the steps below on how to delete a generated payroll:
-
Click the Delete Payroll button. A confirmation modal will show after clicking the Delete button.
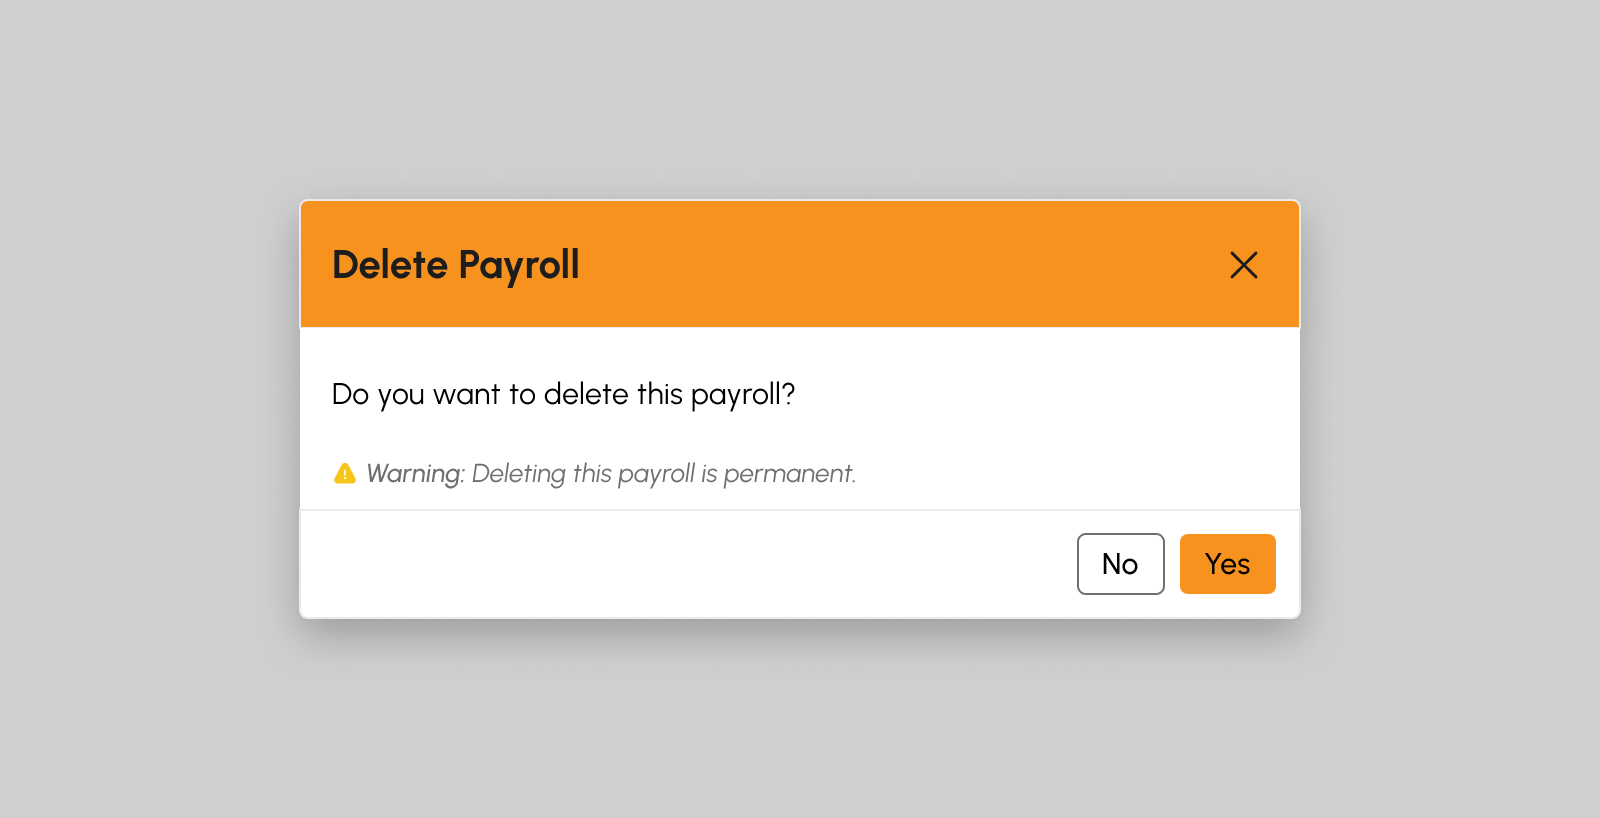
- Click Yes button from the confirmation modal to successfully Delete the generated payroll, otherwise, click No button.
How to Partially Disburse a Generated Payroll
-
Click the Disburse Payroll button. A Disburse Payroll modal will show after clicking the Disburse button.
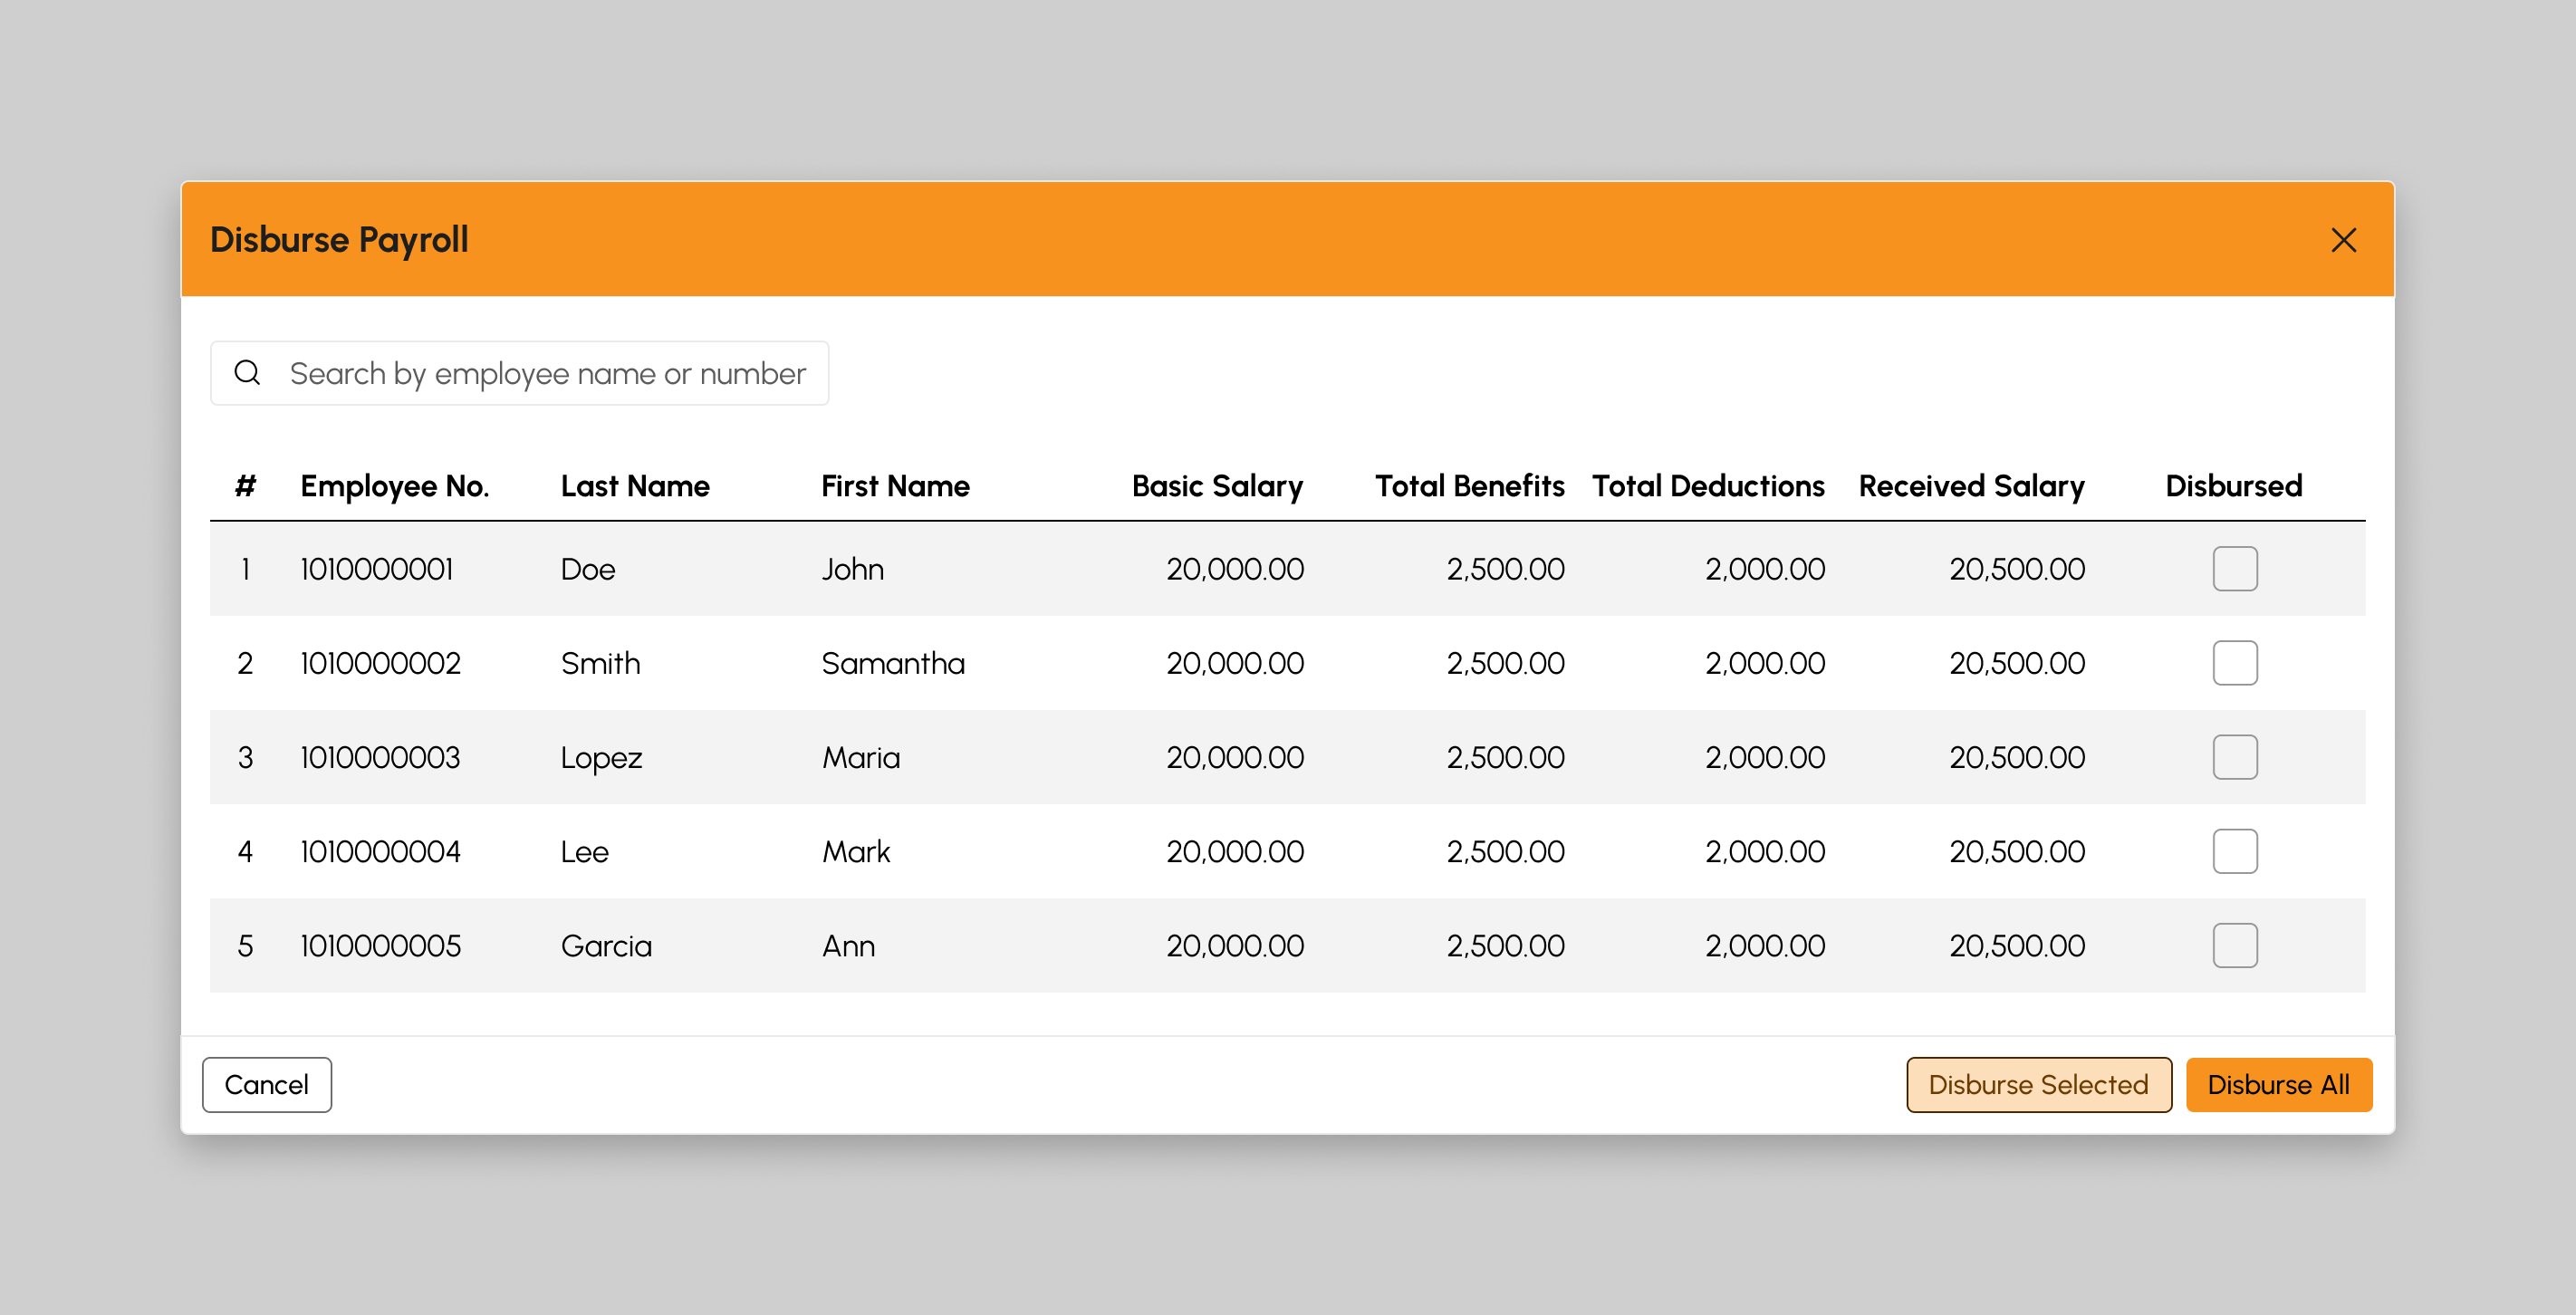
- From the table shown in the modal, tick a particular employee payroll to disburse.
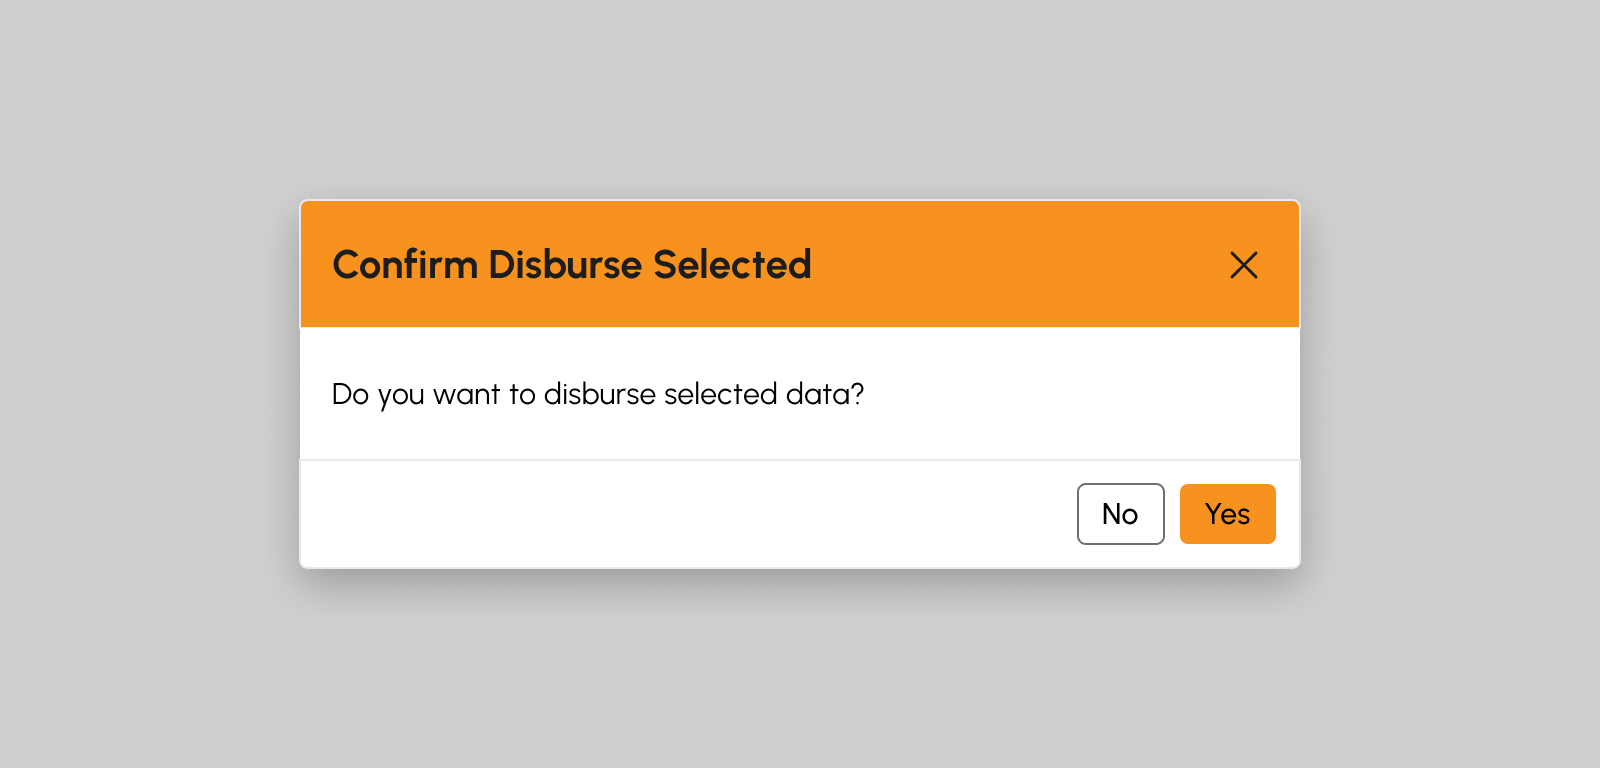
-
Click the Disburse Selected button to Partially Disburse the generated payroll.
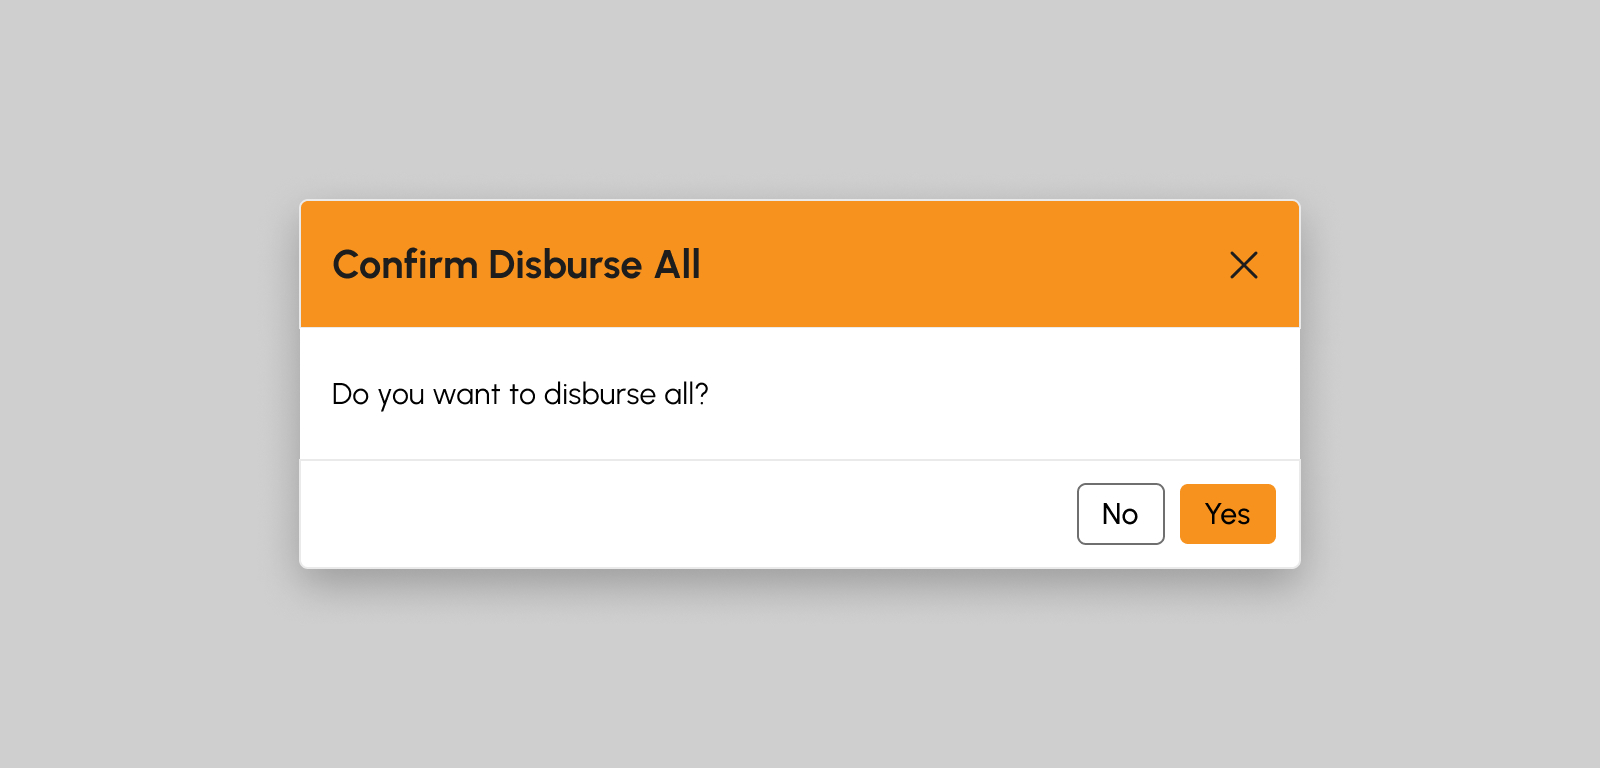
How to Disburse a Generated Payroll
-
Click the Disburse Payroll button. A Disburse Payroll modal will show after clicking the Disburse button.
-
Click the Disburse All button from the modal to successfully disburse the generated payroll.
Payslips
Introduction to Payslips
This is a secure page where employees can access their individual Payslips.
To access this page, navigate to the Human Resources Module and click “Payslips” under Payroll Submodule as shown in the image below:
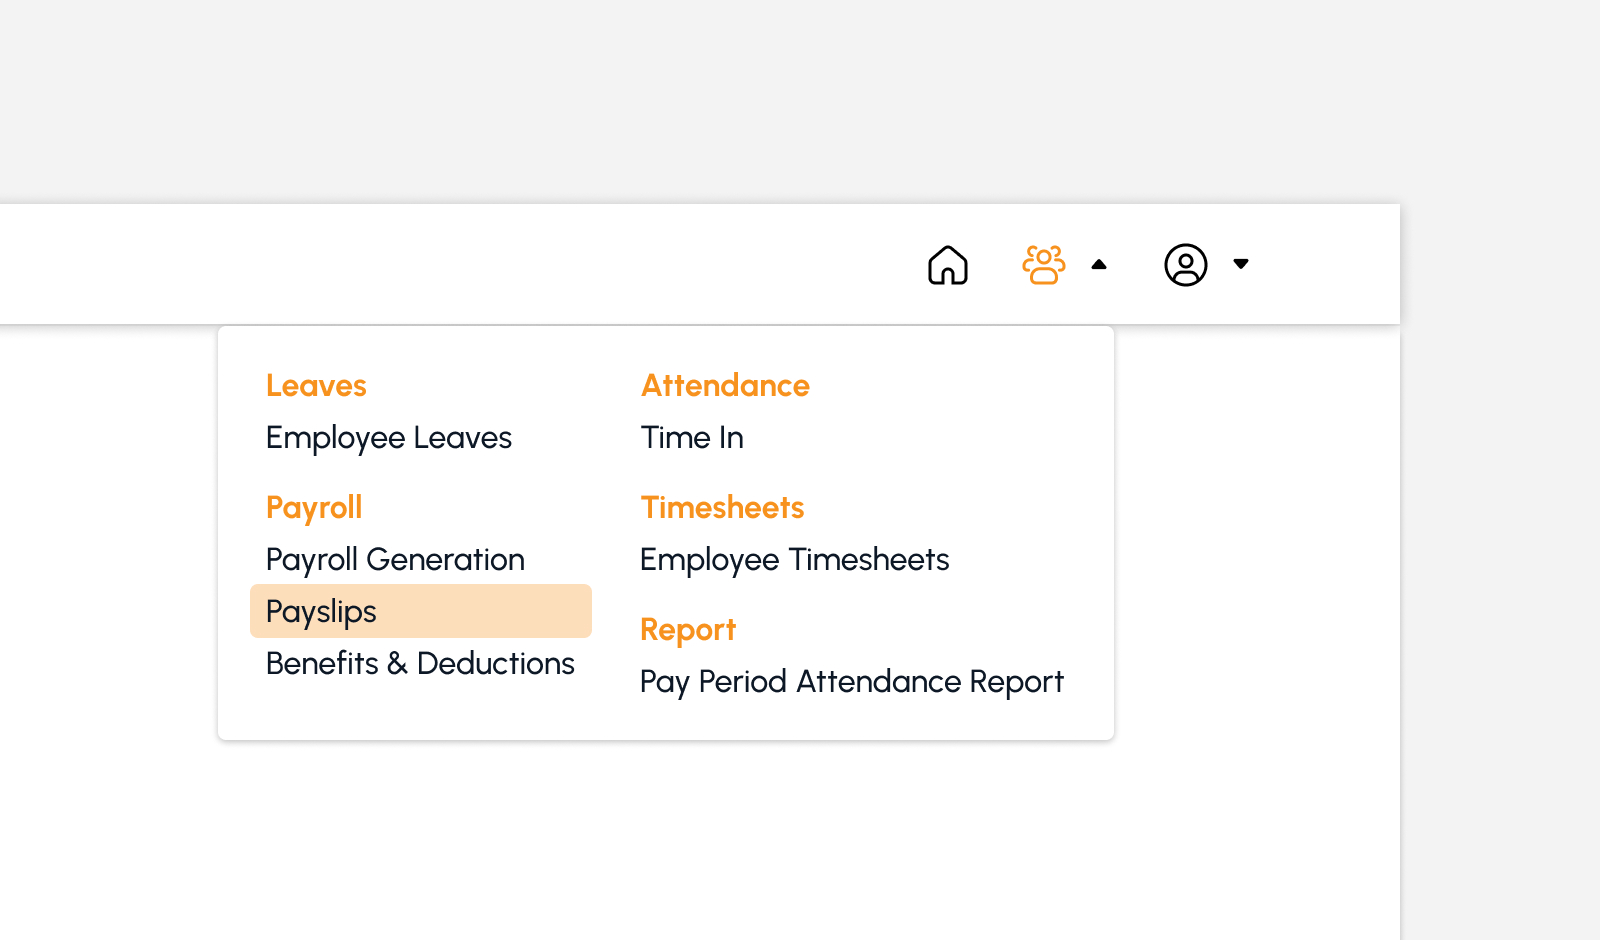
The screen will redirect to the Payslips page, showing several features to use that will be discussed in the following section.
Payslips Features
The snip below is the high-level view of Payslips page along with its built-in features.
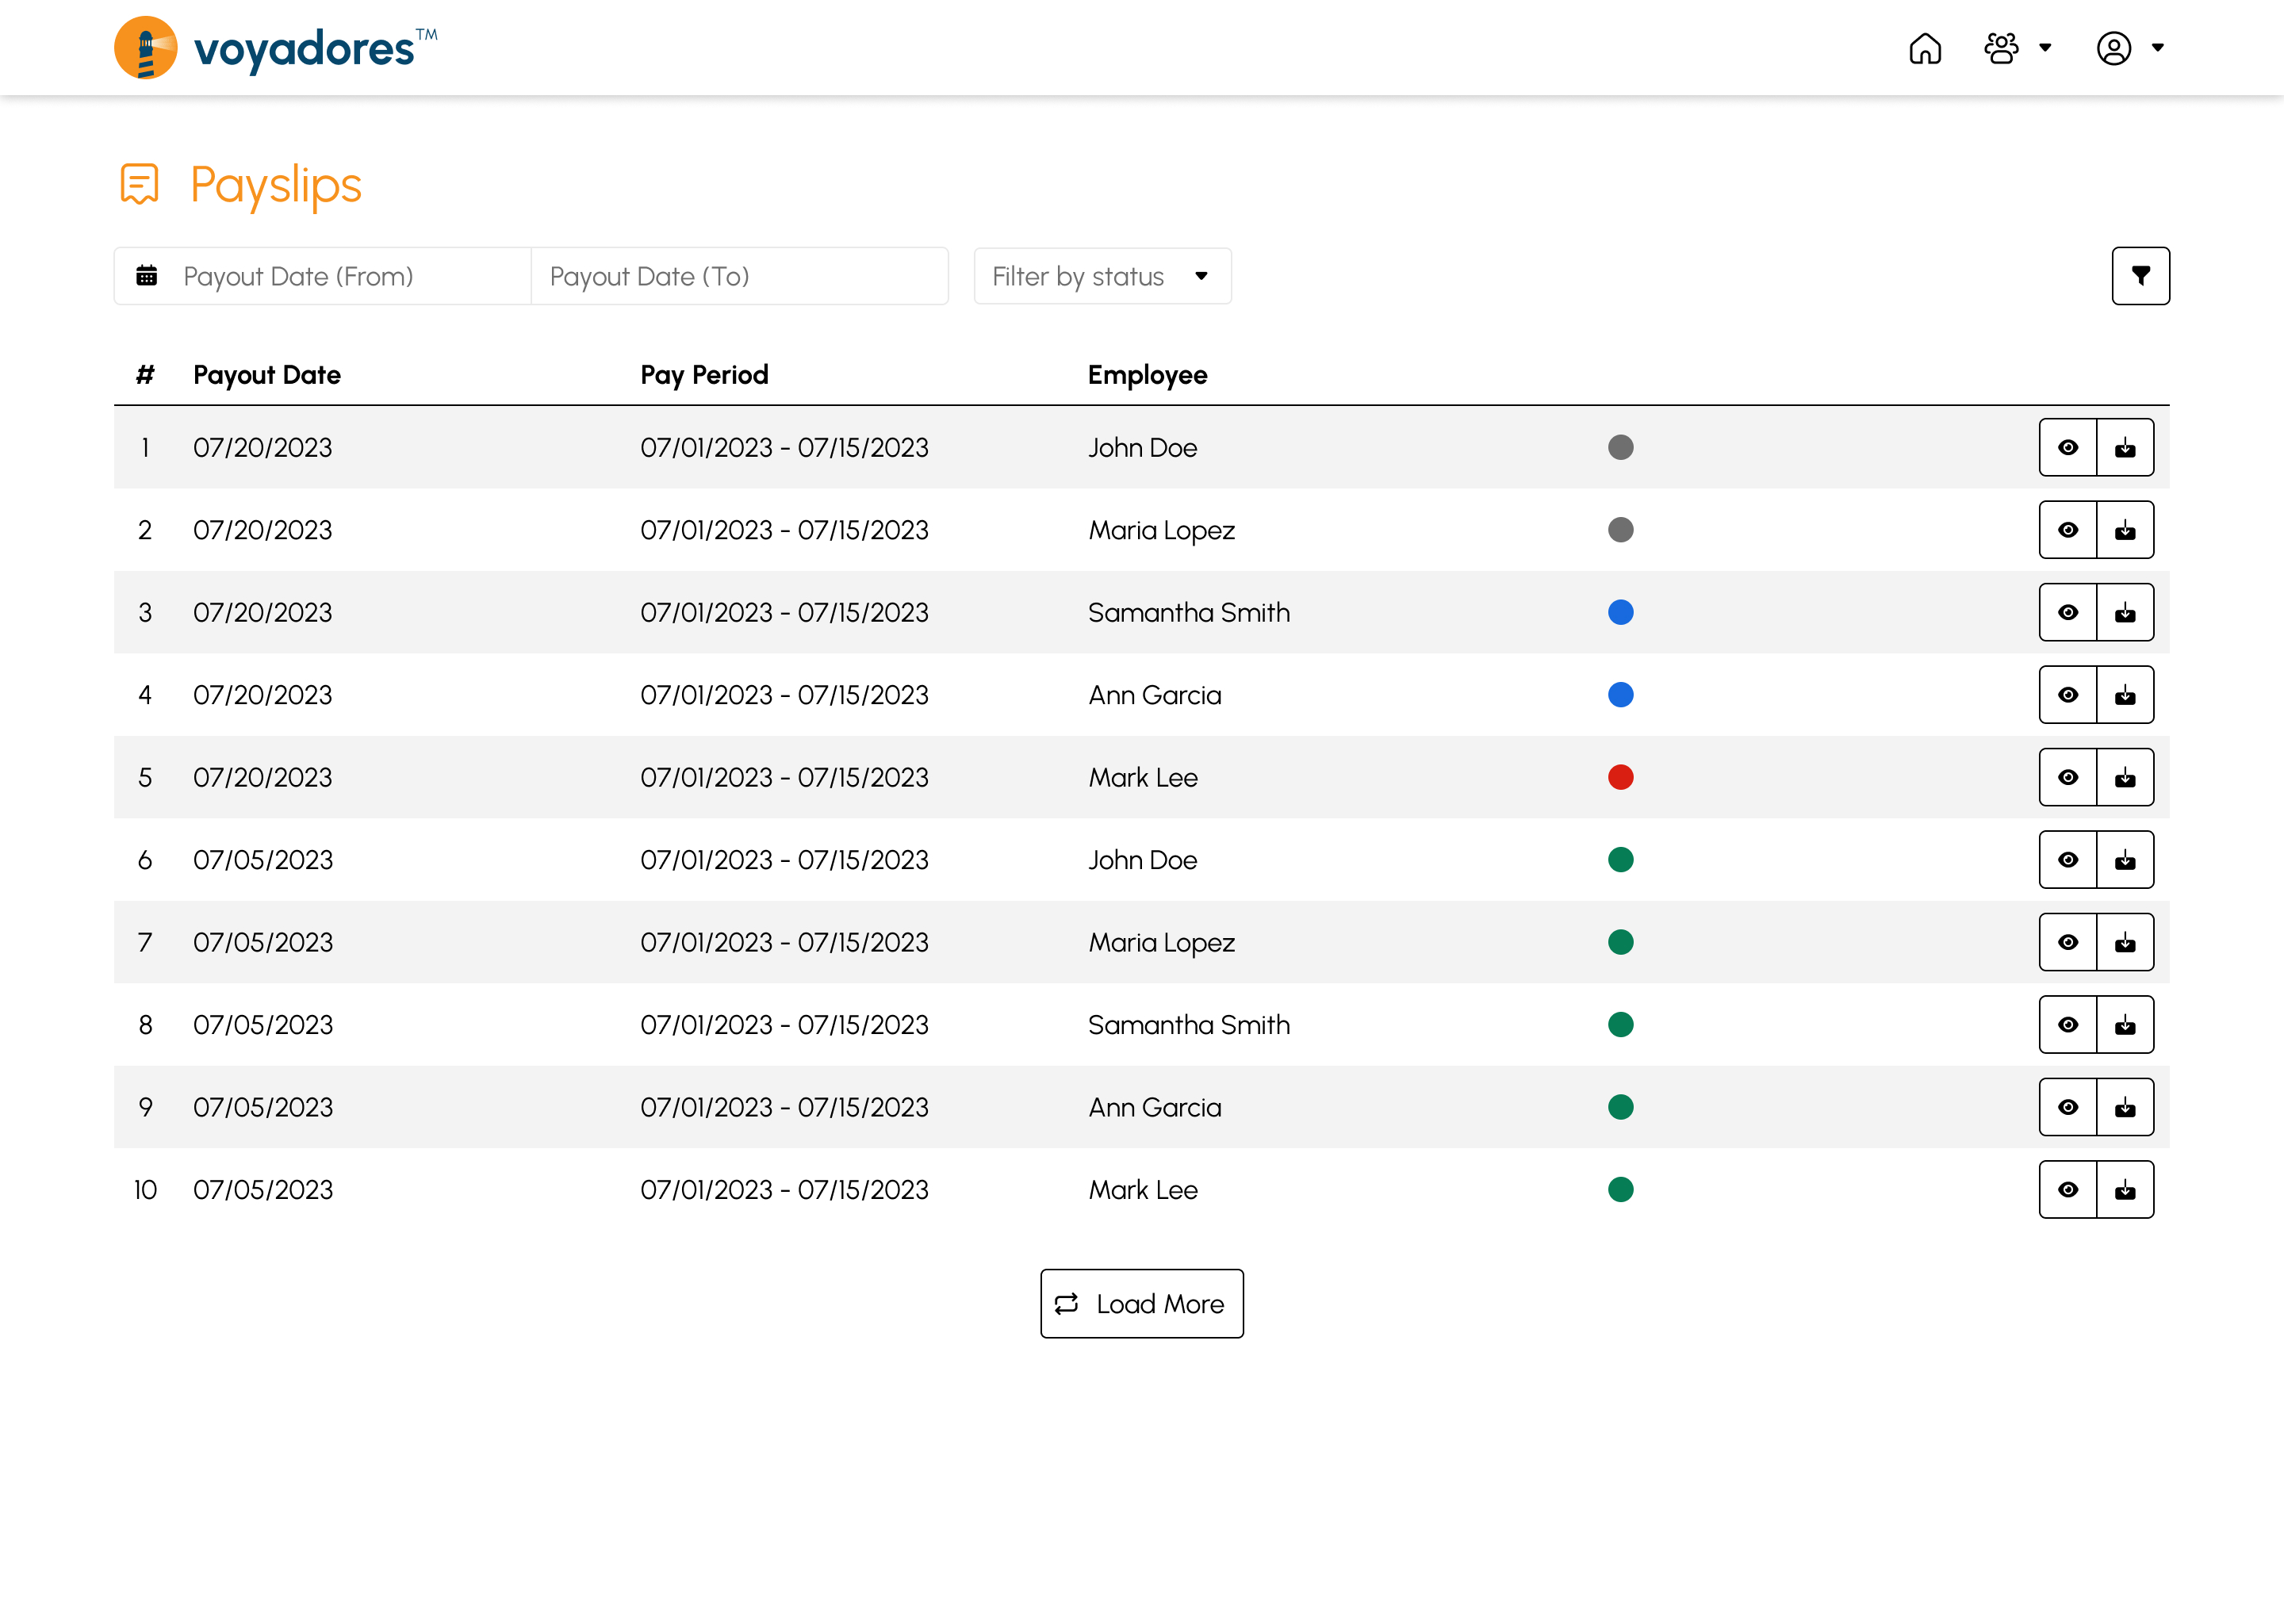
Payslips Summary Table (Admin View)
The summary table displays the list of Position with the following columns:
- Item number “#”. This serves as an item sequence indicator displayed on the table.
- Payout Date. The specific date on which a payment or distribution is scheduled to be made to an employee. Example, every 15th and 30th of the month.
- Pay Period. The duration for which an employee's work hours are recorded and serves as the basis for calculating wages or salaries. Example, pay period dates 1-15 and 16-30 of the month.
- Employee. Displays the employee’s name.
- Status. Whether the Payslip is Generated, Approved, Disbursed or Failed
-
Actions
- Preview Payslip
- Download Payslip
Note
Only Disbursed status is visible on the employee’s end.
Note
Employees can only view Payslips under its name.
Payslips Summary Table (Employee View)
The summary table displays the list of Position with the following columns:
- Item number “#”. This serves as an item sequence indicator displayed on the table.
- Payout Date. The specific date on which a payment or distribution is scheduled to be made to an employee. Example, every 15th and 30th of the month.
- Pay Period. The duration for which an employee's work hours are recorded and serves as the basis for calculating wages or salaries. Example, pay period dates 1-15 and 16-30 of the month.
- Employee. Displays the employee’s name.
- Status. The status is always Disbursed.
-
Actions
- Preview Payslip
- Download Payslip
Note
Employees can only view Payslips under its name.
Filtering Payslips by Payout Date
-
Click the date picker field to select Payout date range as shown below:

- Click the Filter button to display Payroll with the selected Payout date range.
- Summary table will display Paylsip/s with the selected Payout date range.
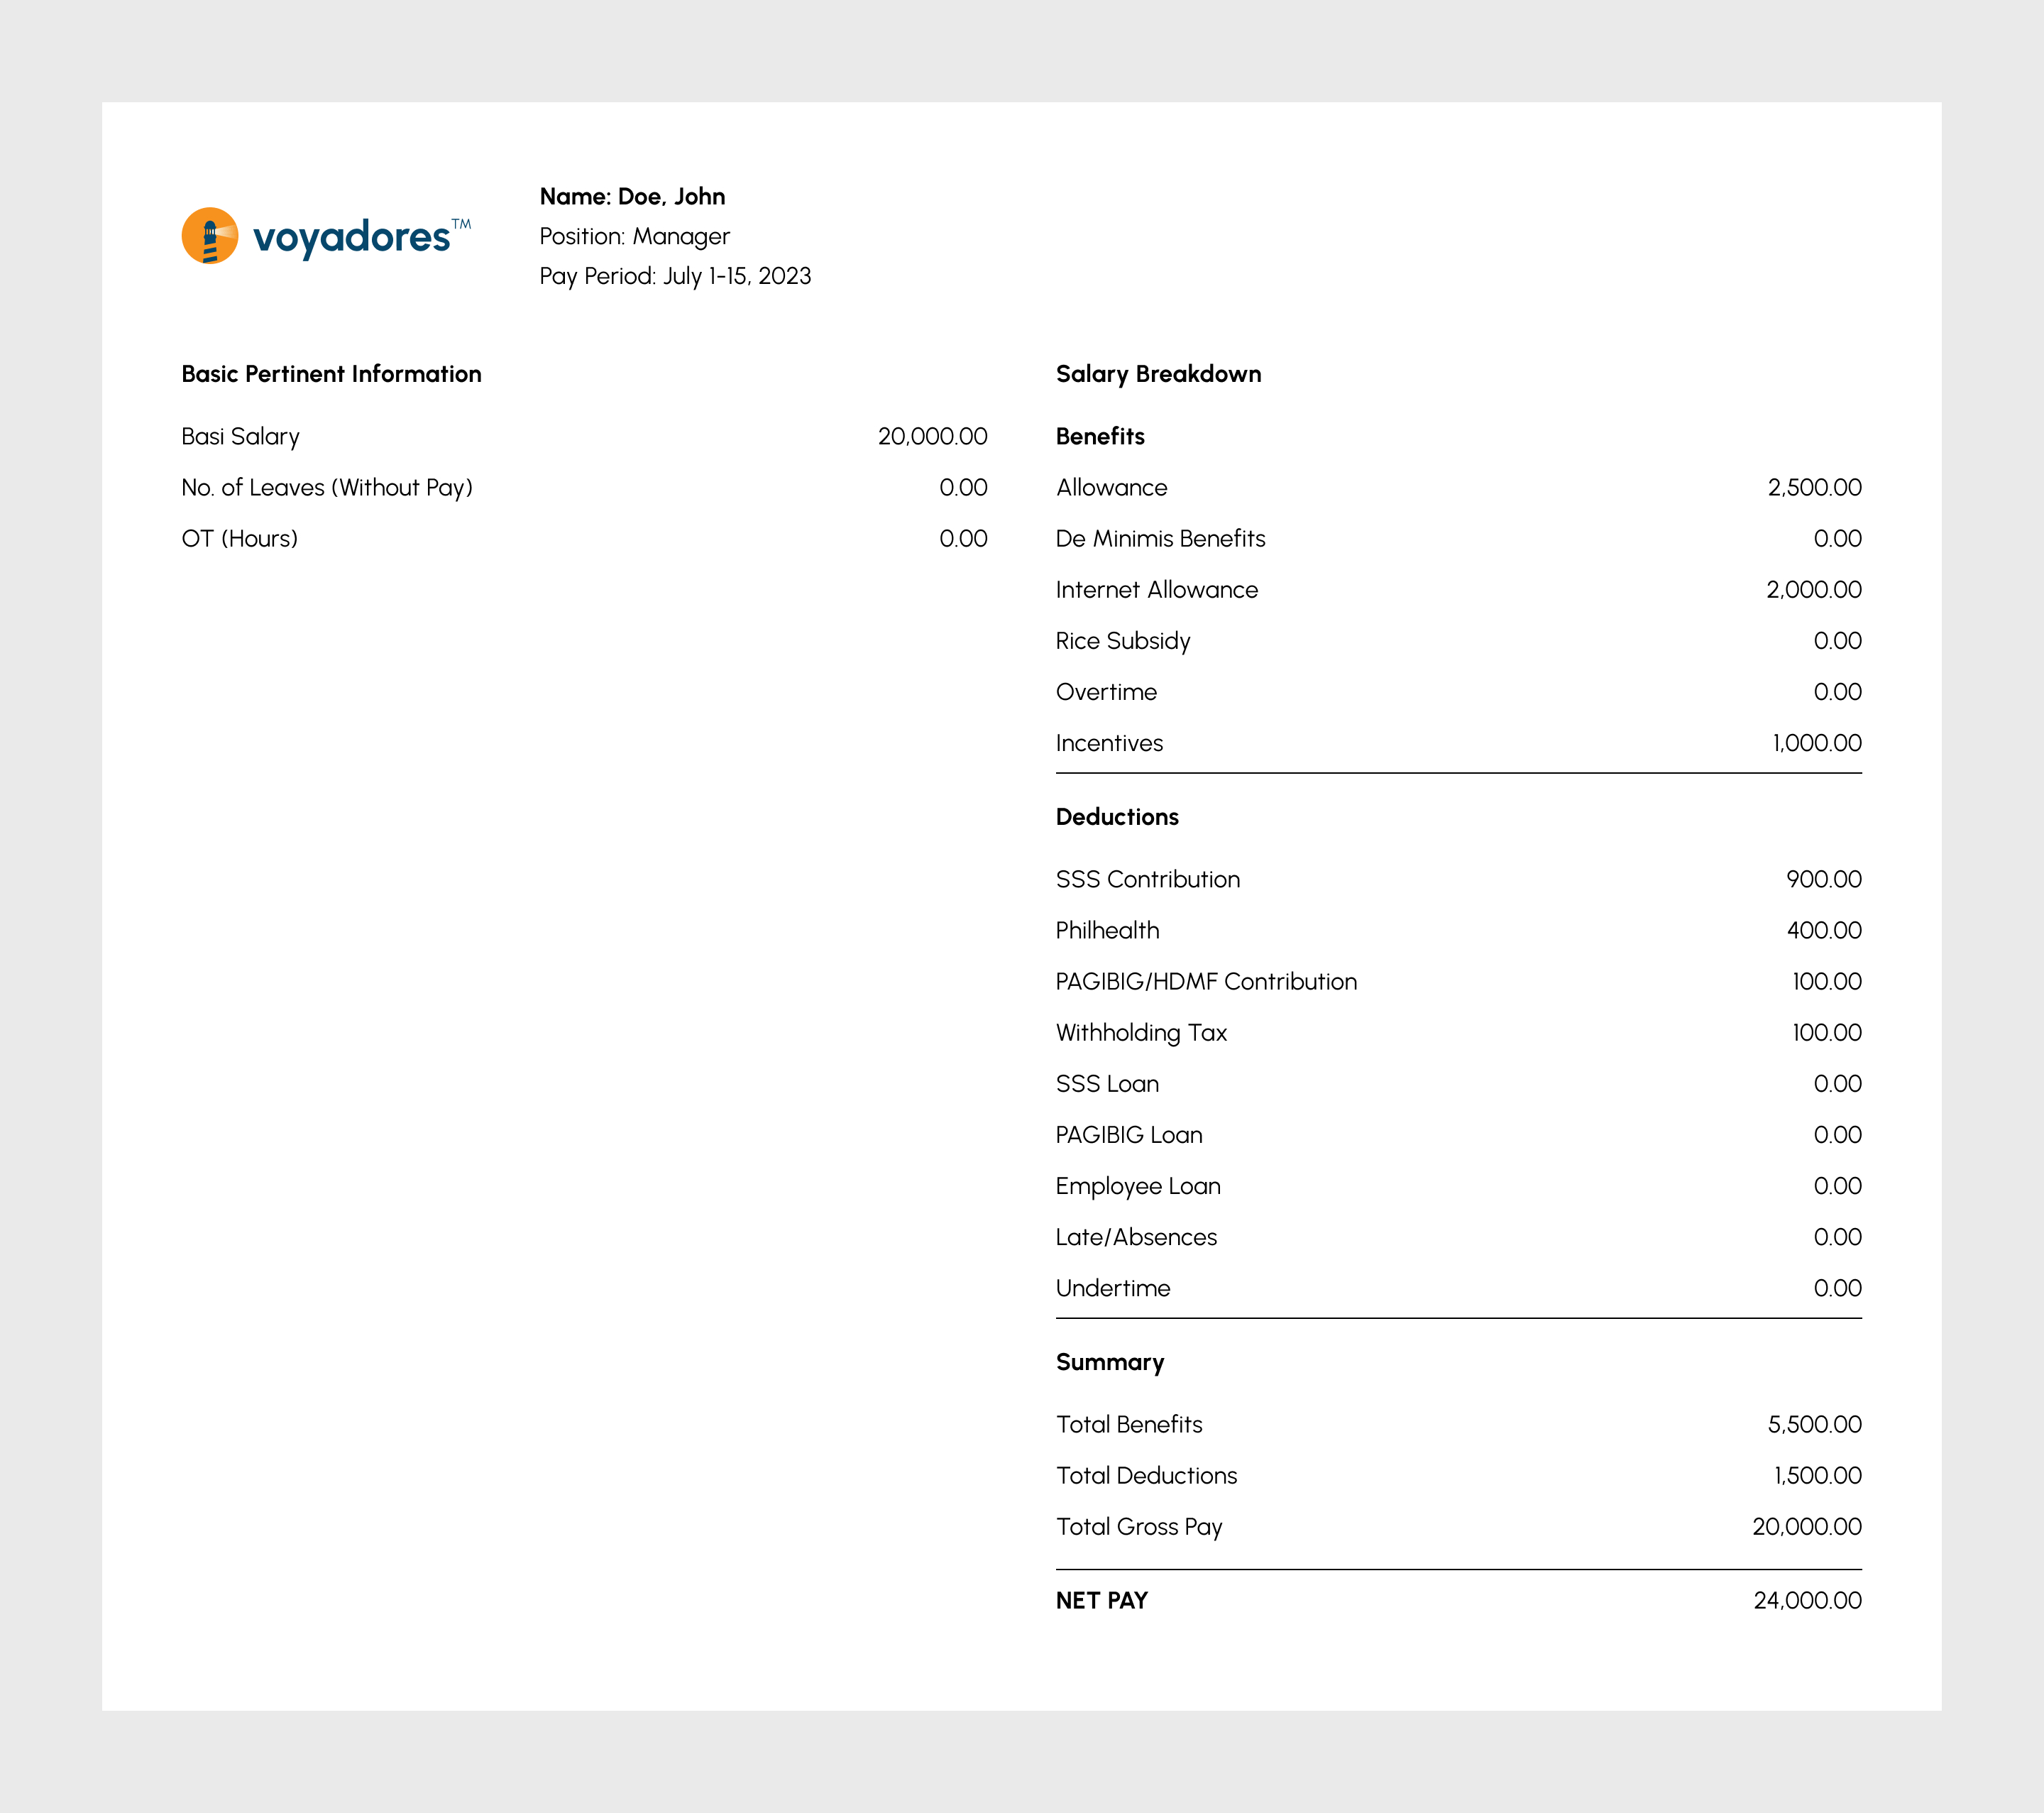
How to Preview Payslip
-
Click the Preview button. This will pop-up a new browser tab to display the PDF view of the official Payslip.
How to Download Payslip
- Click the Download button. This will download a copy of the official Payslip on a local computer under the Downloads file directory.
Benefits and Deductions
Introduction to Benefits and Deductions
This page outlines the various benefits and deductions (Payroll Items) available to employees. No need to set formulas and calculations here as benefit amounts are auto calculated based on predefined rules and formulas. It also simplifies the payroll process by automatically deducting the appropriate amounts from employee salaries. Just create, edit, organize payroll items, and configure amount and frequencies.

Benefits and Deductions Features
The snip below is the high-level view of Employees Schedule page along with its built-in features.
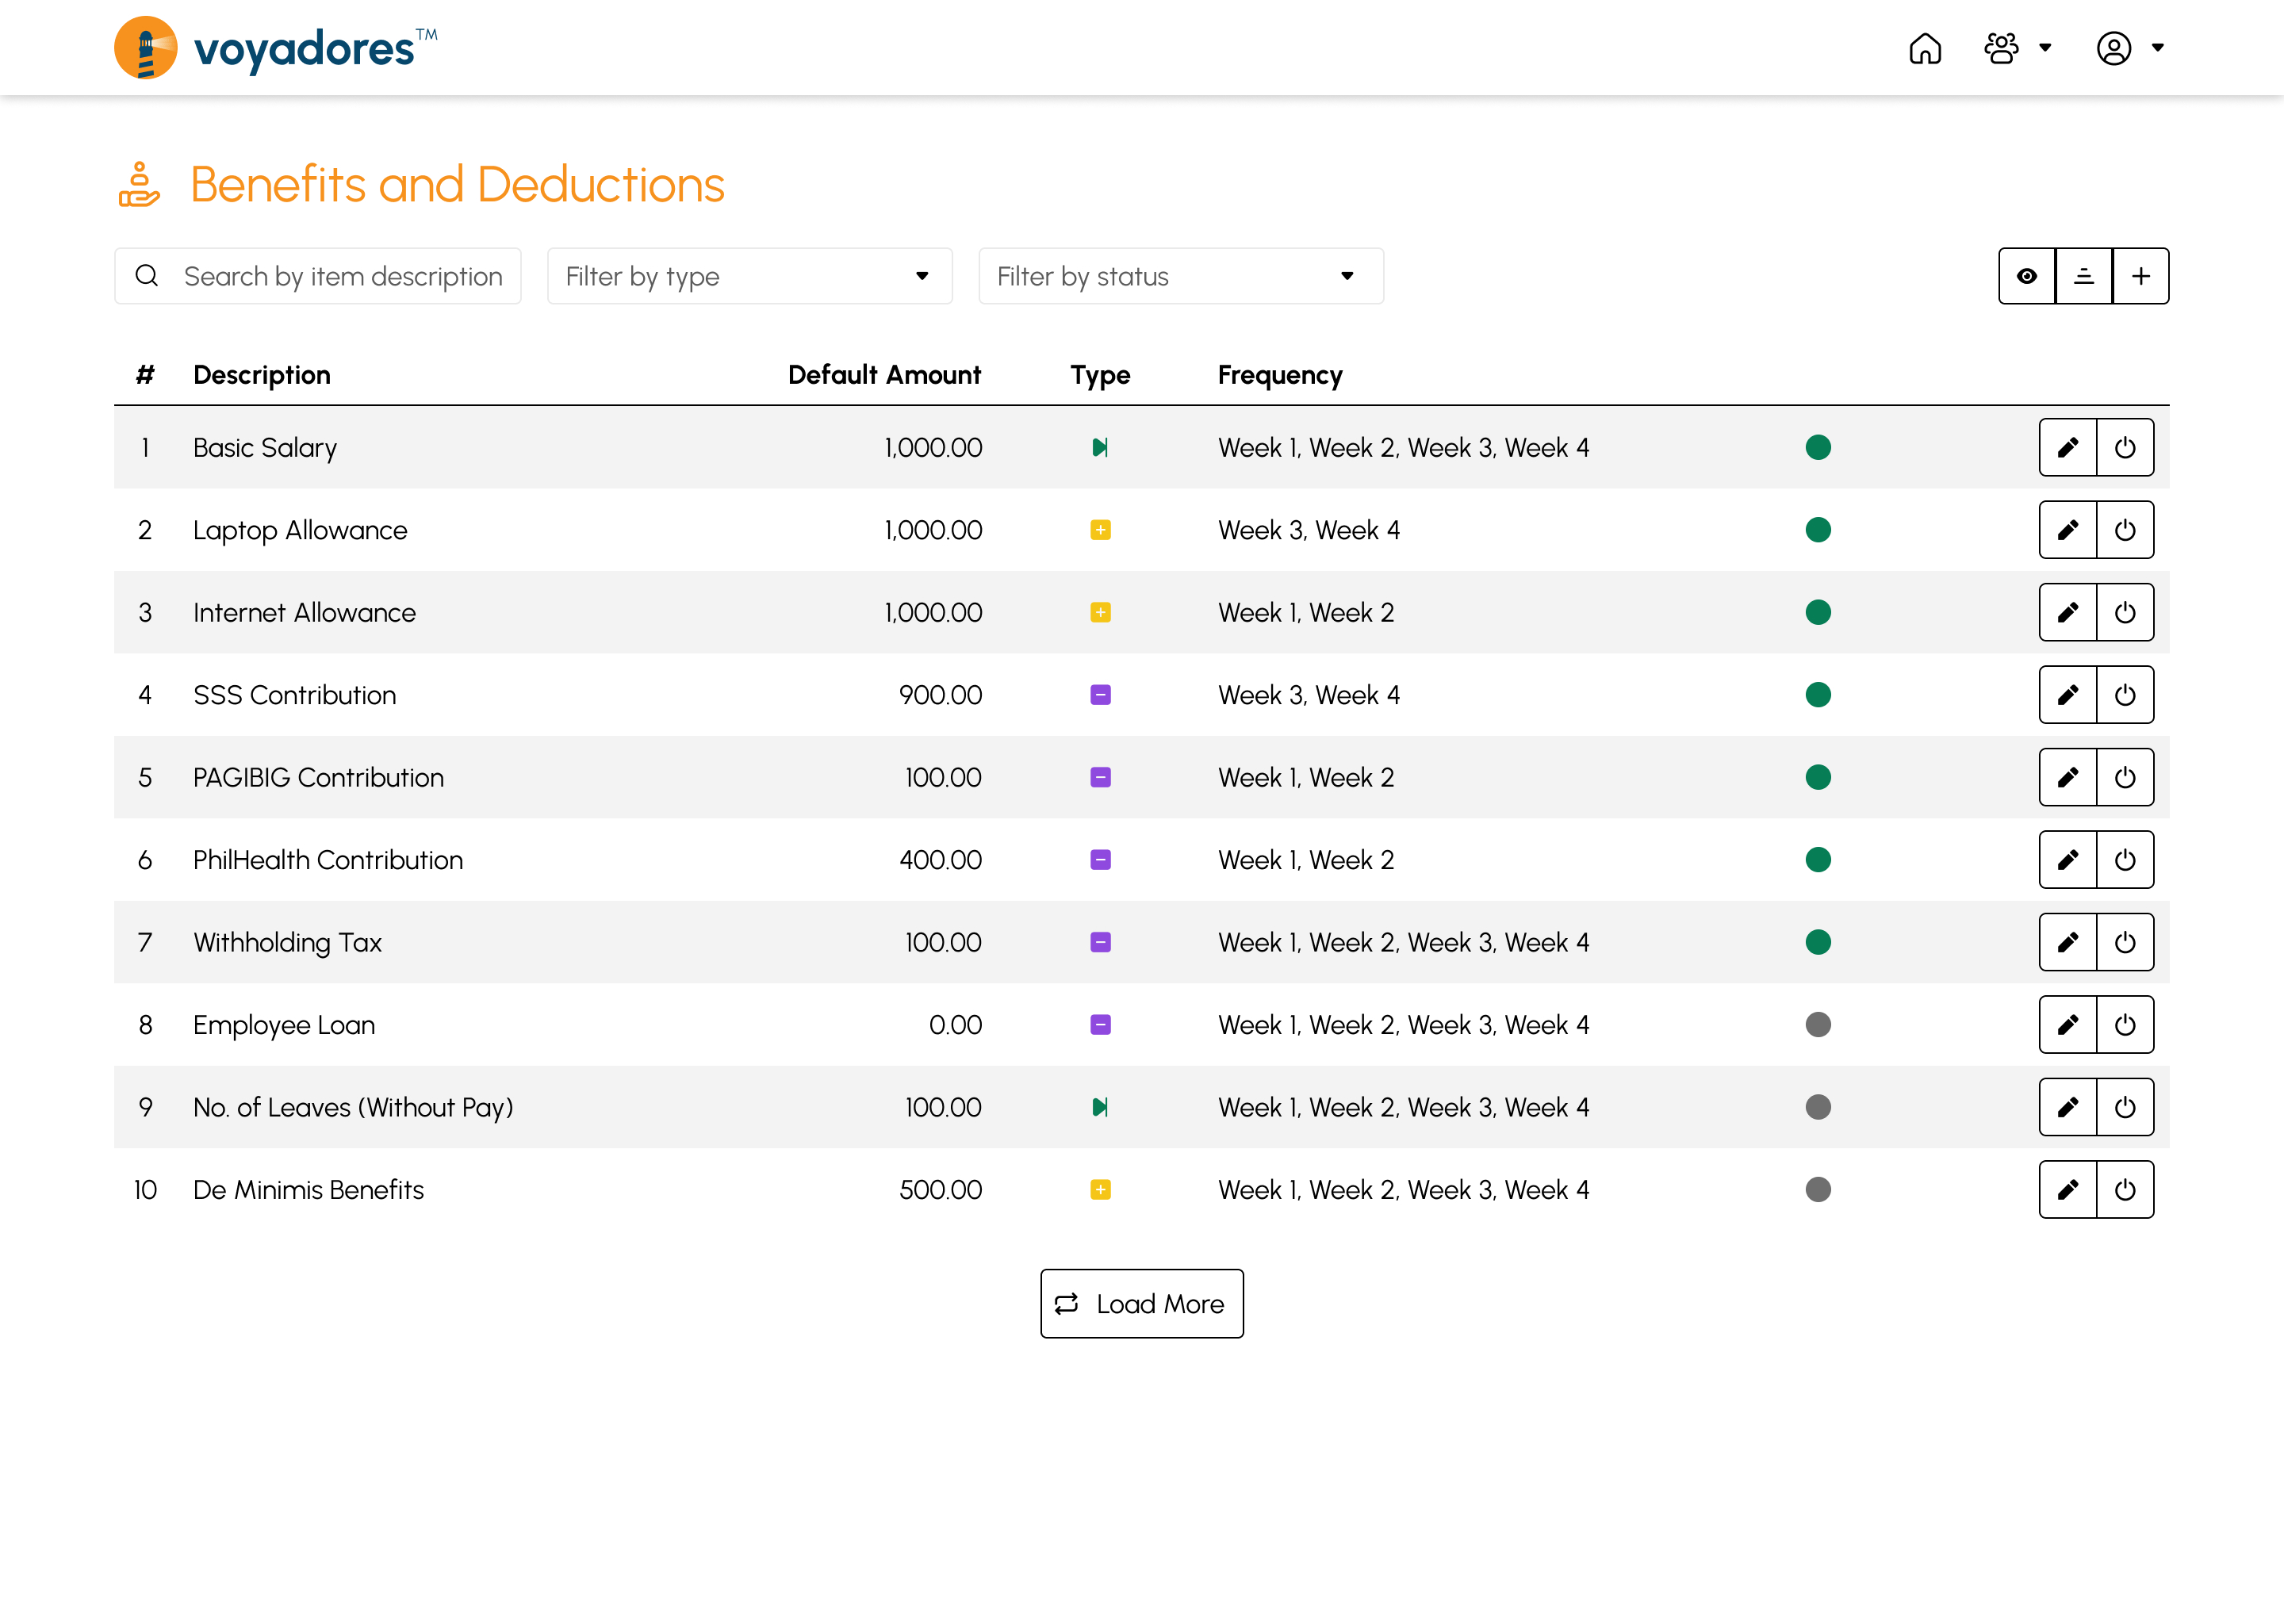
Benefits and Deductions Summary Table
The Benefits and Deduction Summary Table consists of the following columns:
- Item number “#”. This serves as an item sequence indicator displayed on the table.
- Description. The description or name for each Benefit or Deduction payroll item.
- Default Amount. The default amount or value for each Benefit or Deduction payroll item.
- Type. This refers to whether the payroll item is a Benefit, a Deduction, or Skipped item.
- Frequency. Frequency of the payroll items to occur monthly (in weekly count).
- Status. Whether the item is Active or Inactive.
-
Actions.
- Edit Item
- Activate/Deactivate Item
Searching Payroll Item by Description
-
Key in the name of the payroll item in the search bar and hit Enter. This will look up the name of the Benefit or Deduction Payroll item from the Summary Table.

Filtering Payroll Items by Type
-
Click the Filter by Type drop down to select the desired type to display.
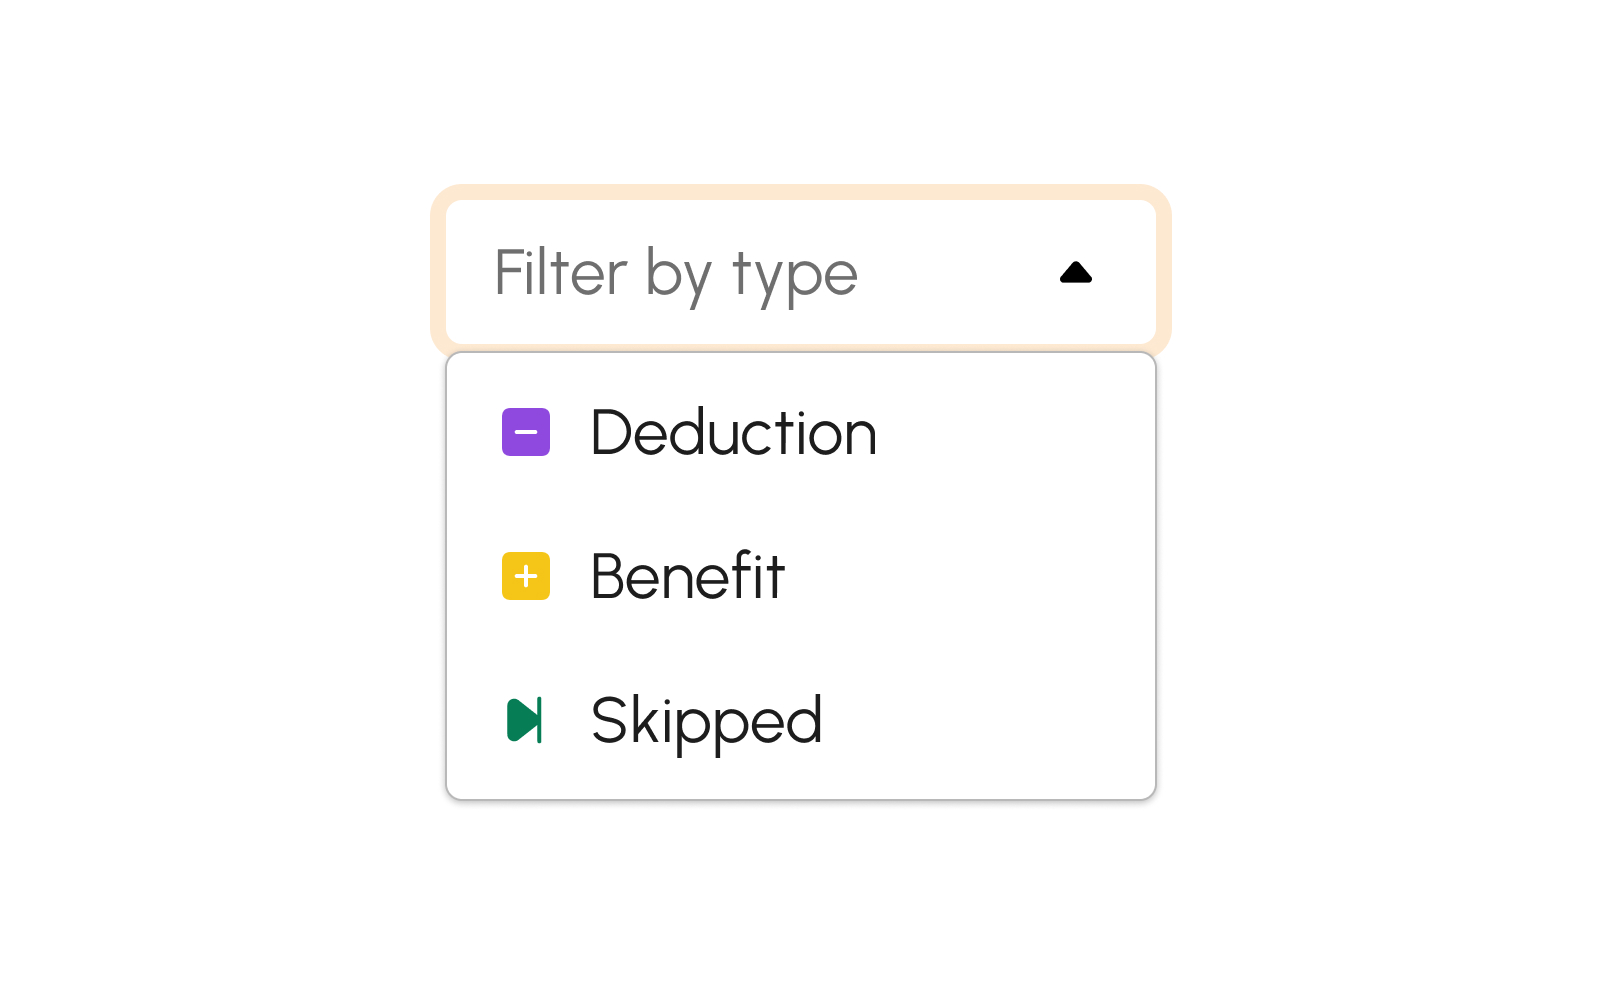 There are several types available to filter from the drop-down button as follows:
- Deduction. This type indicates that a payroll item is a deduction.
- Benefit. This type indicates that a payroll item is a benefit.
- Skipped. This type indicates that a payroll item is skipped.
Filtering Payroll Items by Status
-
Click the Filter by Status drop down to select the desired payroll item status to display.
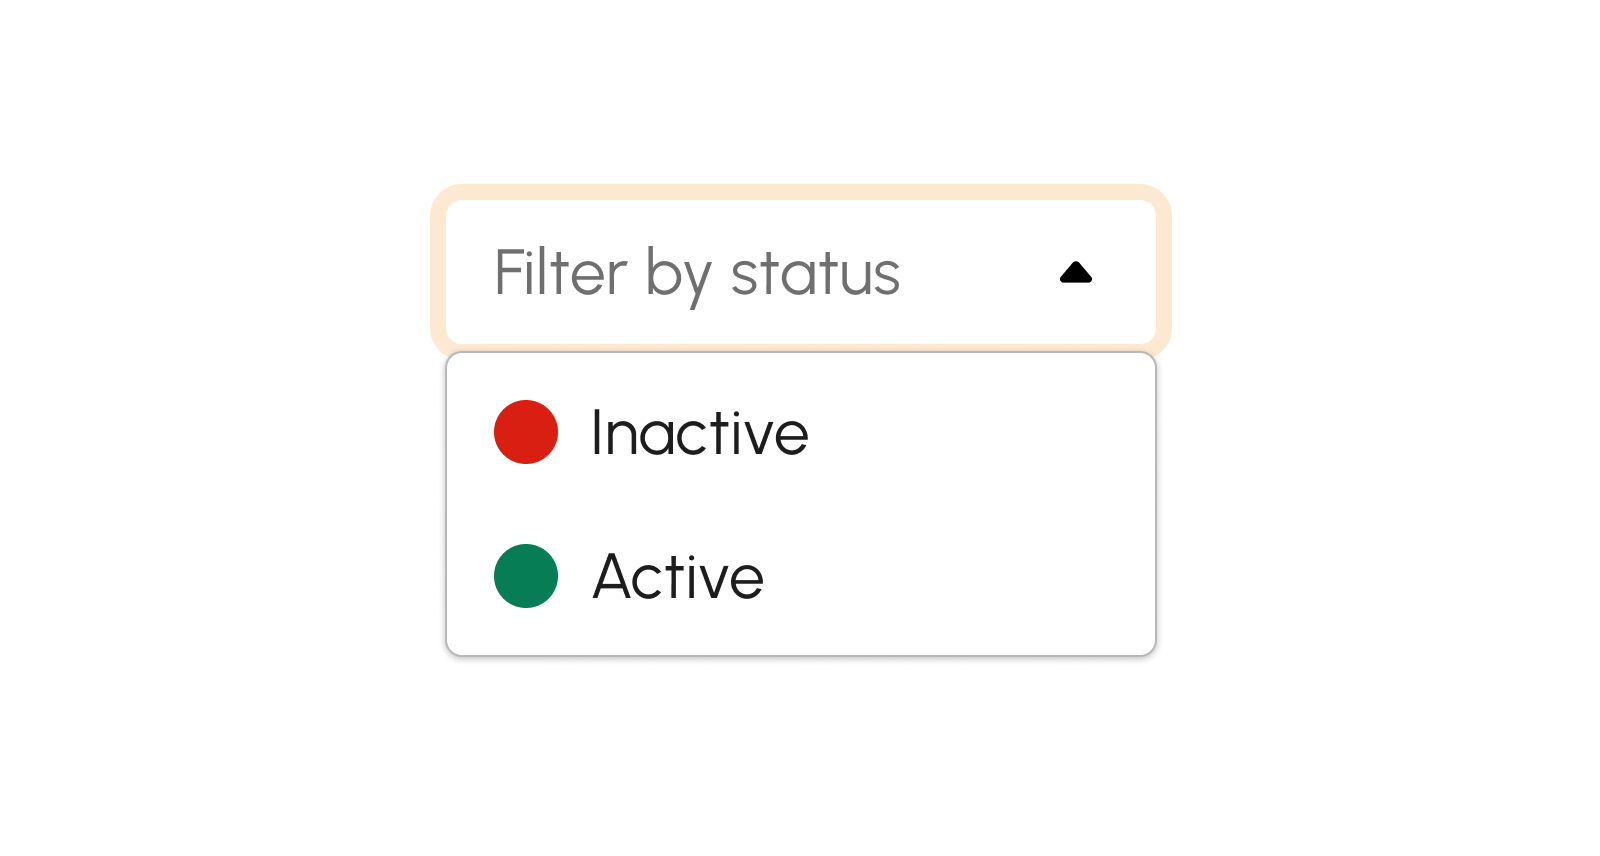 There are several statuses available to filter from the drop-down button as follows:
- Active. This status indicates an Active benefit or deduction item/s.
- Inactive. This status indicates an Inactive benefit or deduction item/s.
Creating a Payroll Item
- Click the Create Payroll Item butto. A modal will show upon clicking this button.
-
From the modal, key in the following information asked in the given fields:
- Name
- Type
- Amount
- Frequency
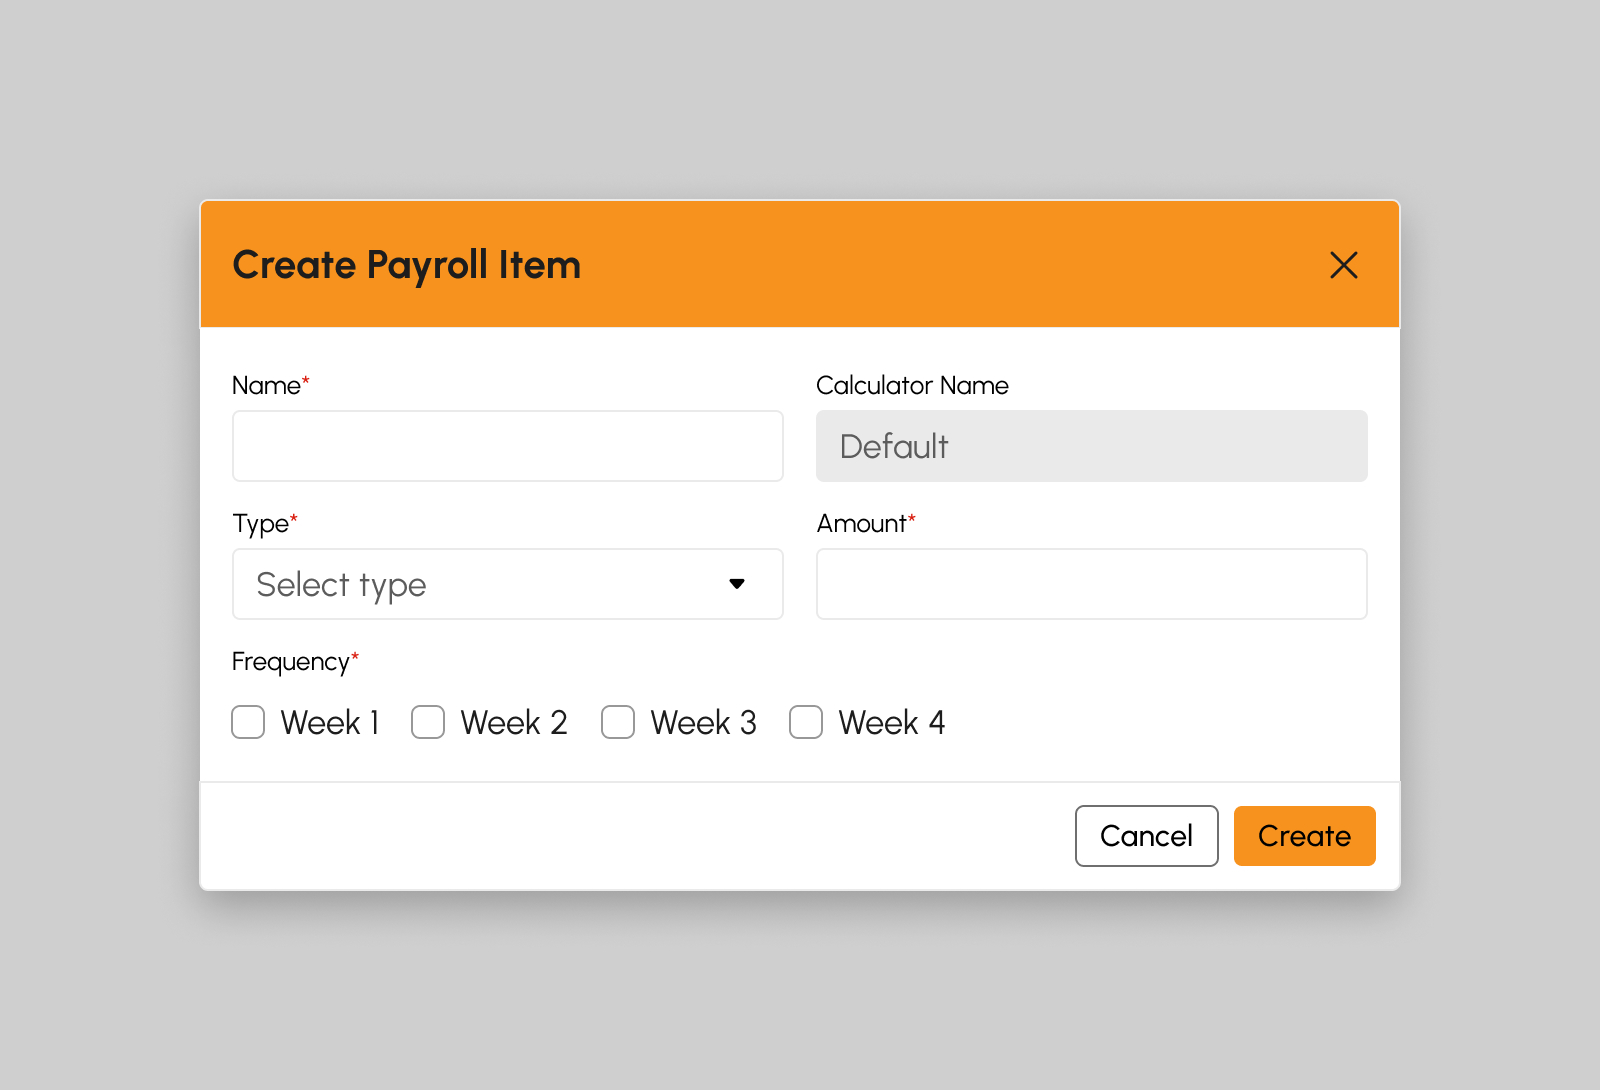
- Click the Create to successfully create the Payroll Item, otherwise click the Cancel button.
Note
Fields with asterisk (*) are required and should not be empty upon clicking the Save button.
Note
The Calculator Name field is always Default since all calculations are automated.
Editing a Payroll Item
- Click the Edit Payroll Item button. A modal will show upon clicking this button.
-
From the modal, key in the following information asked in the given fields that needs updating:
- Name
- Type
- Amount
- Frequency
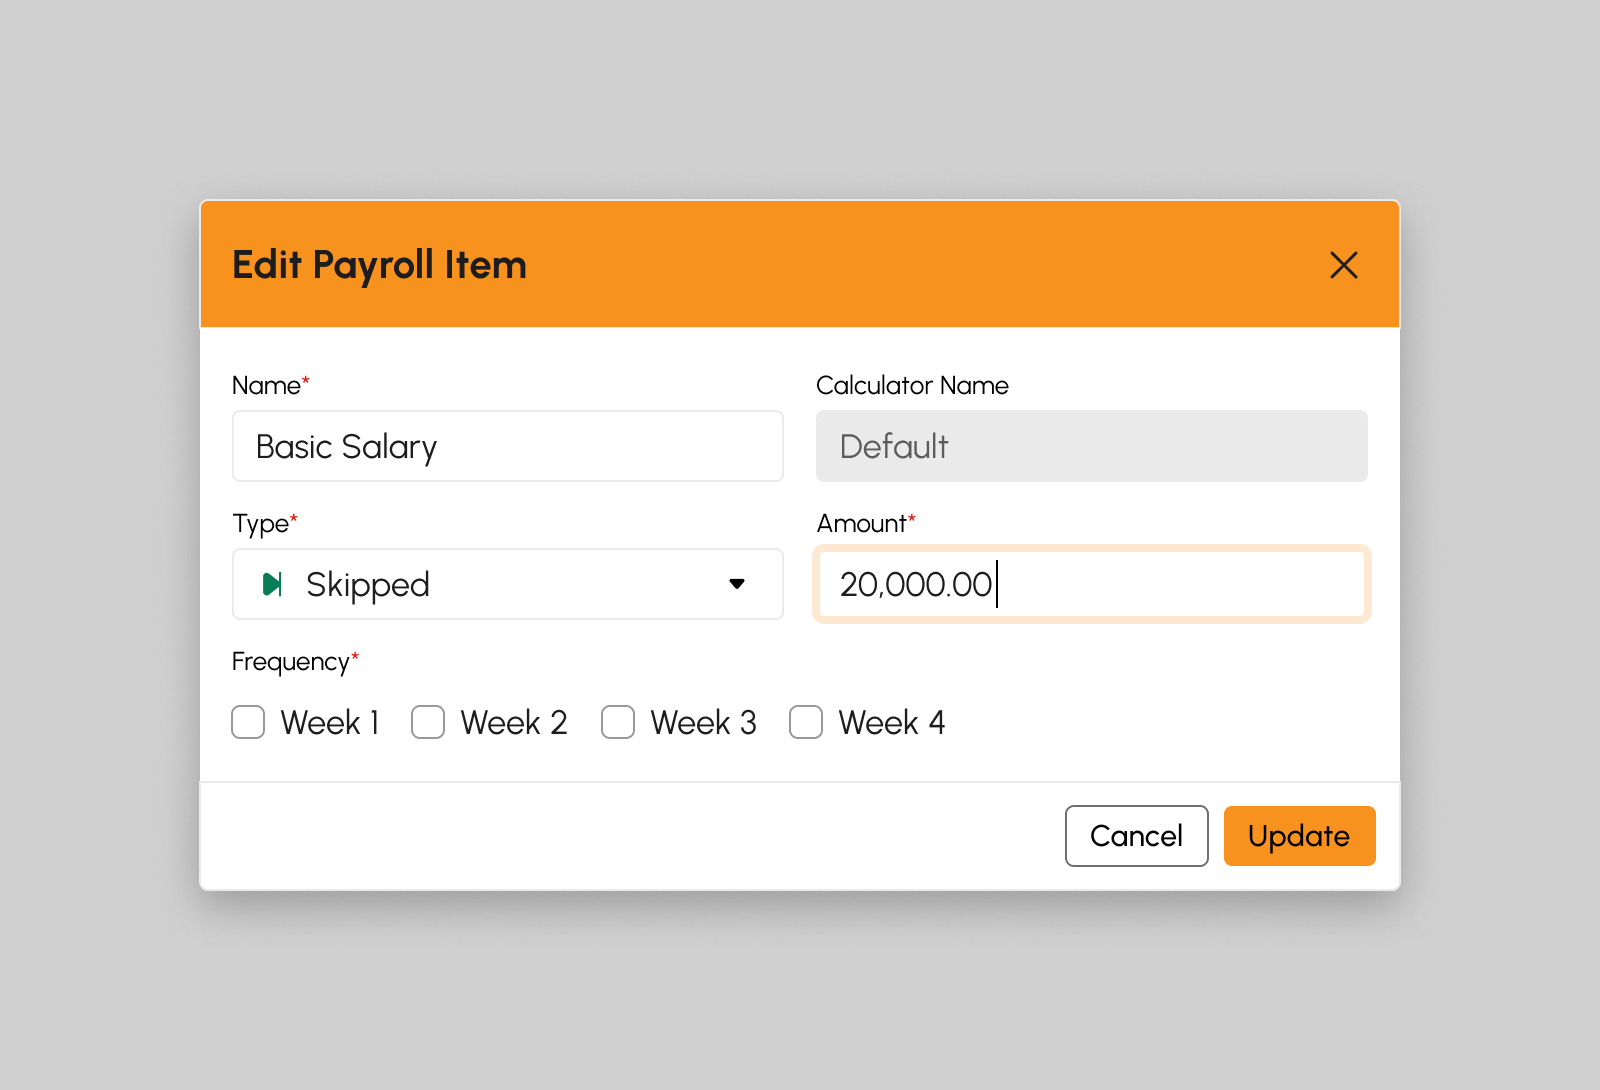
- Click the Save to successfully save any updated changes of the Payroll Item, otherwise click the Cancel button.
Note
Fields with asterisk (*) are required and should not be empty upon clicking the Save button.
Note
The Calculator Name field is always Default since all calculations are automated.
How to Activate a Payroll Item
-
Click the Activate this item button to begin activating the payroll item.

- Click Yes button in the confirmation modal to successfully Activate the payroll item, otherwise click No button.
How to Deactivate a Payroll Item
-
Click the Deactivate this item button to begin deactivating the payroll item.

- Click Yes button in the confirmation modal to successfully deactivate the payroll item, otherwise click No button.
How to Preview Sample Payslip
-
Click the Preview Sample Payslip button. This will pop-up a new browser tab to display the PDF view of the sample Payslip.

Reordering Payroll Items
In case there’s a need to sort or reorder to easily navigate the payroll items, use the Reorder feature.
-
Click the Reorder button. This will show a modal to begin sorting the payroll items.
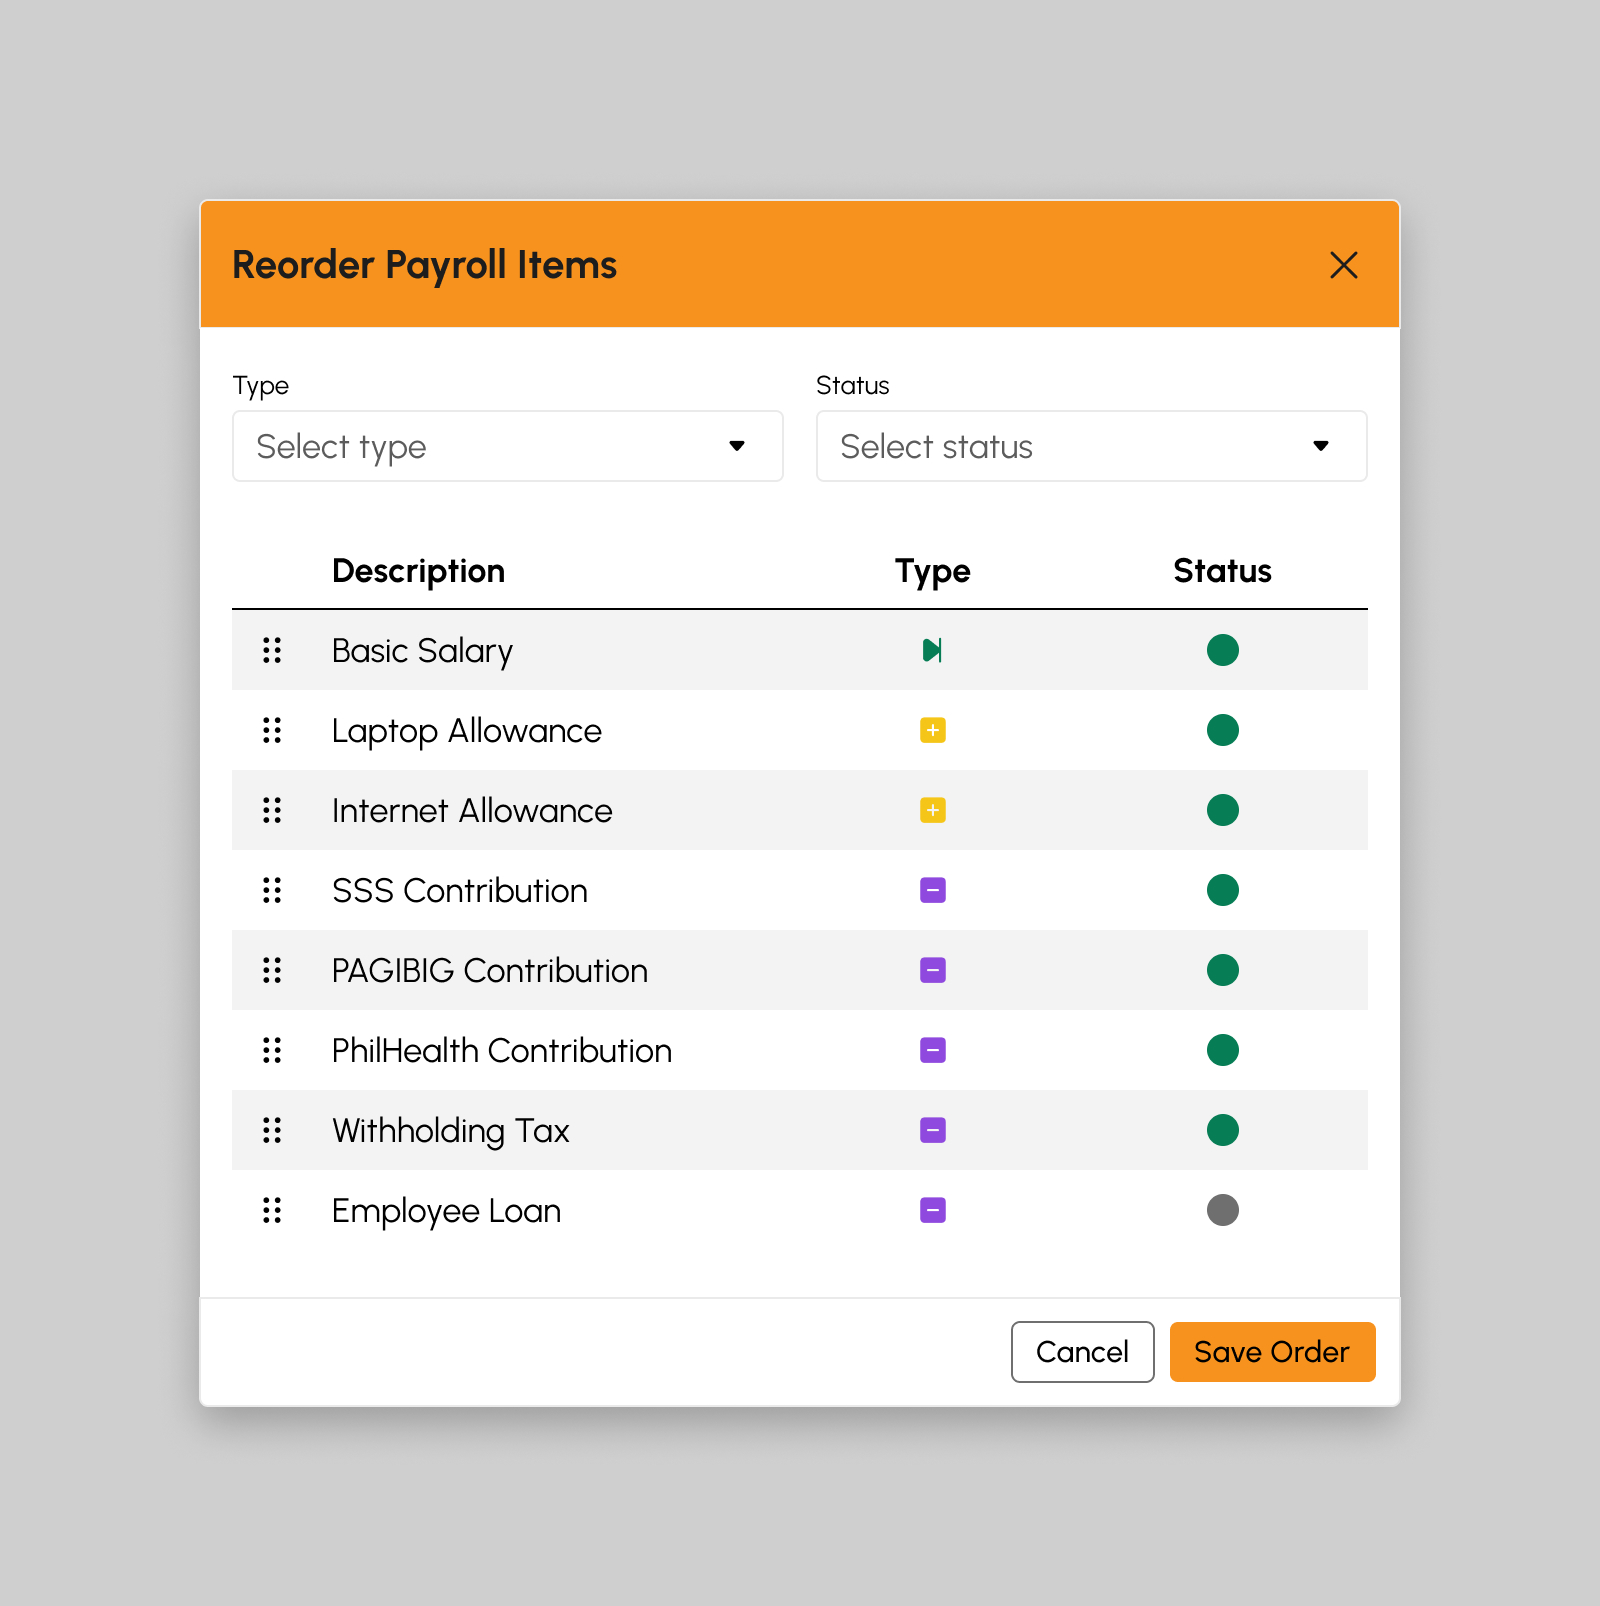
- Select the payroll item type first before reordering the item in the Type field.
- Drag the payroll items and reorder them as desired.
- Click the Save Order button to successfully update the order of the payroll items, otherwise click Cancel button.